
Boy I tell you, I don't know what I'm going to do when this whole tribal trend ends. It will be a sad day for my home and wardrobe, and that's the truth. But maybe I don't have to see an end! Maybe I can just ride it into my own personal time bubble oblivious of the ever-evolving fashion current indulging forevermore in all the triangles and arrows my heart desires. Don't judge me if I do.
How to do it!
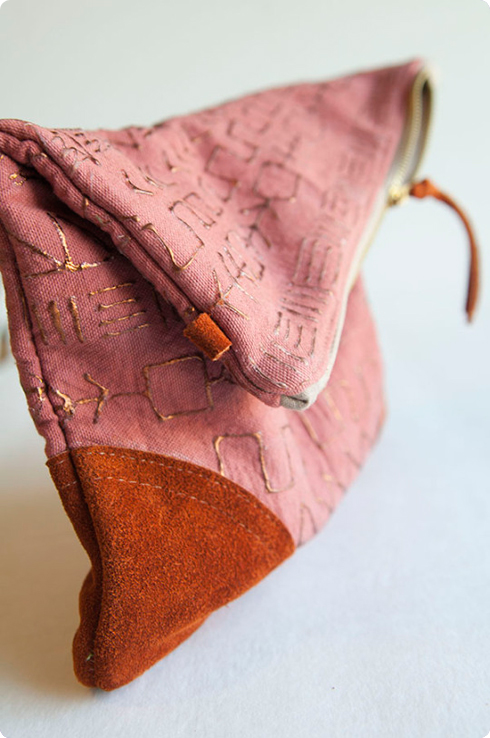
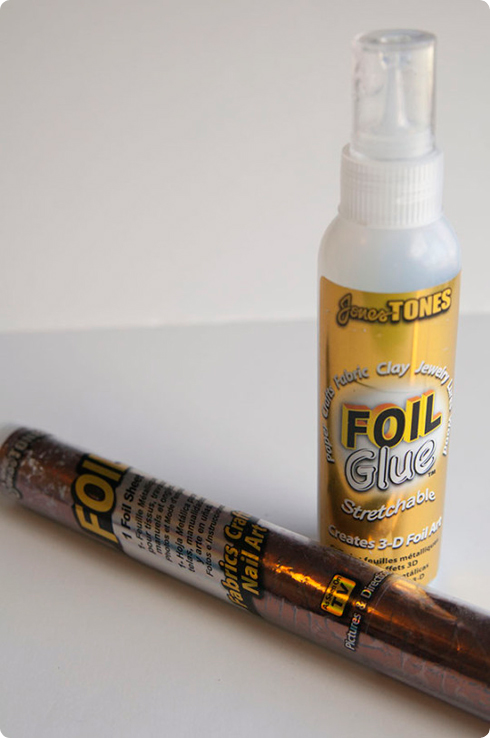
For the last couple of weeks I've been playing around with iCraft DecoFoil, and am pretty excited about this stuff. It's such a fun product, and it's pretty versatile too. I have experimented using different adhesives with it, but decided for my first project I wanted to use it with it's companion foil glue, just as instructed. Worked like a charm, and it couldn't be easier. I just love the legit metal glimmer of the foil paper! I'm sort of at a loss how to describe it, but it's so true-metallic really gold not just the color gold, you know what I mean? Really brilliant, especially when it hits the light.
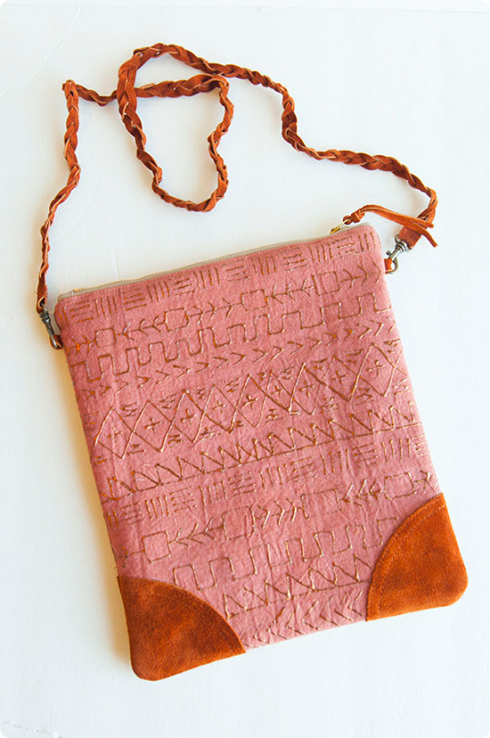
On to the pouch. This fold over pouch has been on my to-do list ever since last year at Sewing Summit when I saw Venessa's amazing pouch pattern in the flesh. It's really a perfect design, and it was a great printing canvas because it's such an ideal printing size. Large enough to do a detailed design, but small enough to make it quick and fun. The only very simple alteration I made was to add some small leather loops sandwiched into the top sides of the pouch so that it could double as a shoulder bag. The fabric is a wonderful unbleached cotton duck that I dyed my new faveRIGHT color Terracotta. Prepare yourself for much much more of that color, because I wanna roll up and dye in it. Couldn't help myself, some puns are inescapable.
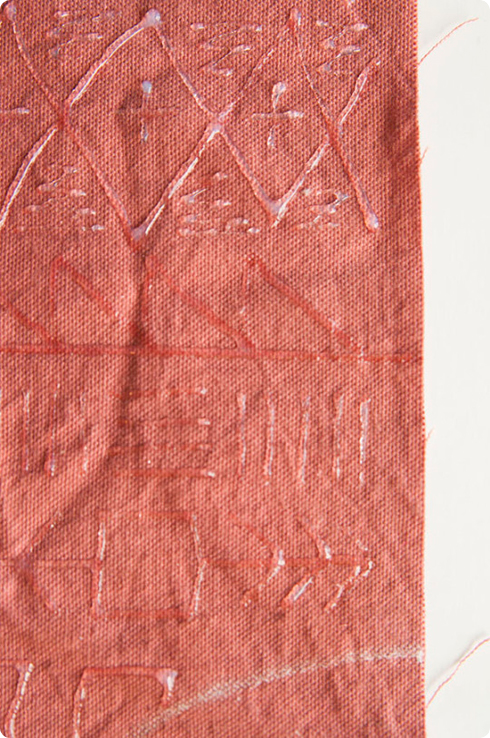
Printing instructions are very straight forward. I simply free handed some very basic, doodley tribal designs onto my fabric before assembling. Start at the top and work down, and then allow the glue to completely dry. This takes a while, so take a break at this point and do something else, it takes at least an hour. You want to make sure that the glue is completely dry, and has gone from slightly opaque to clear.
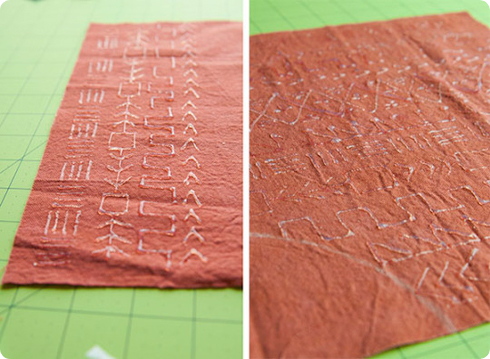
Here you can see the difference between not-dry and dry the middle is dry (and clear), while the top section is still semi wet.
Put on your party hats folks, cause here comes the fun part. Press your foil paper on top of the dried glue (metallic side UP), and lift off! The foil sticks to the tacky dried glue, and the foil is now apart of the design. If you miss a part, you can just press the foil down again and it will continue to pick up the foil until all areas of the glue are covered. This is great because you can really take advantage of every square millimeter of your paper.
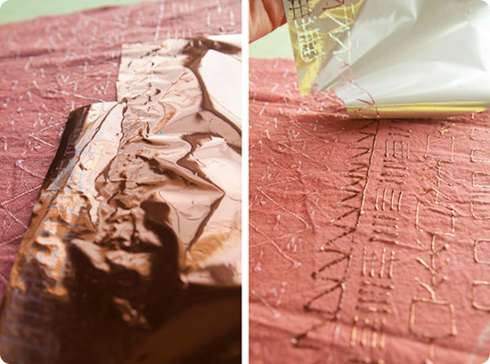
So pretty, right?!
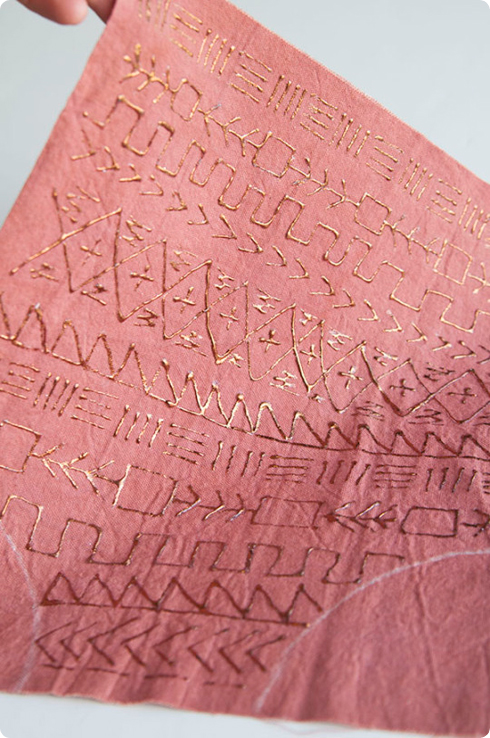
Now assemble your pouch according to pattern instructions, unless like me you want to add small loops to the top sides for the purse variation.
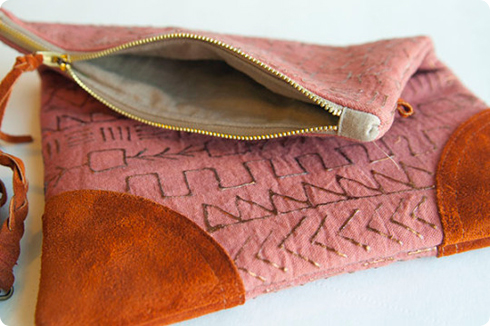
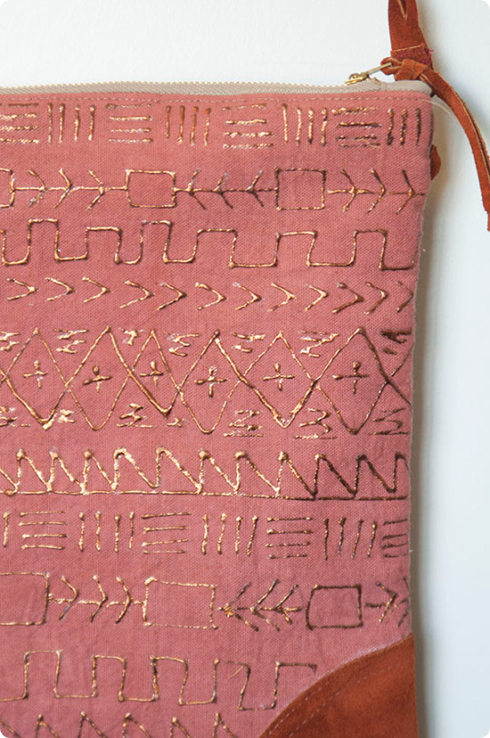
I LOVE how this little pouch/purse turned out It's such a special piece, and it's so perfect for when I want to go somewhere without my kids. I usually just tote my "diaper bag" (which is really just a large purse), but it's really too big for just me. This is a great size for when I fly solo!
This tutorial was provided by Miriam Tribe. https://www.instagram.com/miriamtribe/
Shopping list:
Pouch, purse, bag, etc. to decorate. (Or make your own)
Optional: If you are using the pattern and making your own:


