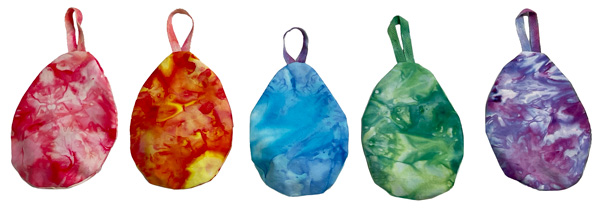
Ice Dye Easter Egg Pouches
A Dharma Tutorial
Eggs are for eating and super expensive now, and plastic is out, so let's make some cute reusable ice dyed egg pouches to stuff with goodies for your Easter egg hunt!
Supply list:
- Fiber Reactive Dyes
We used:
- #83 Wisteria
- #98 Bubble Gum
- #187 Sweat Pea
- #77 Alpine
- #85 Seafoam
- #97 Citrus Yellow
- #120 Tangerine
- #140 Sage Green
- #QCS Quilter's Cotton Sateen or Pre-Cut Fat Quarters- #CFQ
- 100% Cotton Twill Tape - #TTAPE - 10 mm
- Soda Ash Fixer
- Dharma Dyer's Detergent
- Spoons
- Print out the FREE pattern
- Embroidery Needles
- Sewing Thread
- Dye Sticks
- Steam-A-Seam
Let's Get Started:
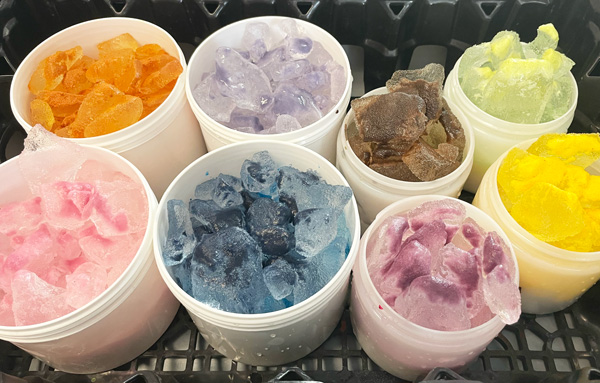
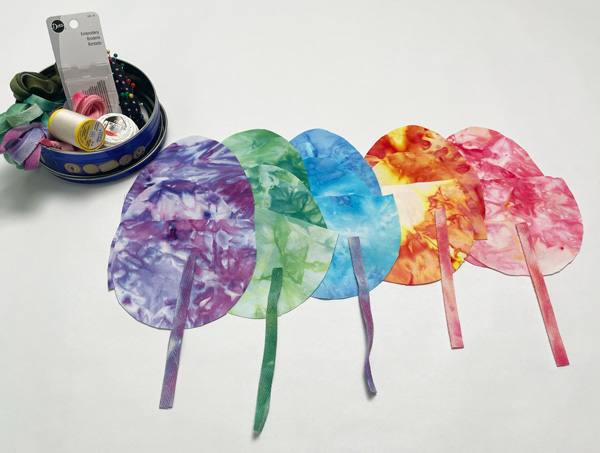
First ice dye your fabric
Check out our learn how to ice dye guide if you're new to the technique.
Pre-wash your fabric and any trims with some Dharma Dyer's Detergent.
Soda Ash Pre Soak- Mix 2 cups of soda ash per gallon of water - you can save it for future projects or just make ½ gallon for this project.
Soak your fabric for 10-15 min in the soda ash soak. Squeeze out excess solution so fabric is not dripping. If dyeing the twill tape, allow more time for the twill tape to soak as the weave tends to take more time to soak up the solution.
Scrunch, fold or twist the fabric if you want, we just did simple scrunches. If you want to make loops on your eggs you can also dye up some Cotton Twill Tape at the same time.
Cover with ice and then sprinkle with dye. Let the ice melt and fabric batch for 24 hours after that.
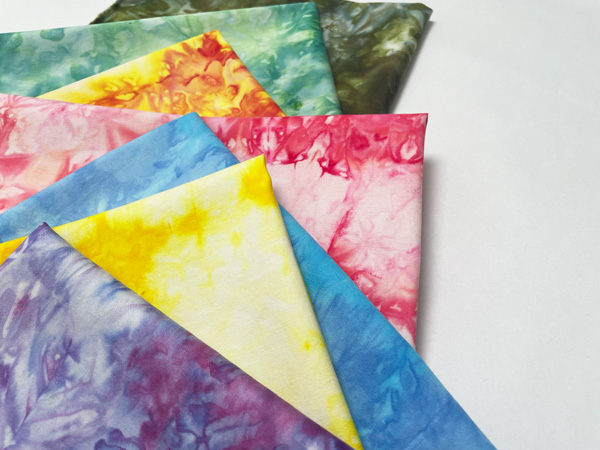
Rinse in cold running water until the water runs clear. Wash in the washing machine with hot water and Dharma Dyer's Detergent. Dry and iron your fabric and twill tape.
Cutting and Sewing Up some Eggs
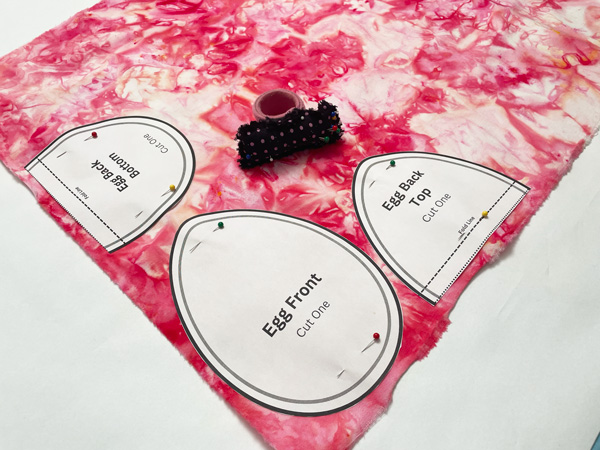
Print out the pattern sheets and cut out the pattern templates - download pattern
Cut out your three pieces from each color fabric, if you layer fabrics you can cut out a couple sets at a time.

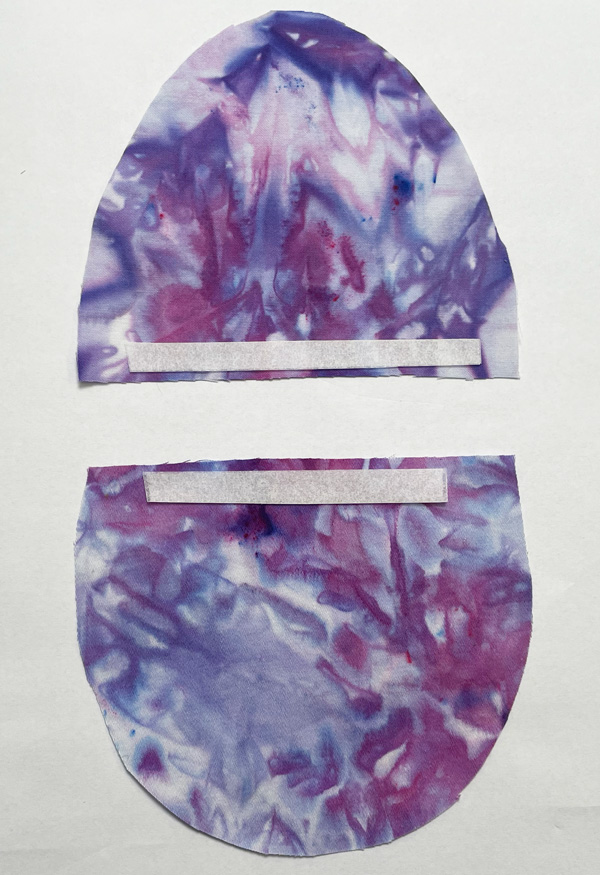
Using the Steam-A-Seam, fold over the pocket edges to hem them without sewing. A hot dry iron will make the fold permanent.
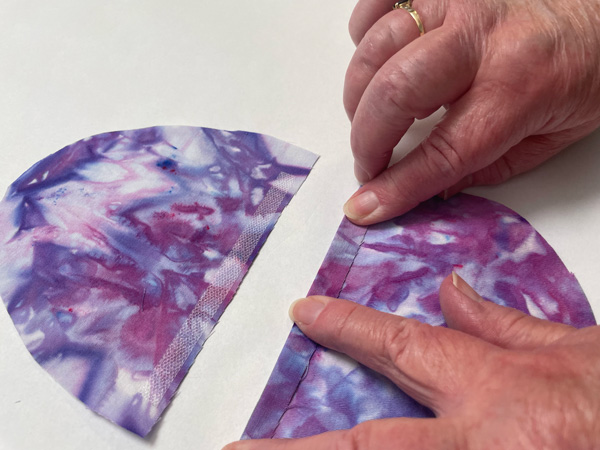
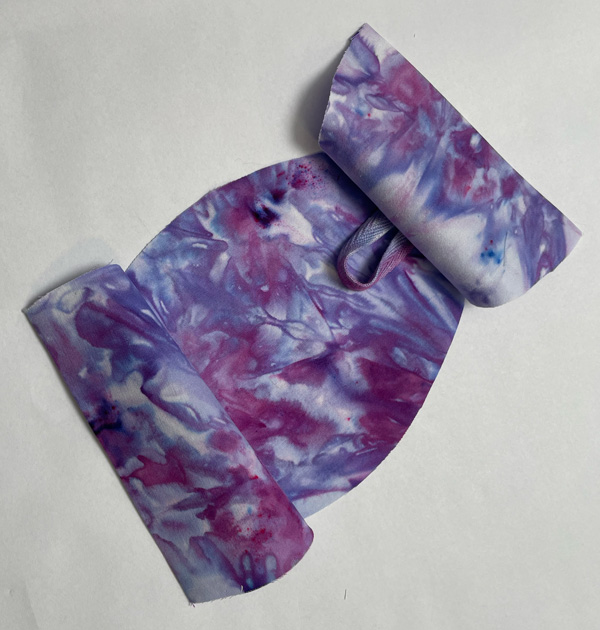
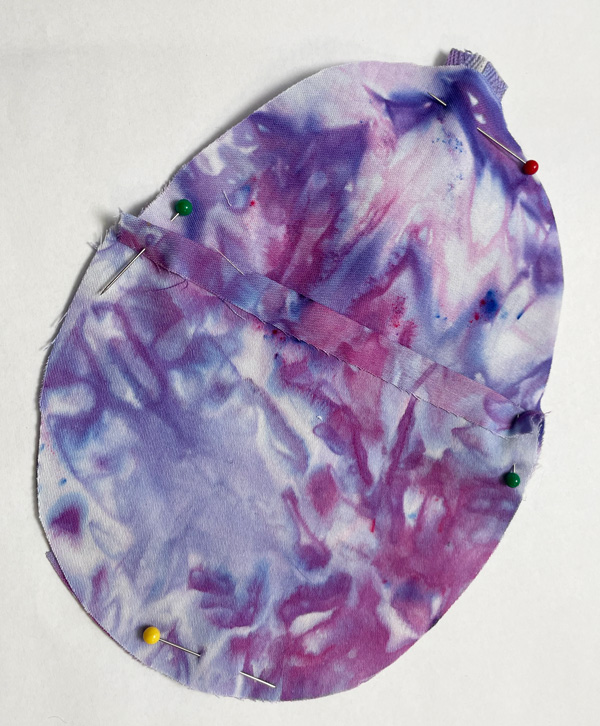
Layer your fabric pieces Egg Front, twill tape, Egg Back top and then Egg Back bottom with the right sides facing each other. Pin to keep the layers in place.
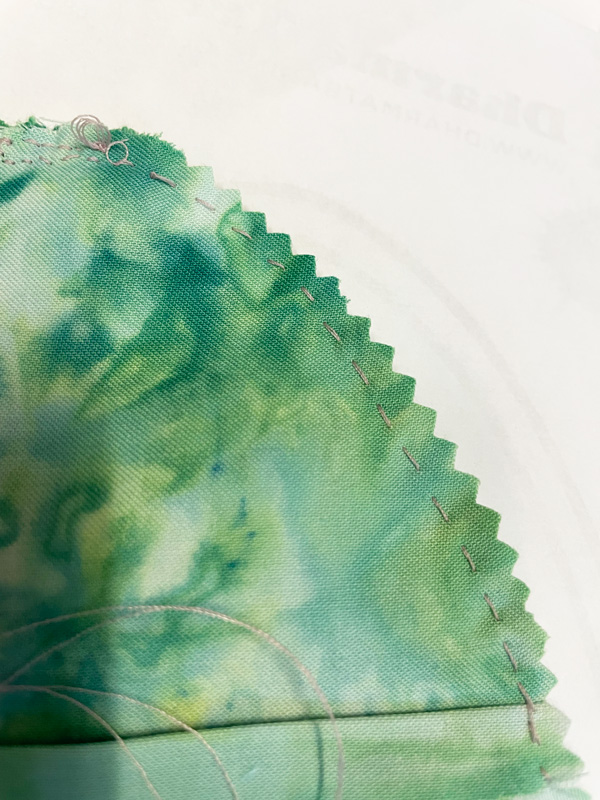
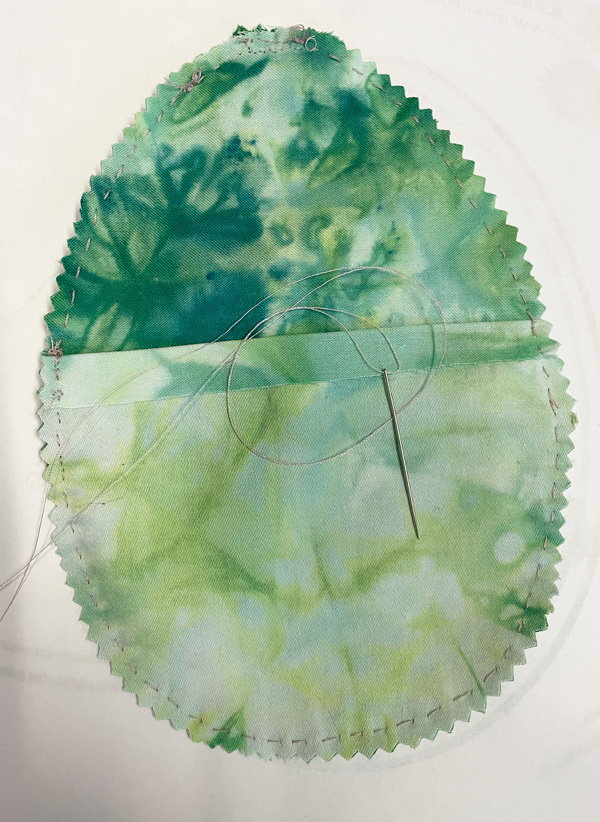
Sew around the edge, by hand or by machine, with an ~ 5/8th inch seam allowance. If sewing by hand we suggest using a backstitch so the pouches will hold up longer.
Once you have sewn the seam you can trim the seam allowance down with pinking shears, this is optional but helps things lay smoother when you turn the pouches right side out.
Remove any pins and turn out the pouches, run a finger around the inside of the seam to help things fold out and lay flat. A final quick iron will help everything lay nicely.
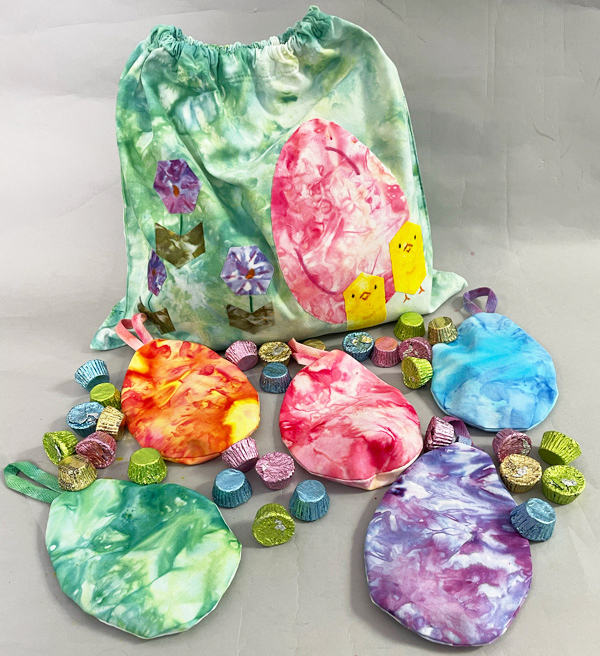
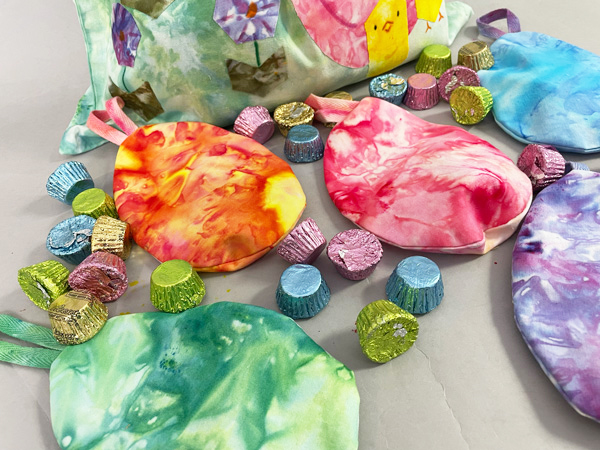
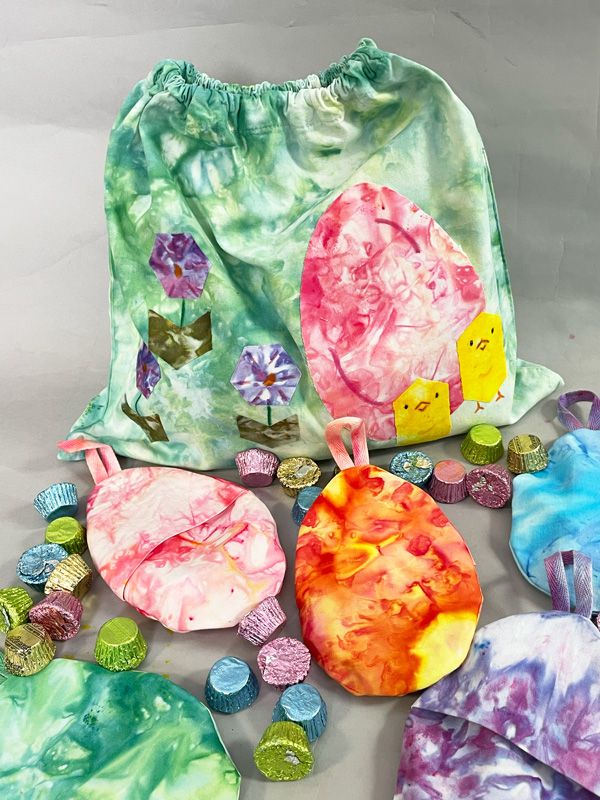
Now your pouches are ready to fill with goodies. Hide them for an egg hunt, fill a basket or hang them from a tree.
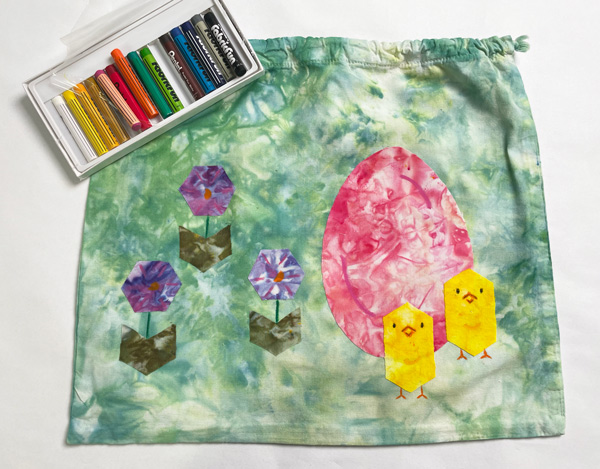
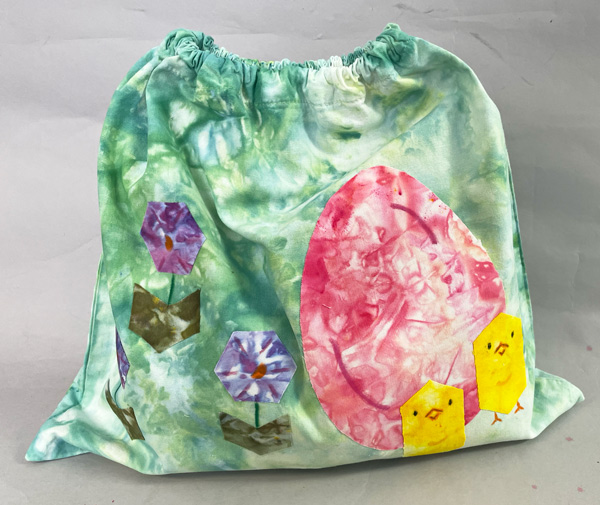
Want to add some extra cuteness?
We used the Steam-A-Seam to applique' a little chick and some hexagons on to a drawstring bag, perfect to collect your eggs in! The chick's face and feet were drawn on with Dye Sticks. You could add even more details with embroidery or fabric paints; there is no limit on how fancy you can get!