The History of Ice Dyeing at Dharma
It started with snow and research for a Quilting Arts article by Lynda Heines, which was published in 2011. Lynda wanted a way to do snow dyeing, a fun technique some quilters were trying out, when there wasn’t any snow to be easily harvested outside her door, so she decided to raid her ice maker instead. The article was accompanied by a tutorial post on her blog, at the time called Bloom, Bake and Create. Her original on-line class is now free as videos on her YouTube channel.
Using ice instead of snow meant anyone, anywhere could give this technique a go.
Since then, hundreds and thousands of artists, teachers, crafters, and hobbyists have turned Ice Dyeing into an amazing technique with lots of variations beyond the original “sprinkle some dye over ice.” They have shared their experiments and techniques on social media, in forums and workshops. Prolific ice dyer Corky Lorenz has let us share some of the most popular variations she has experimented with and documented to help inspire your continued creativity.
The Ice Dyer’s Glossary
DUI - Dye Under Ice - was one of the first variations. In this technique, the dye is applied heavily right on the garment/fabric and then ice is applied on top to melt through the dye and into the fabric. The fabric is often folded and tied into many of the intricate patterns that modern tie-dyers use. The dye is usually then carefully applied to control the colors in the fold patterns, like with tie-dyeing but with the characteristic splits that result from the dye being spread by the melting ice. The possibilities are endless!
DOI - Dye Over Ice - is how we now refer to the original application of laying down the ice first and then sprinkling the dye on top. This gives results that are much less precise than DUI, but often gives much more spectacular splits of the colors.
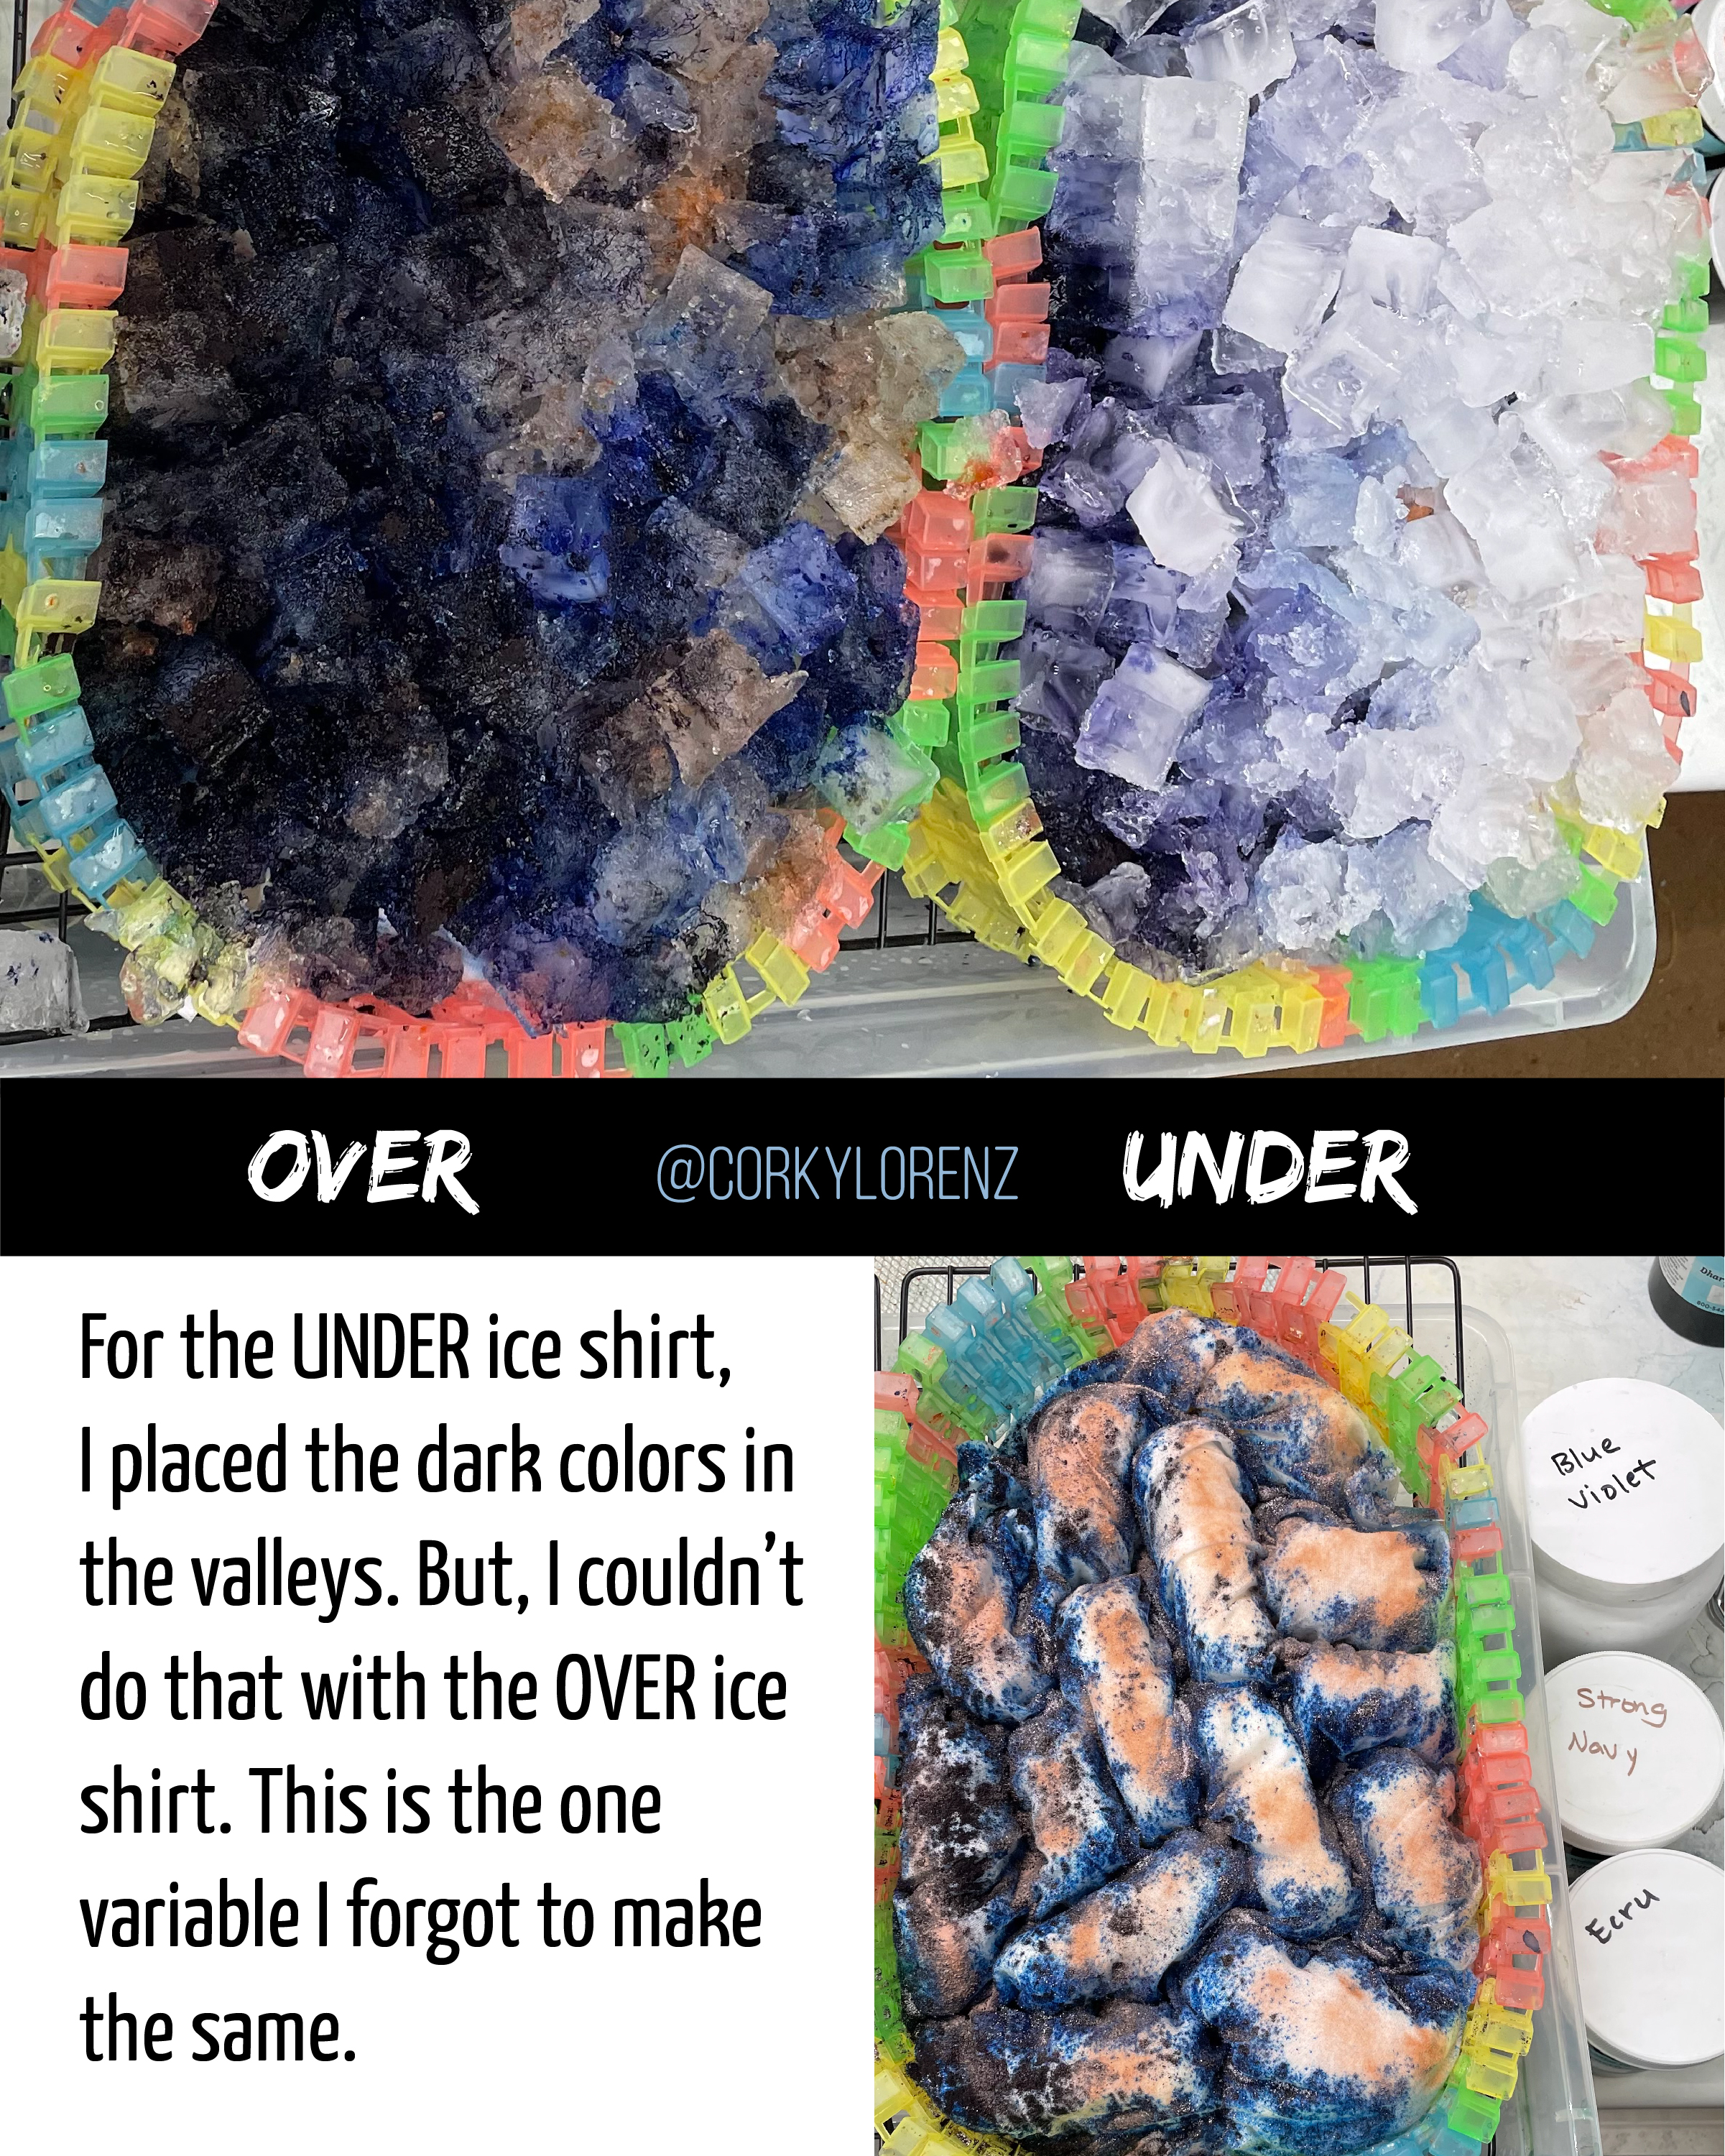
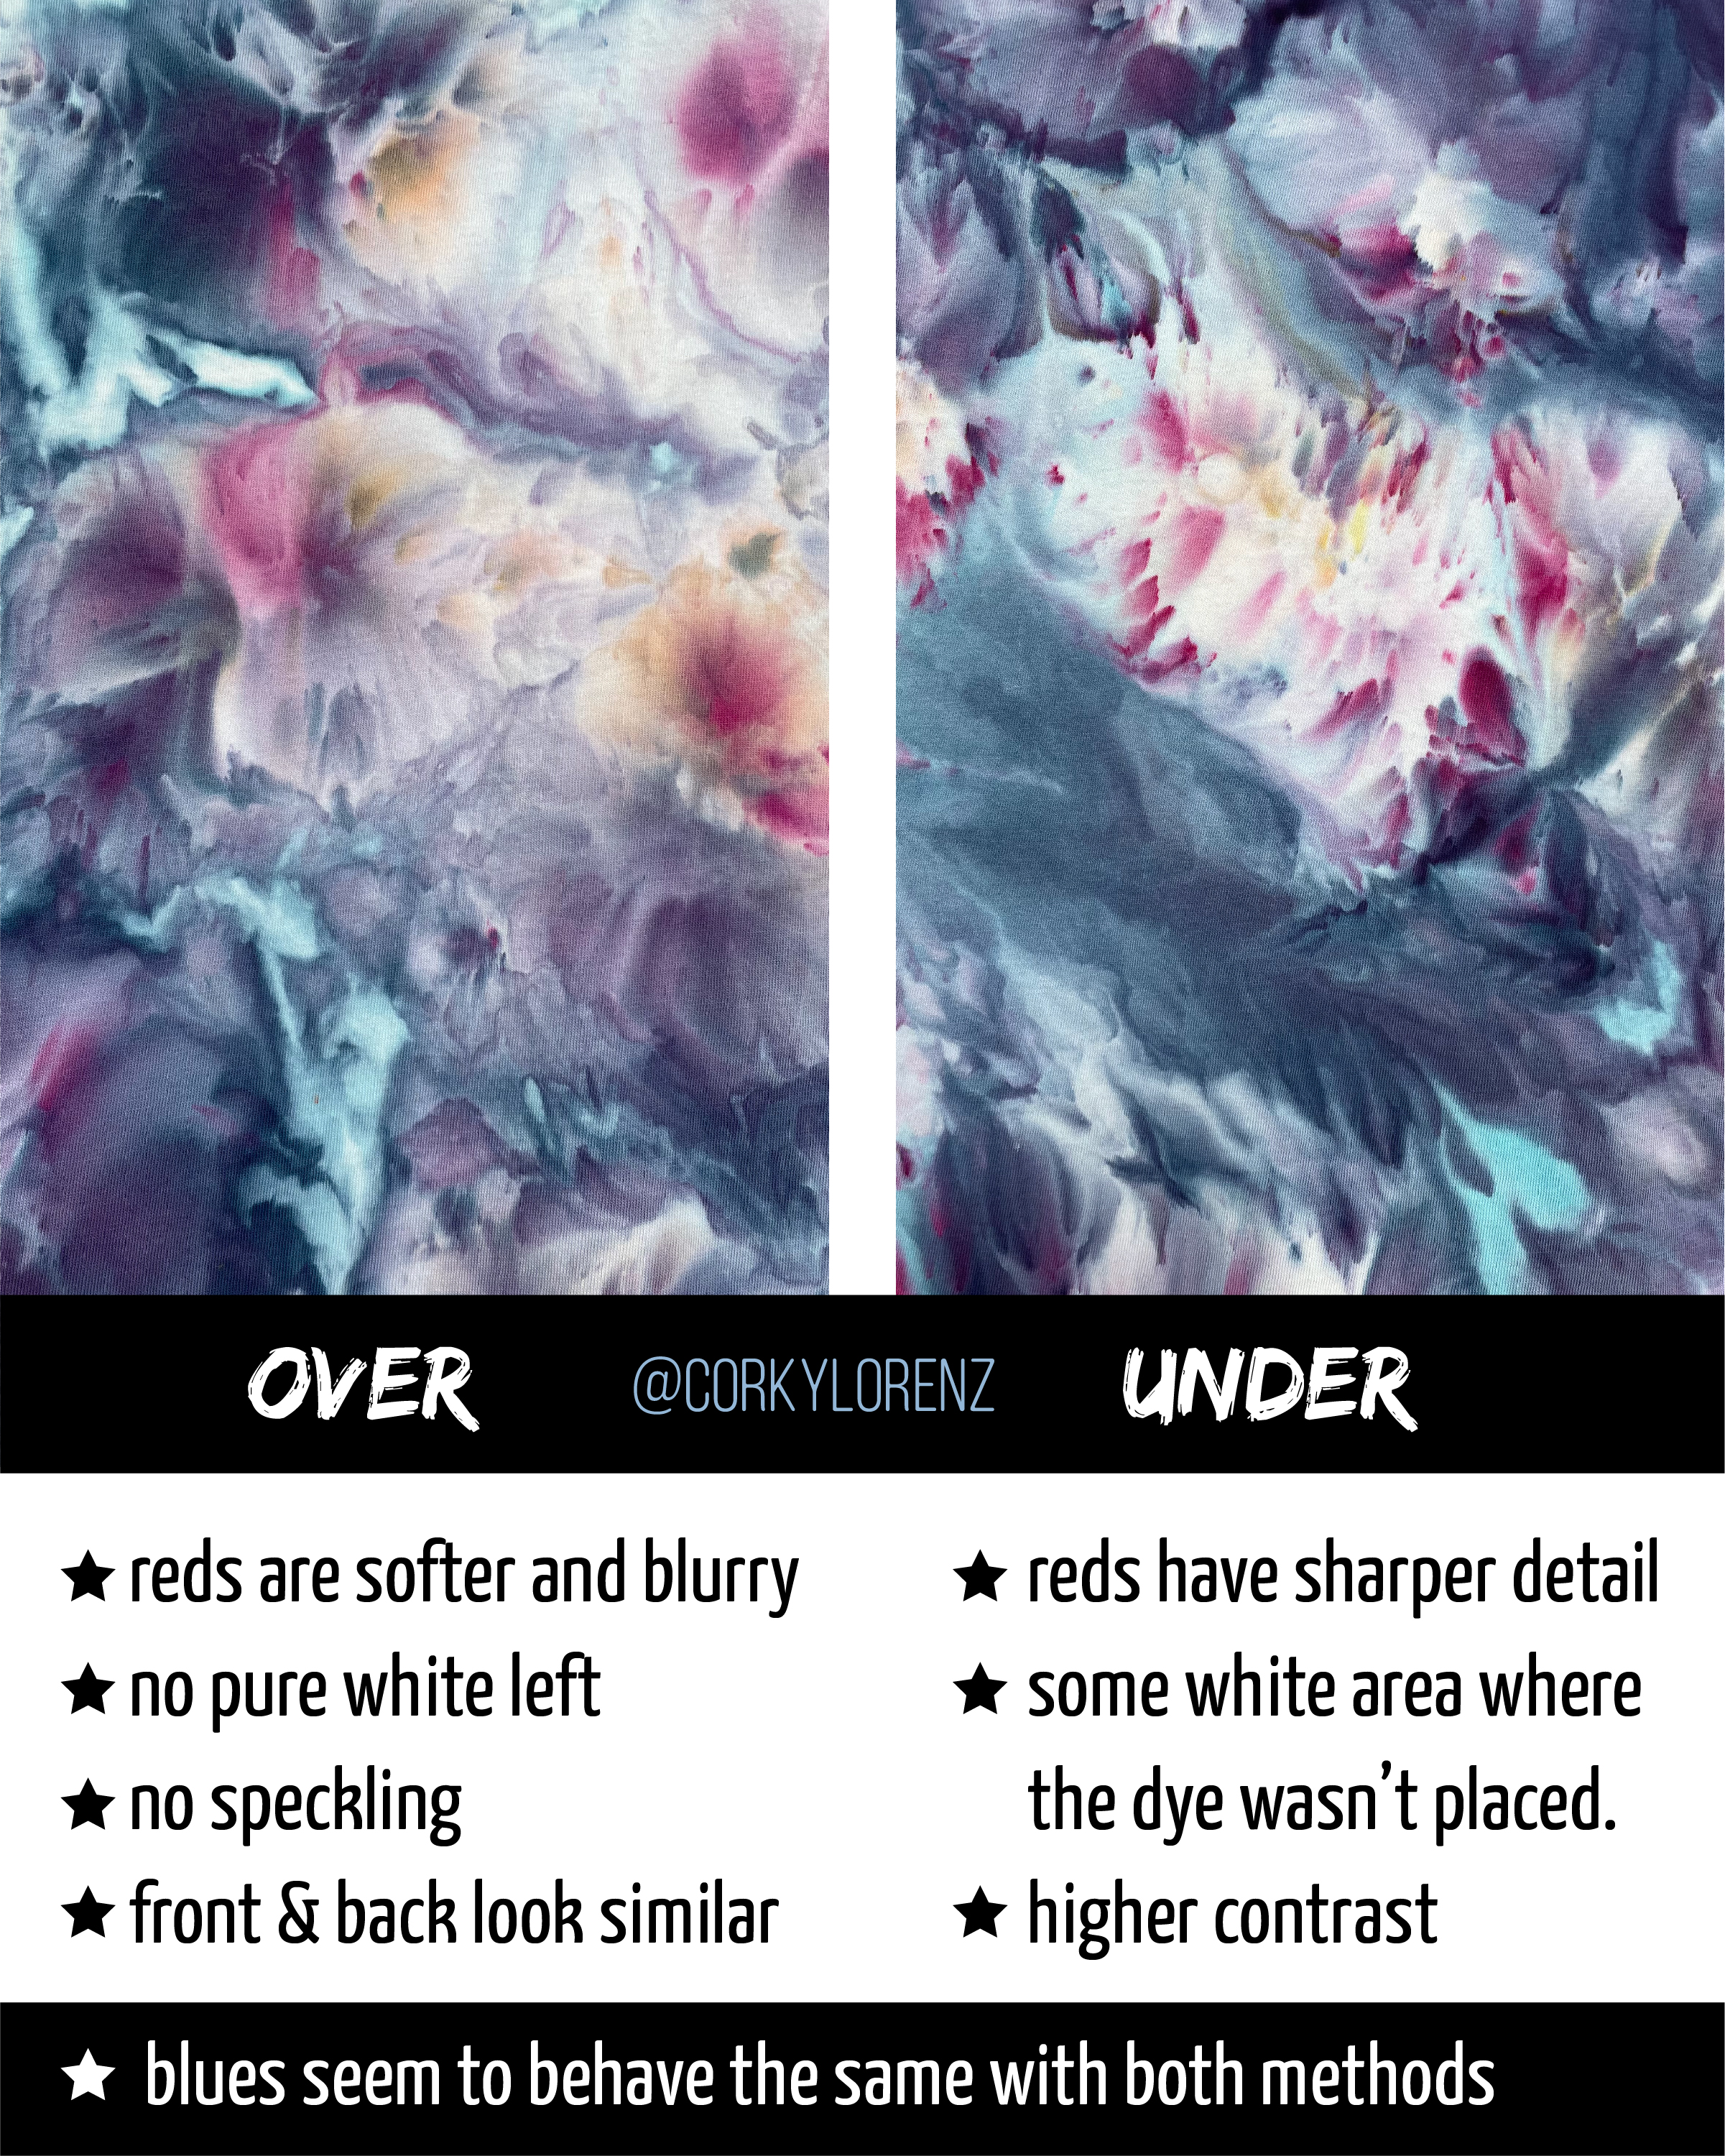
Photos by Corky Lorenz
On a Rack - Just like it sounds, the garments are placed on a rack so the melting water and dye can drip through the fabric. This results in more flow in the split patterns.
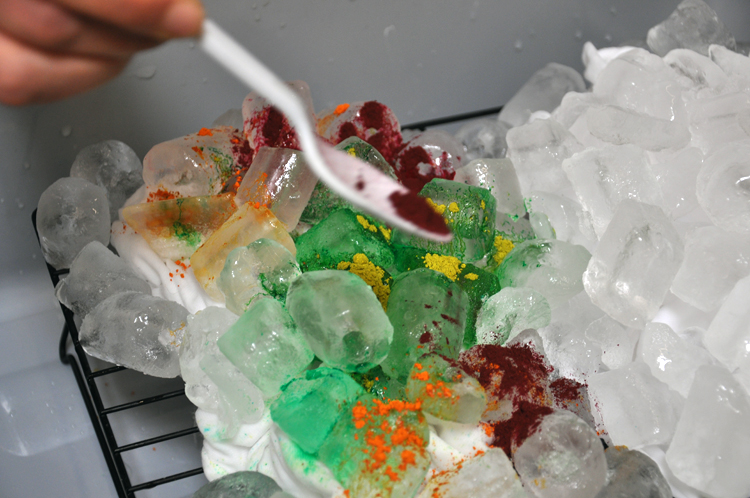
Photo by Elizabeth Holdmann
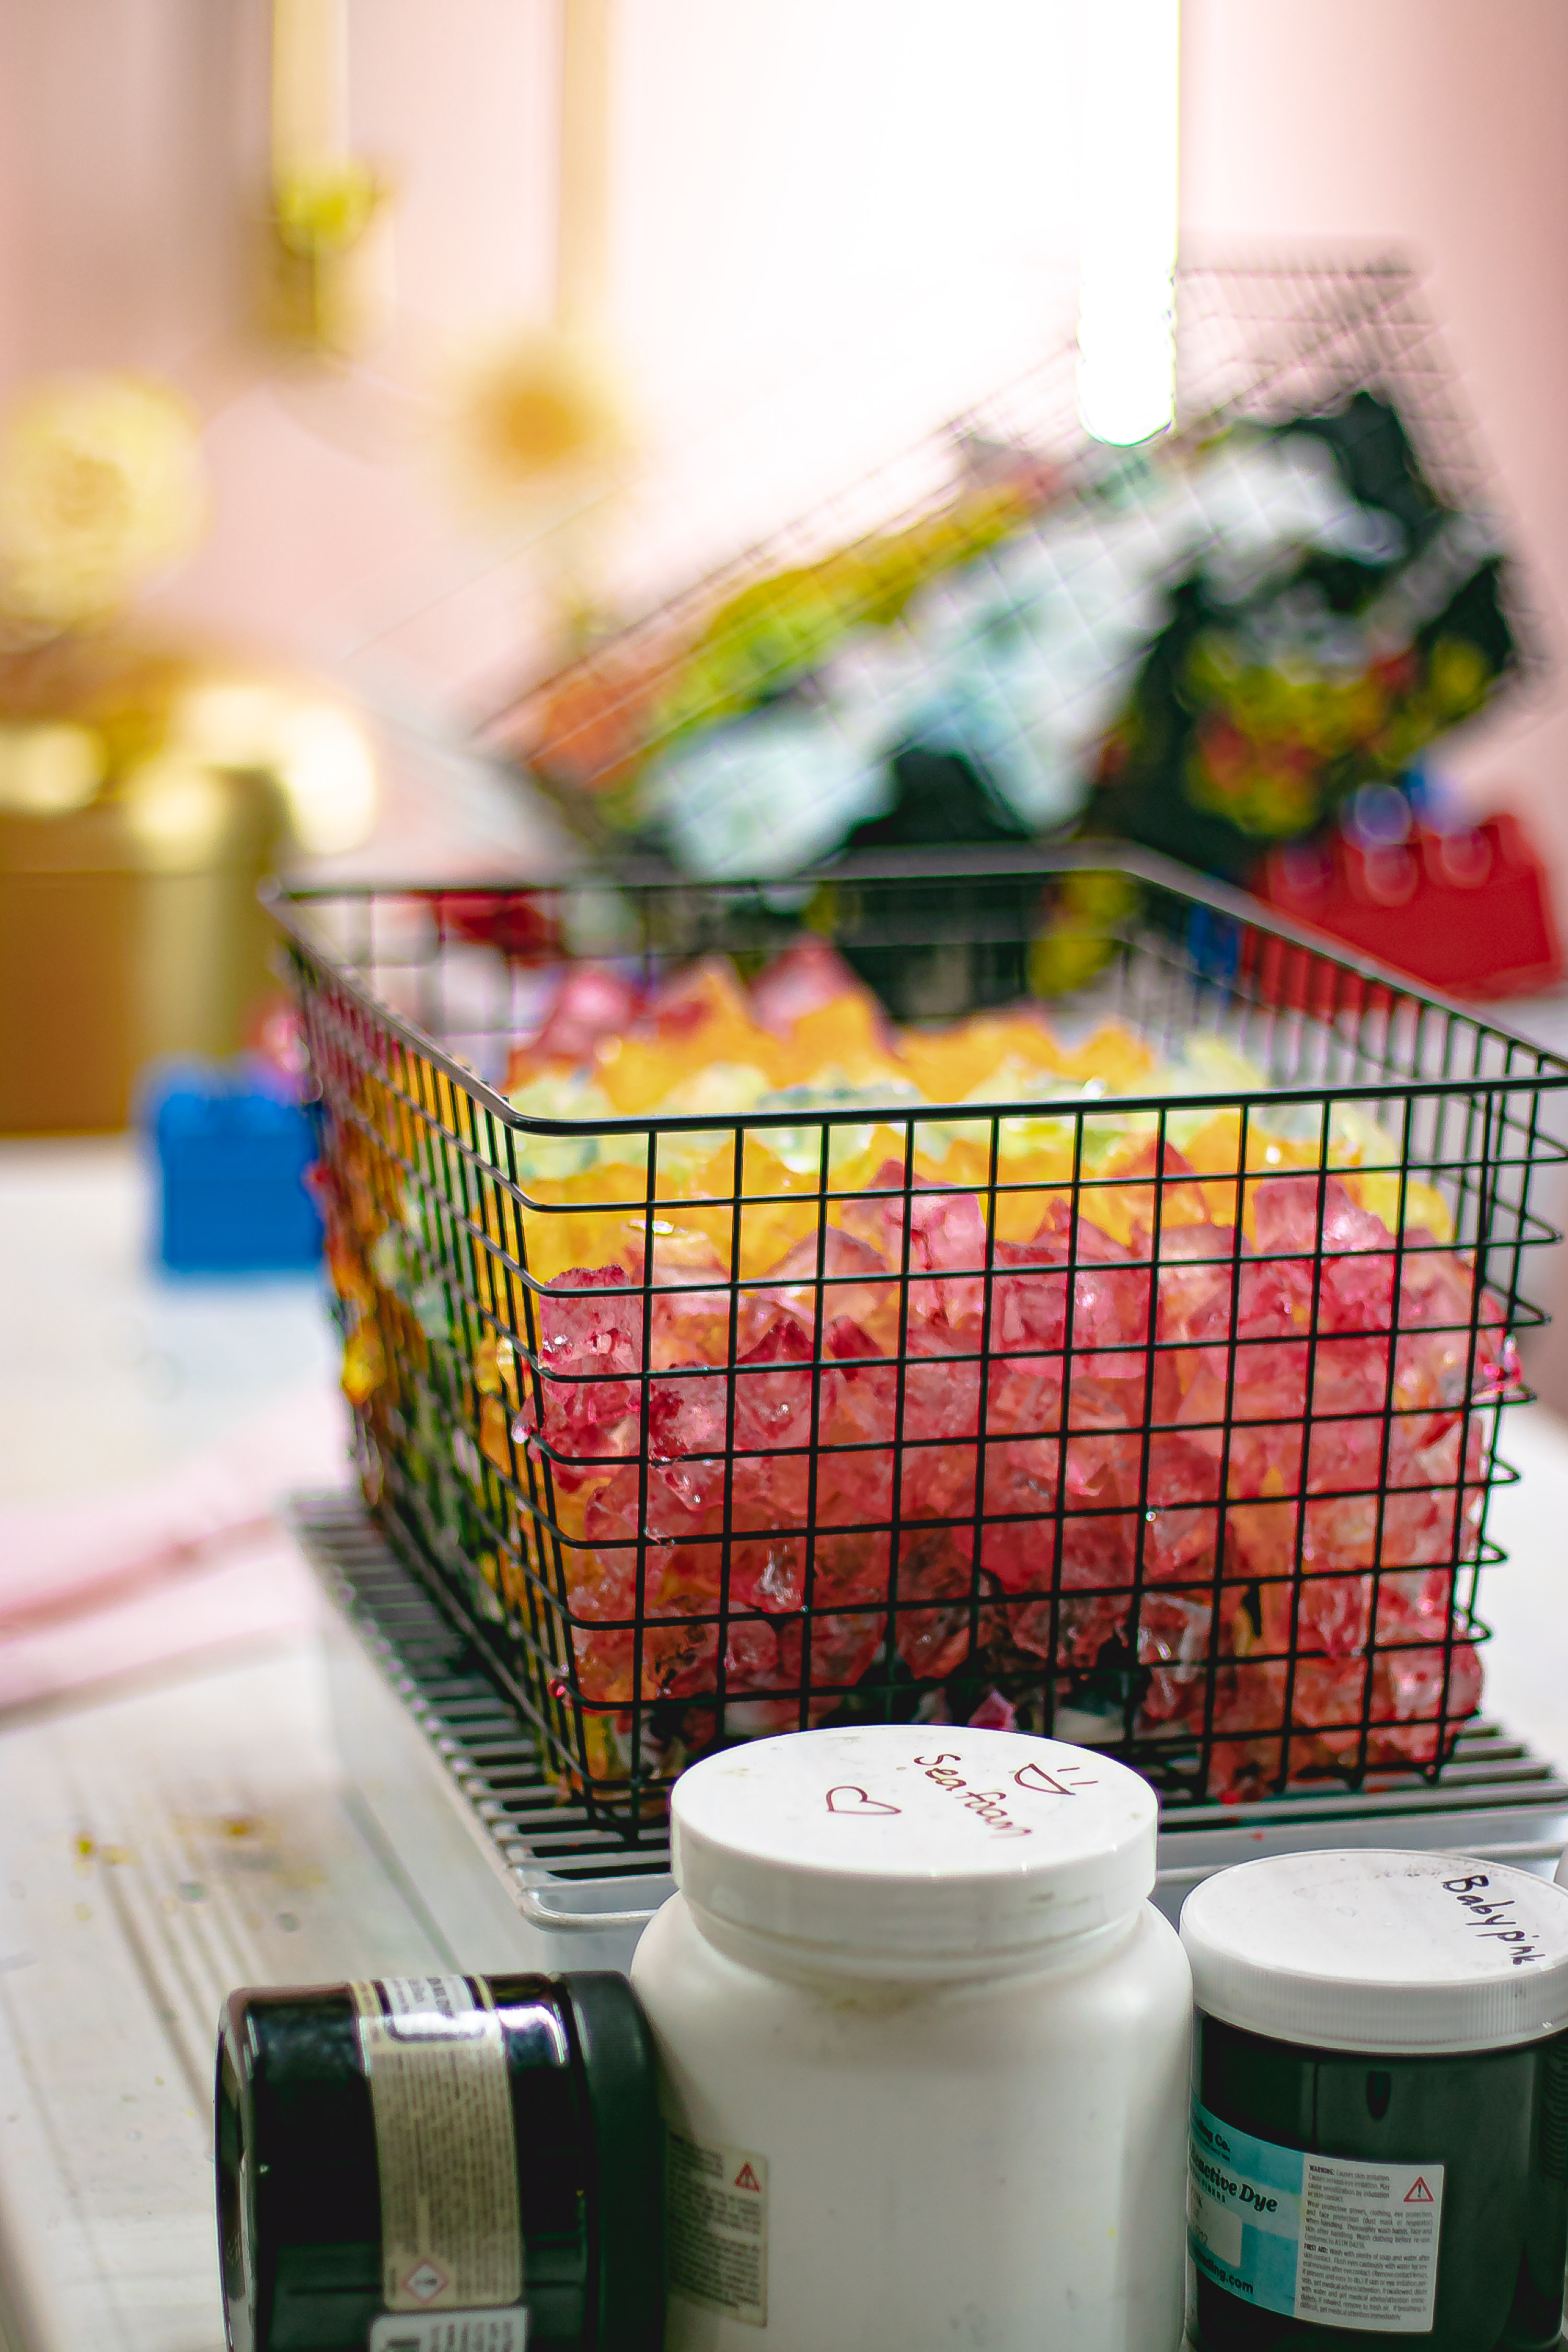
Photo by Corky Lorenz
In the Muck - This process involves dyeing in a container instead of over a rack where the melt water and dye don’t drip away, so once the ice is melted the garment is left to cure sitting “in the muck.” This results in splits that are more crystal wash or low immersion in style.
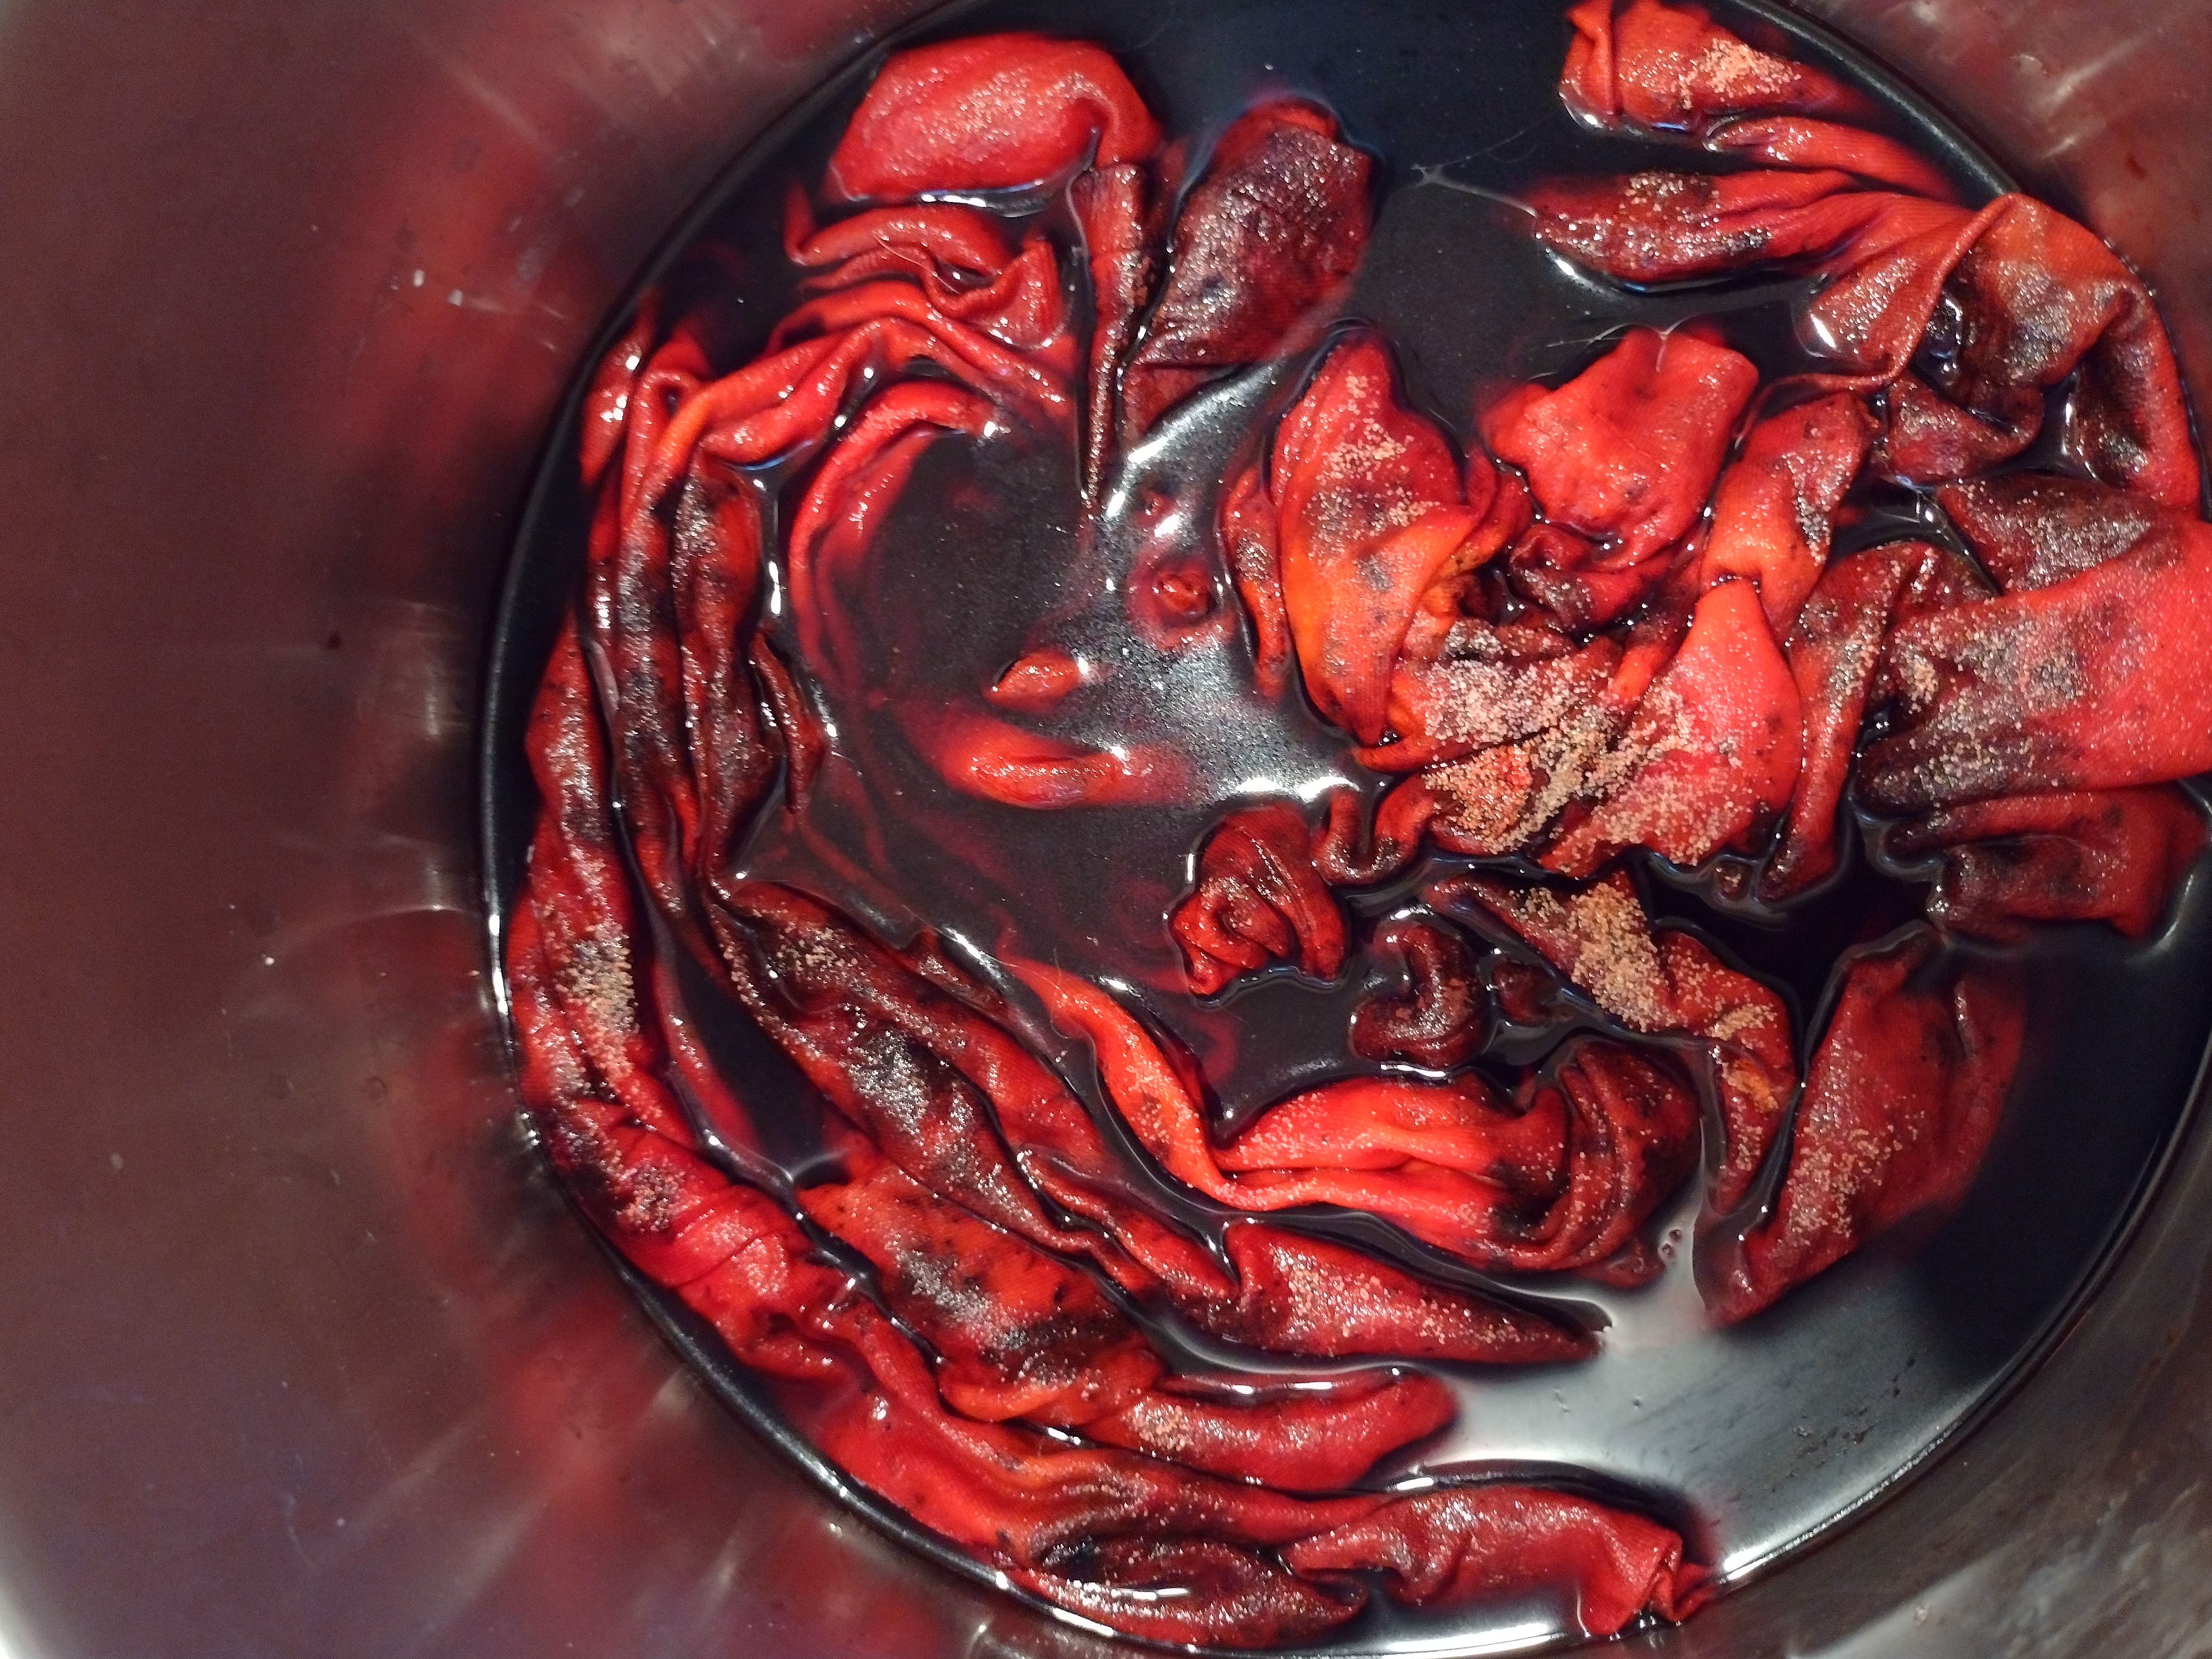
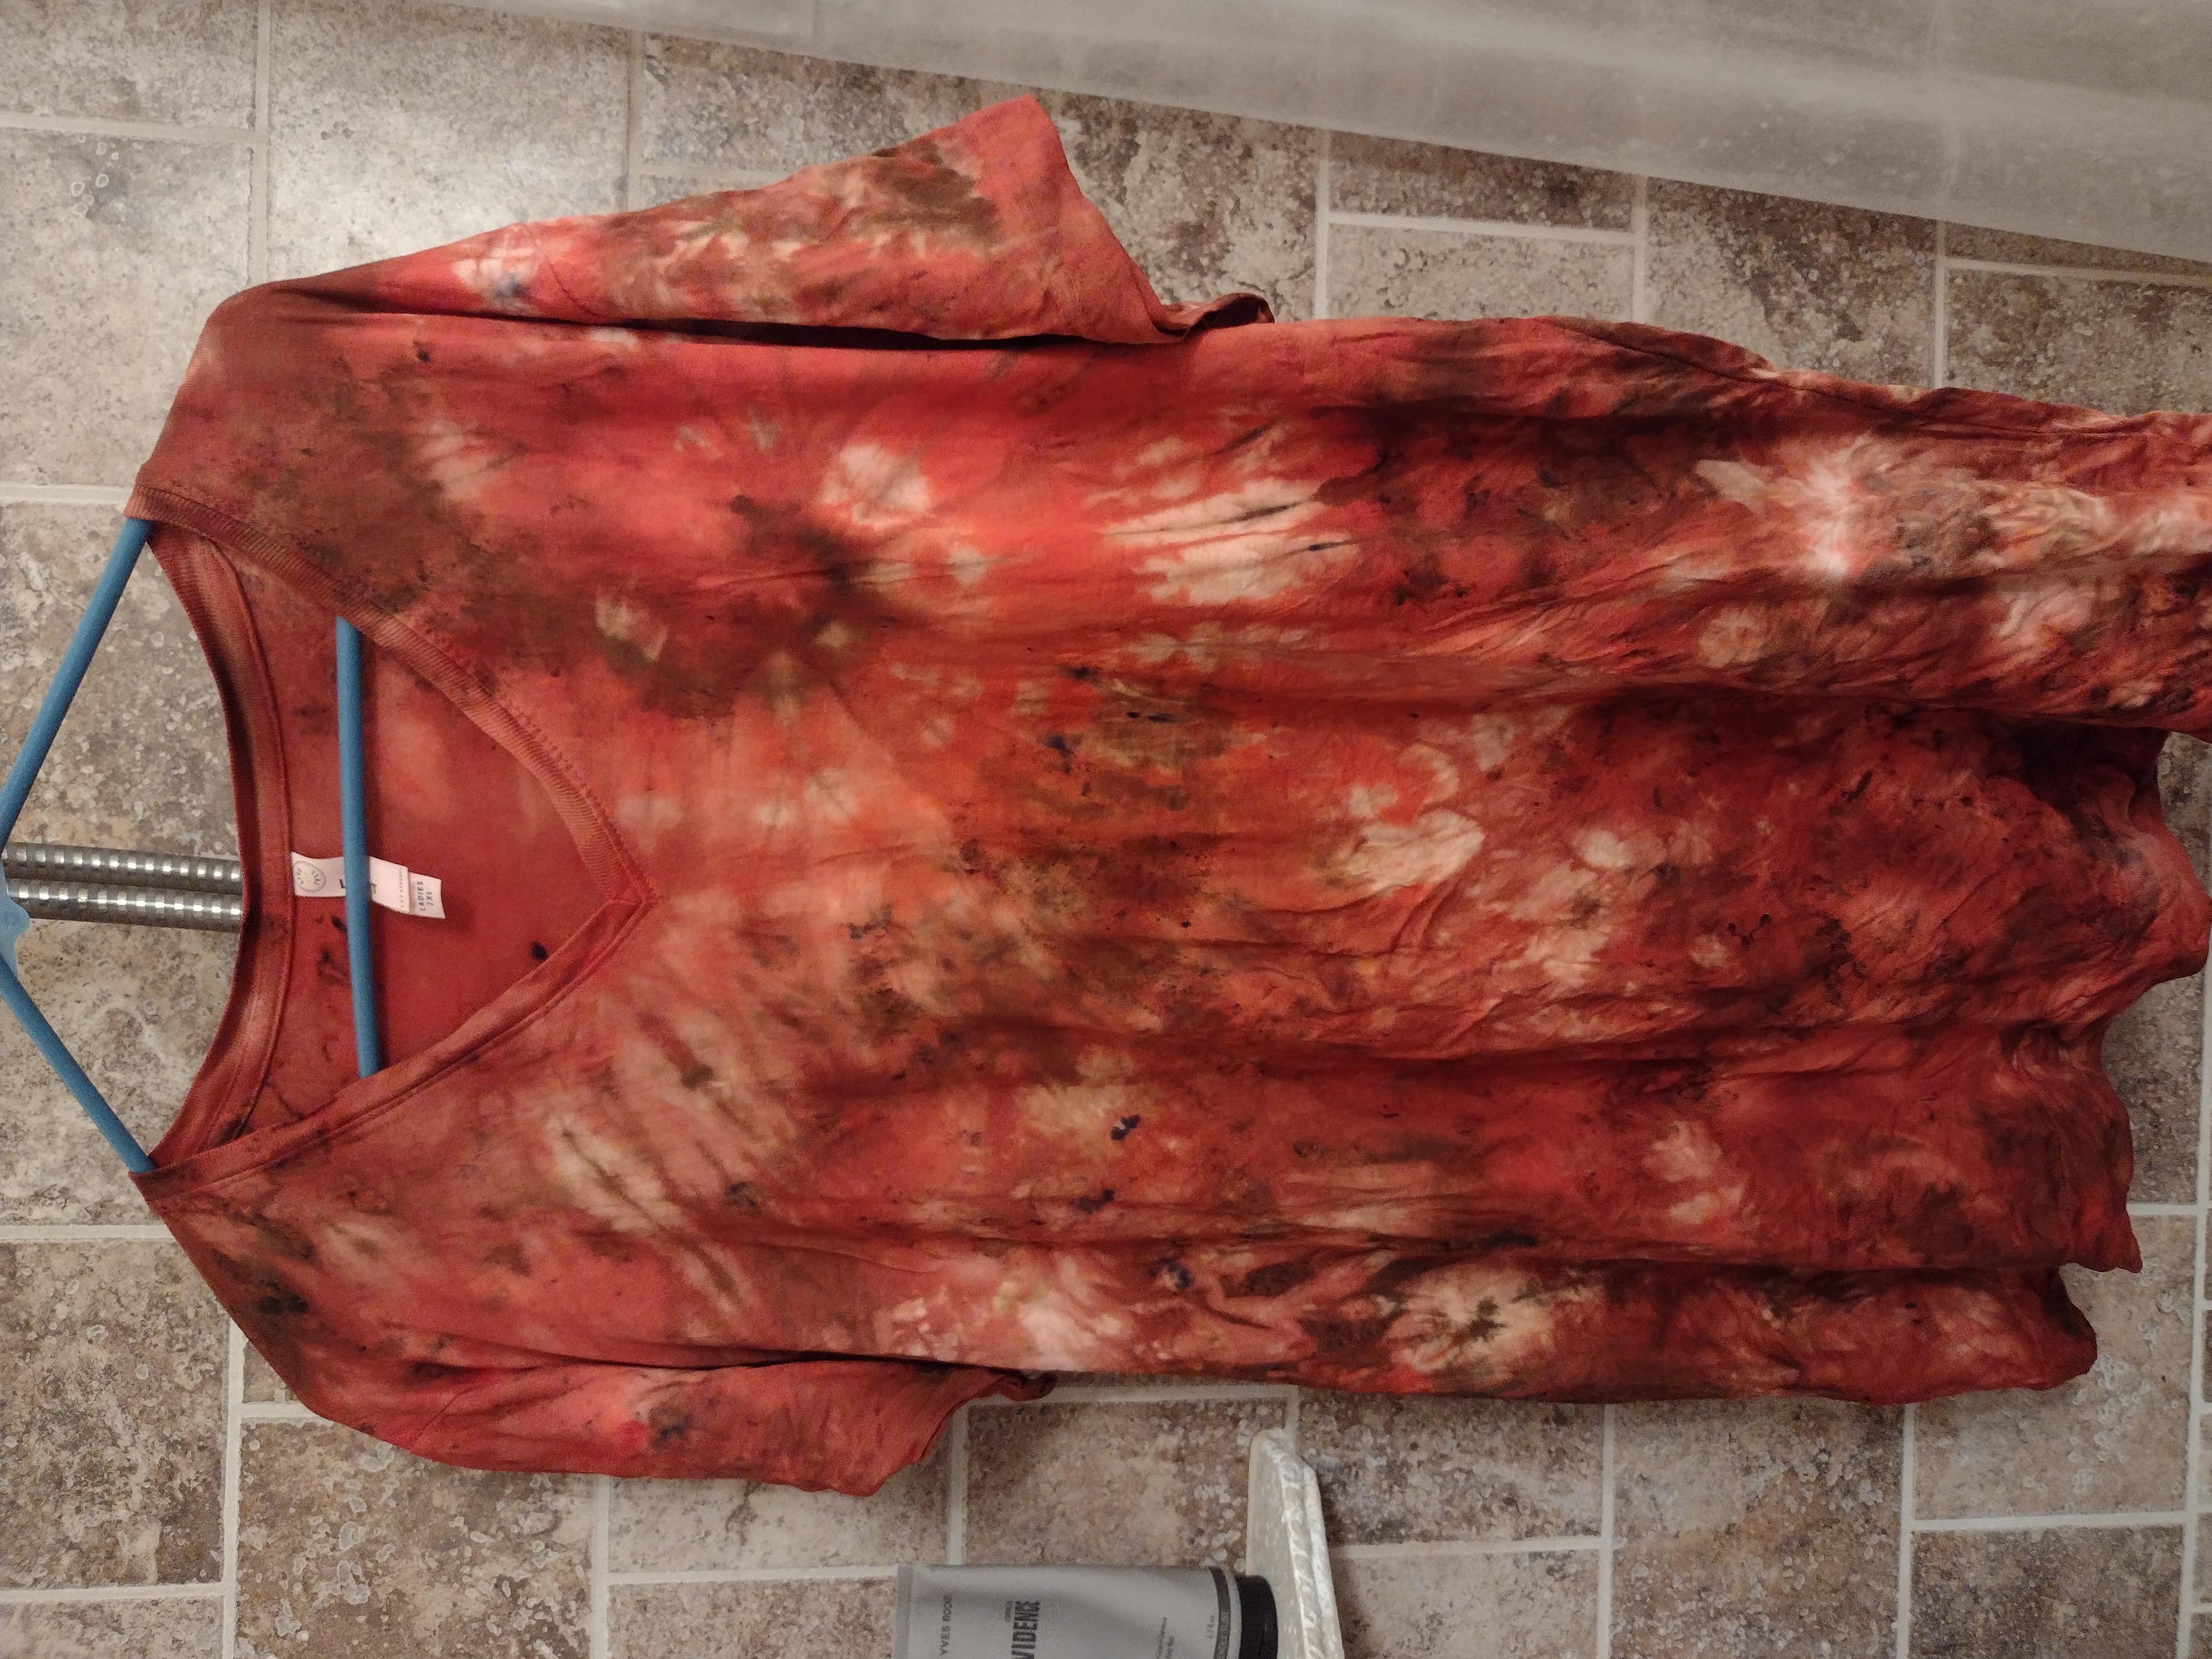
Photos by Carmen L.
Gravity/Incline Ice Dyeing - a variation that utilizes the power of gravitational flow to make dramatic directional flow patterns as the ice melts. There are many jigs and rigs that have been created to hang garments or fabric so that a concentrated application of ice and dye can be applied to a small area, but gravity pulls the color through the fabric as the ice melts creating the dramatic flows and color splits. It is done both DOI and DUI.


Photos by Elizabeth Holdmann
The Blanket Method - A piece of polyester fleece fabric is put under the garment/fabric so that when it is scrunched, larger and deeper folds are created. This allows for more dramatic flow patterns across the fabric. It is done for both DOI and DUI.
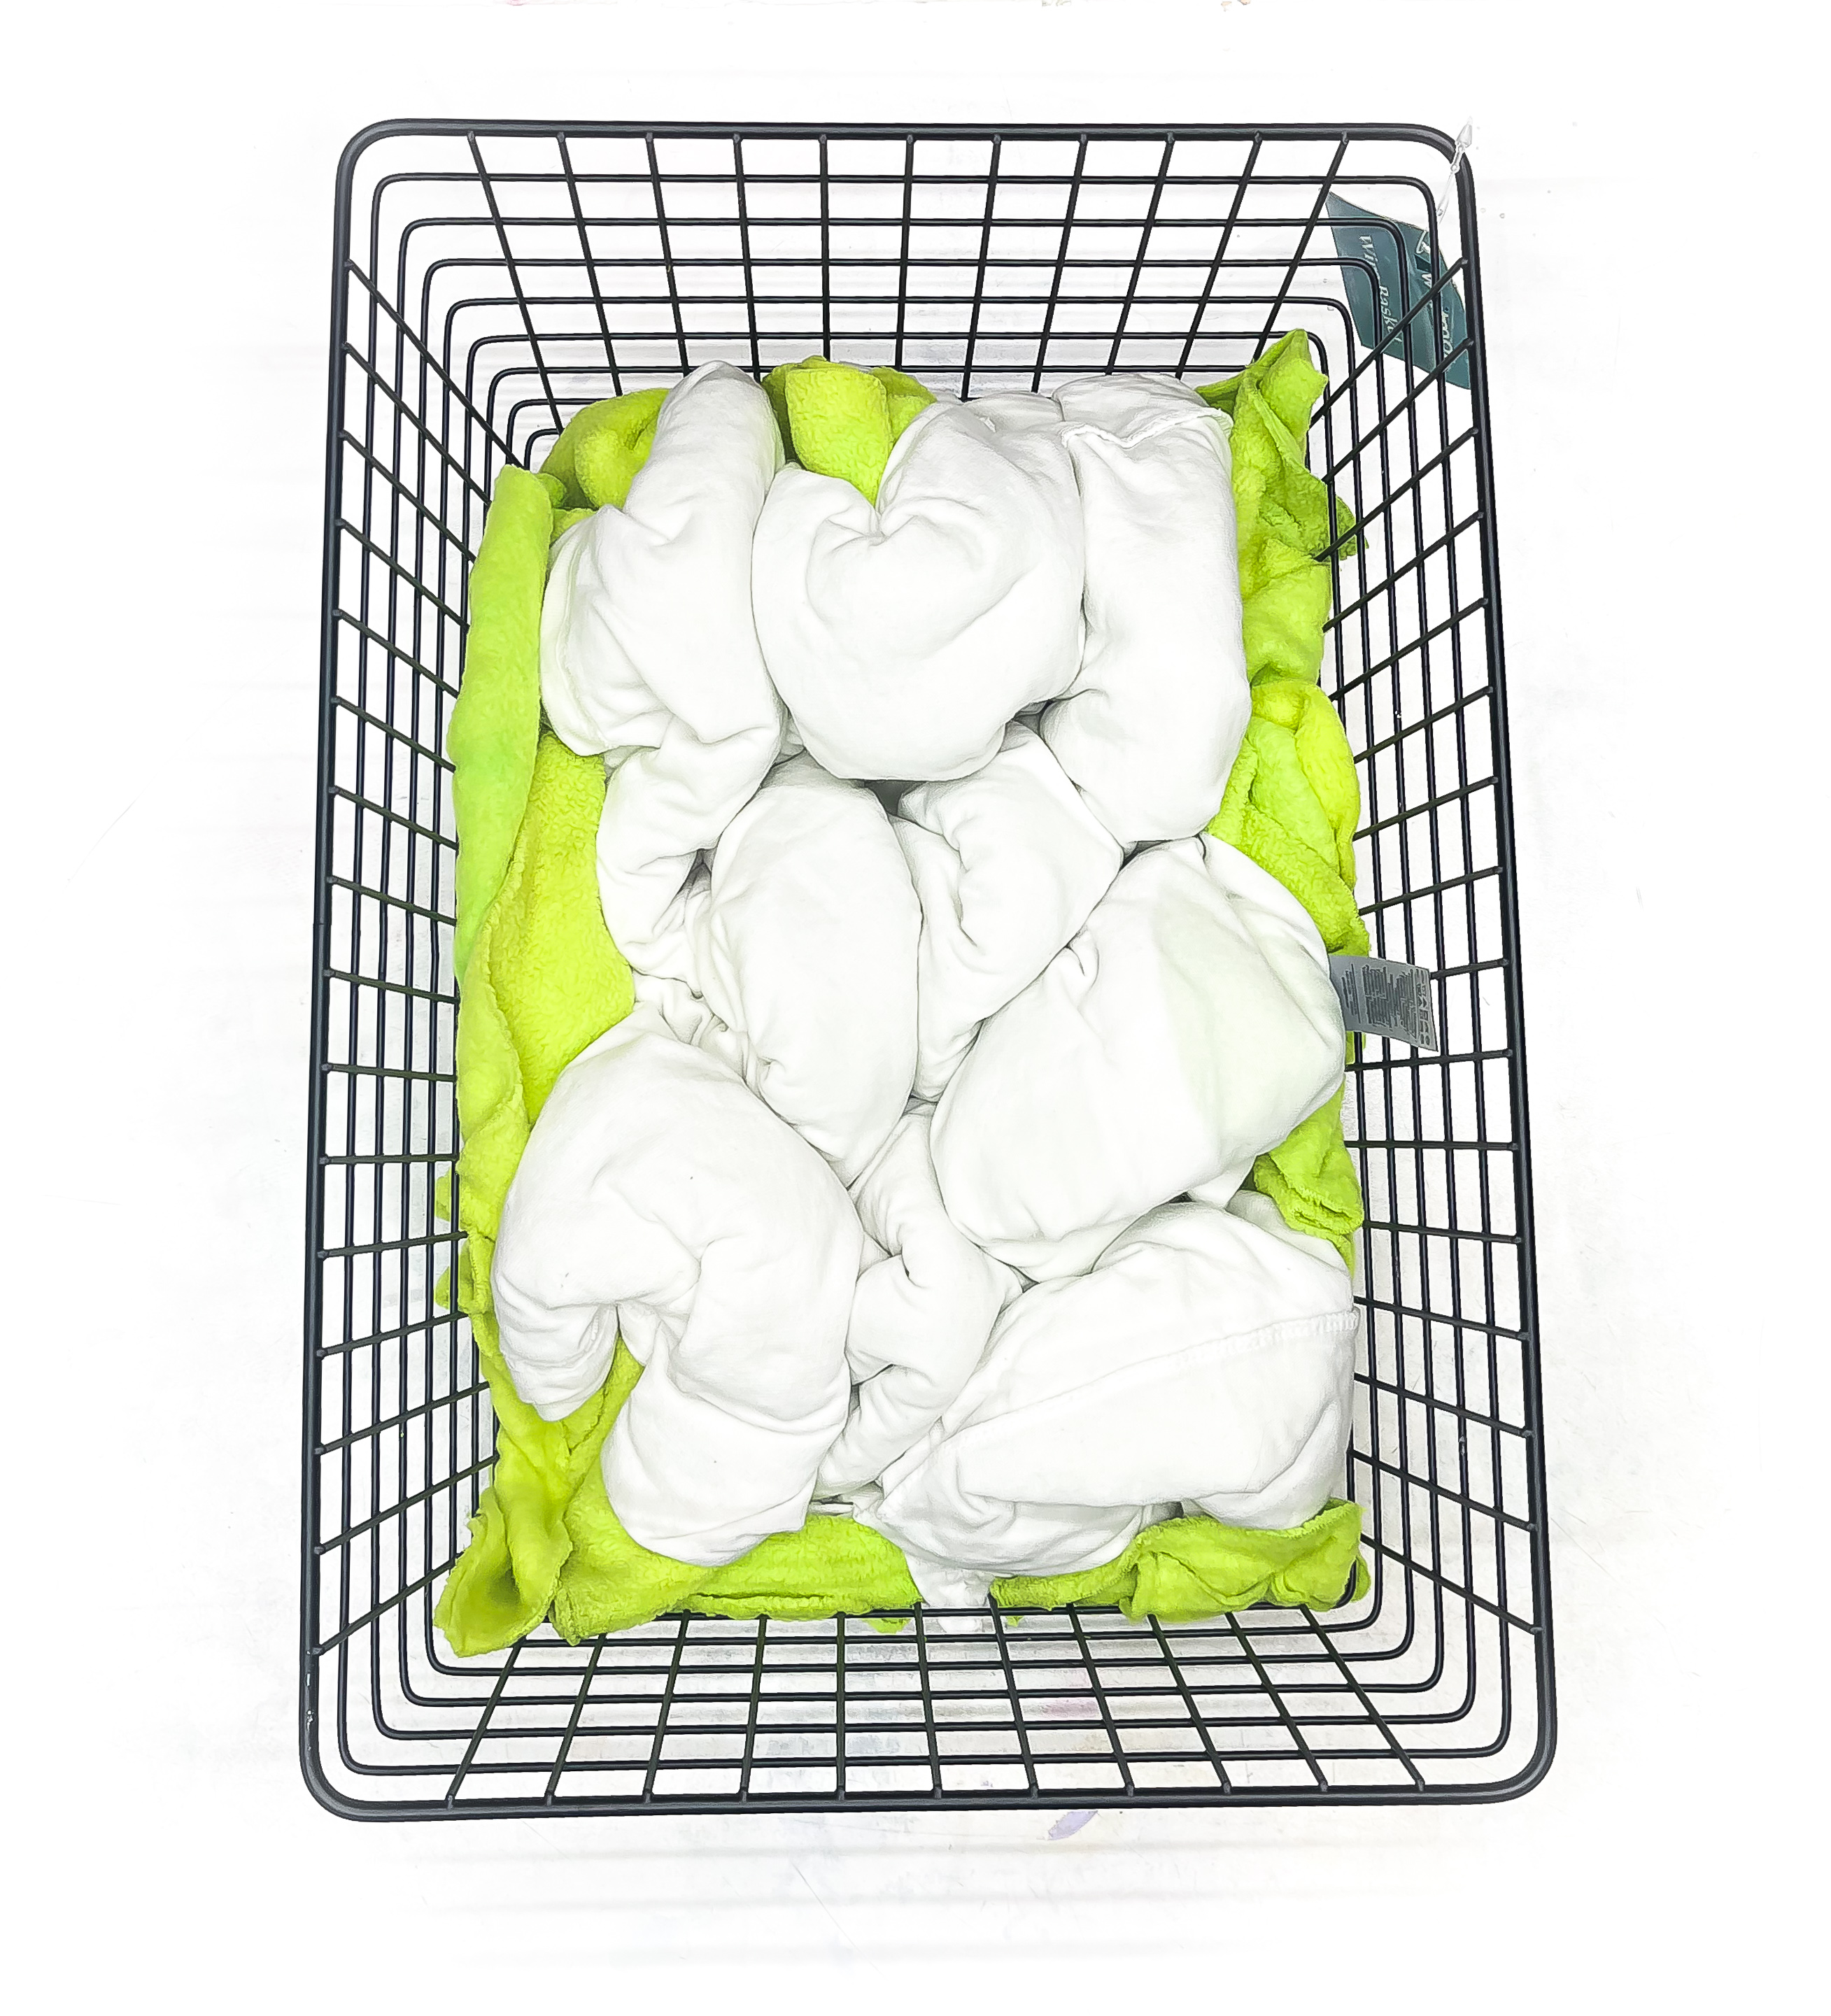
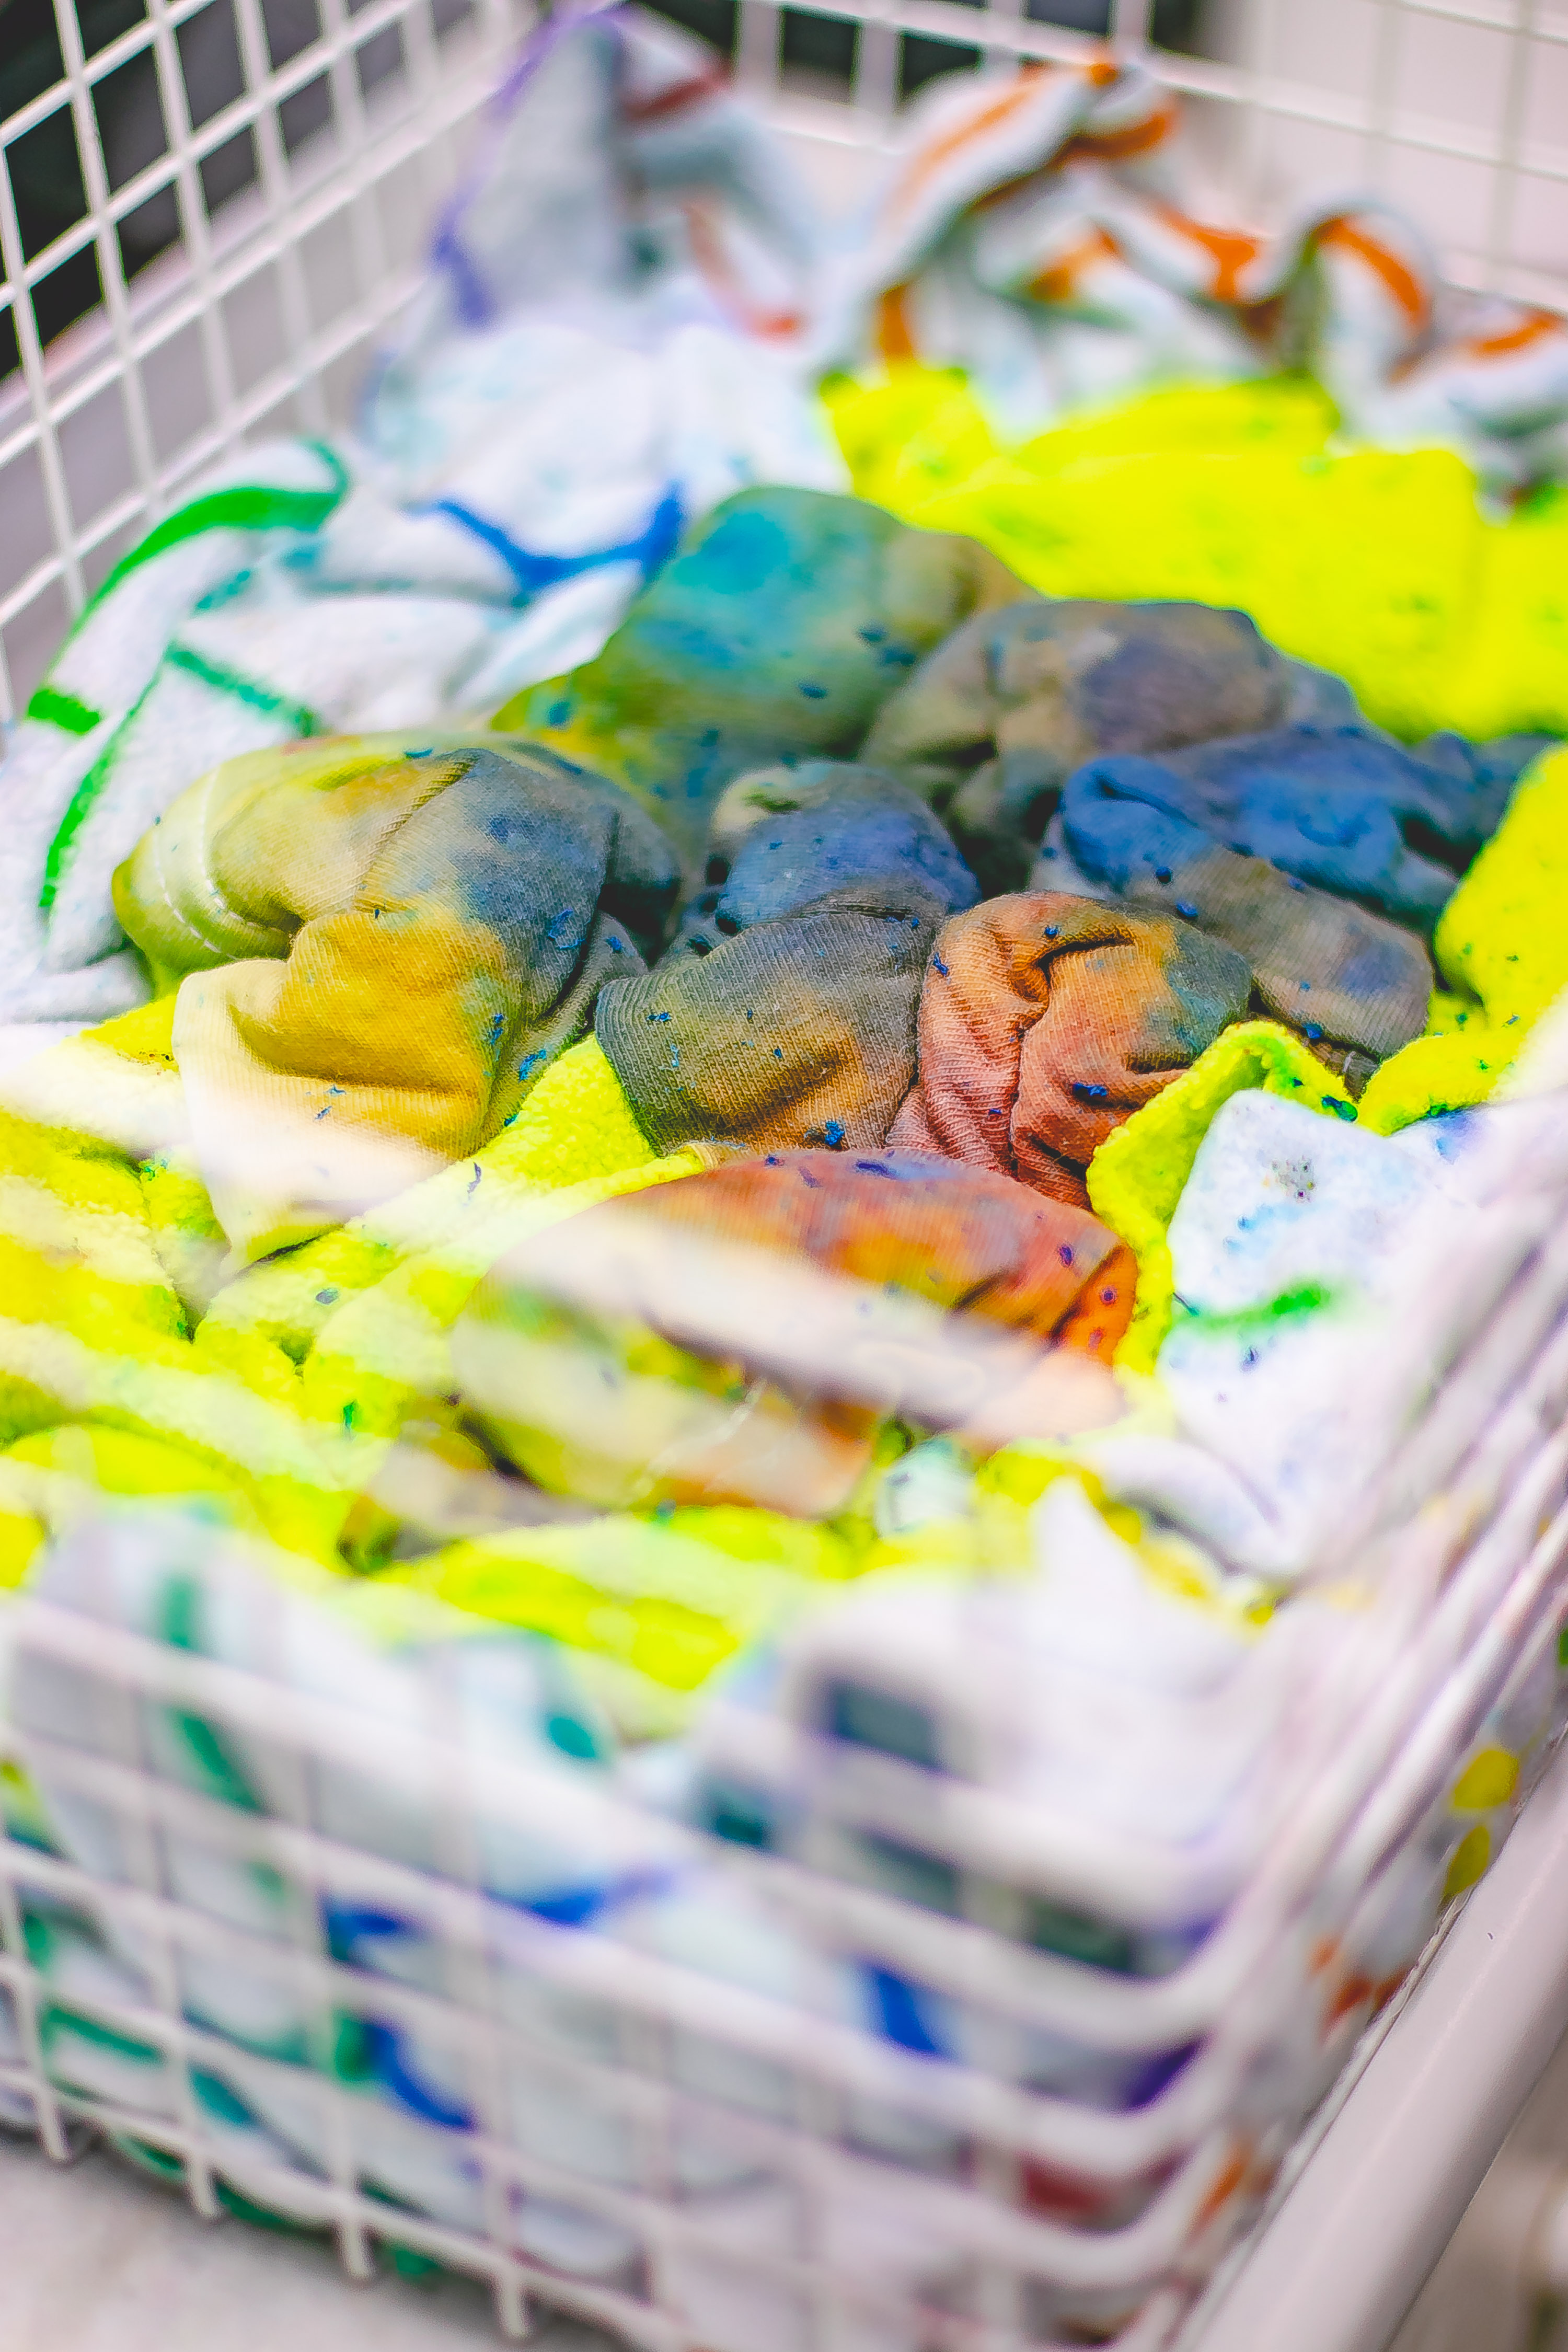
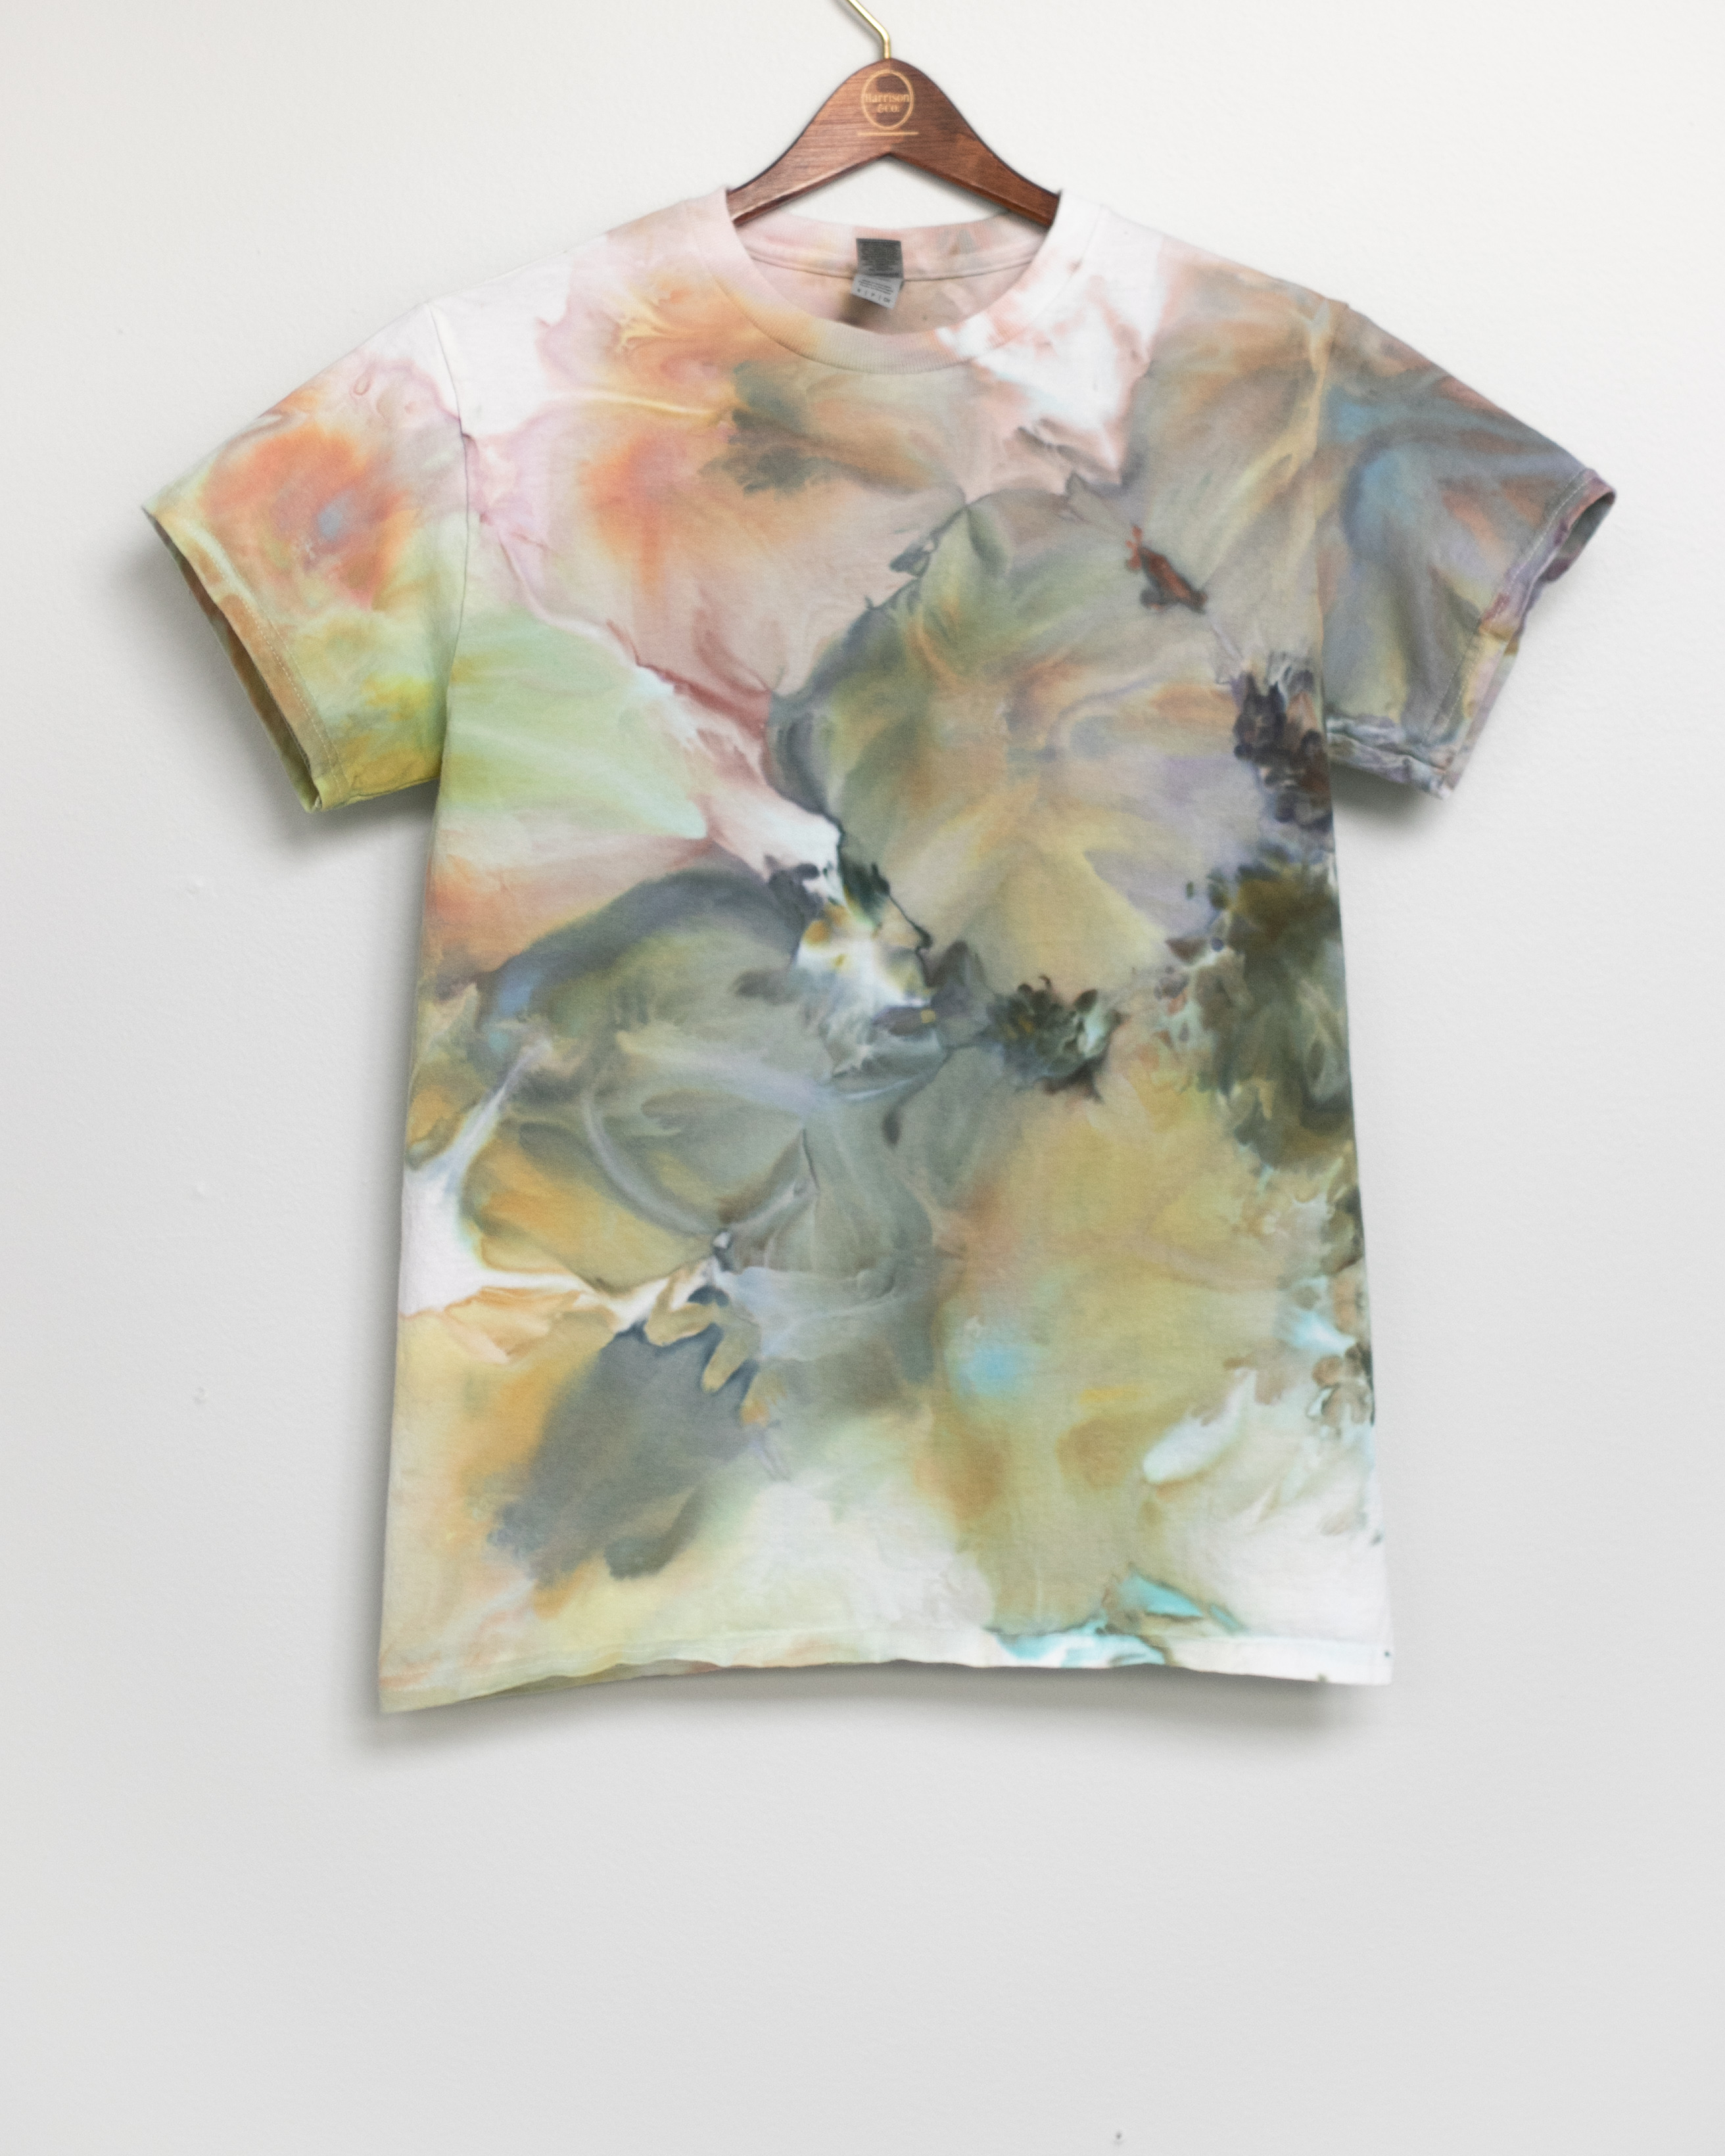
Photos by Corky Lorenz
The Colander Method - Ice and dye in a colander on top of the material. Material spiraled over an upside-down colander with ice and dye right on the material. This was an early version/take on gravity dyeing. It is done for both DOI and DUI.
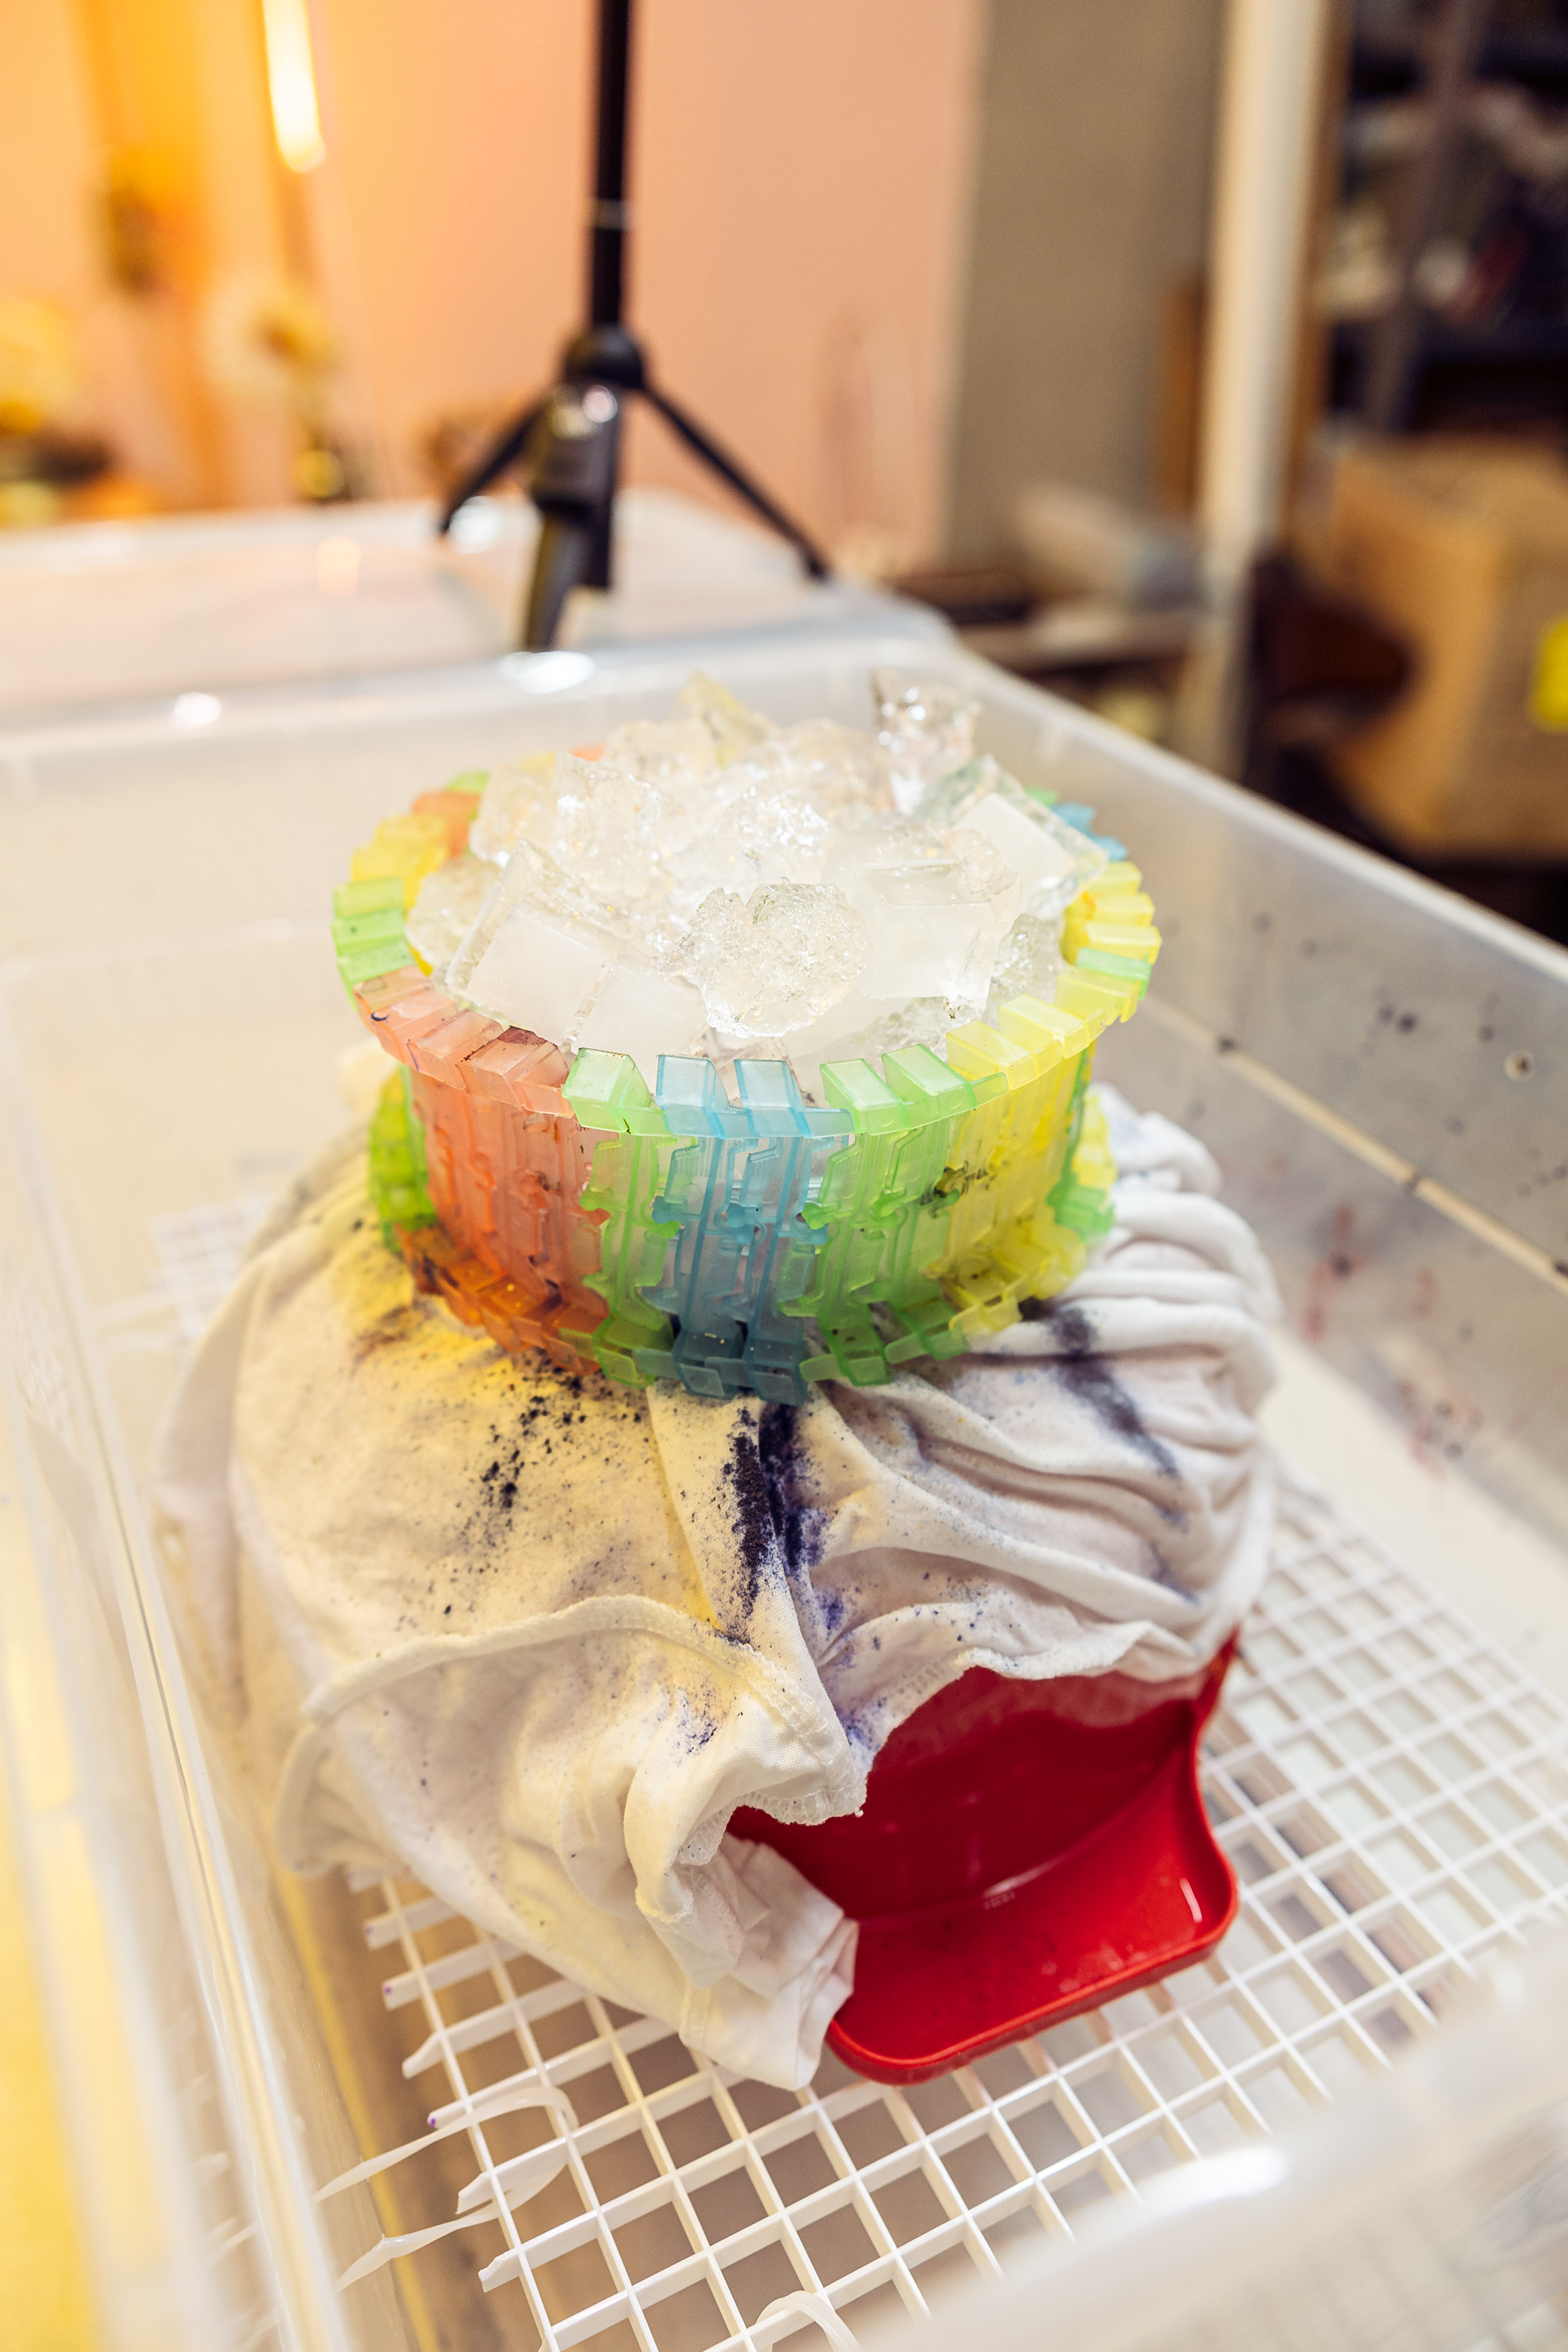
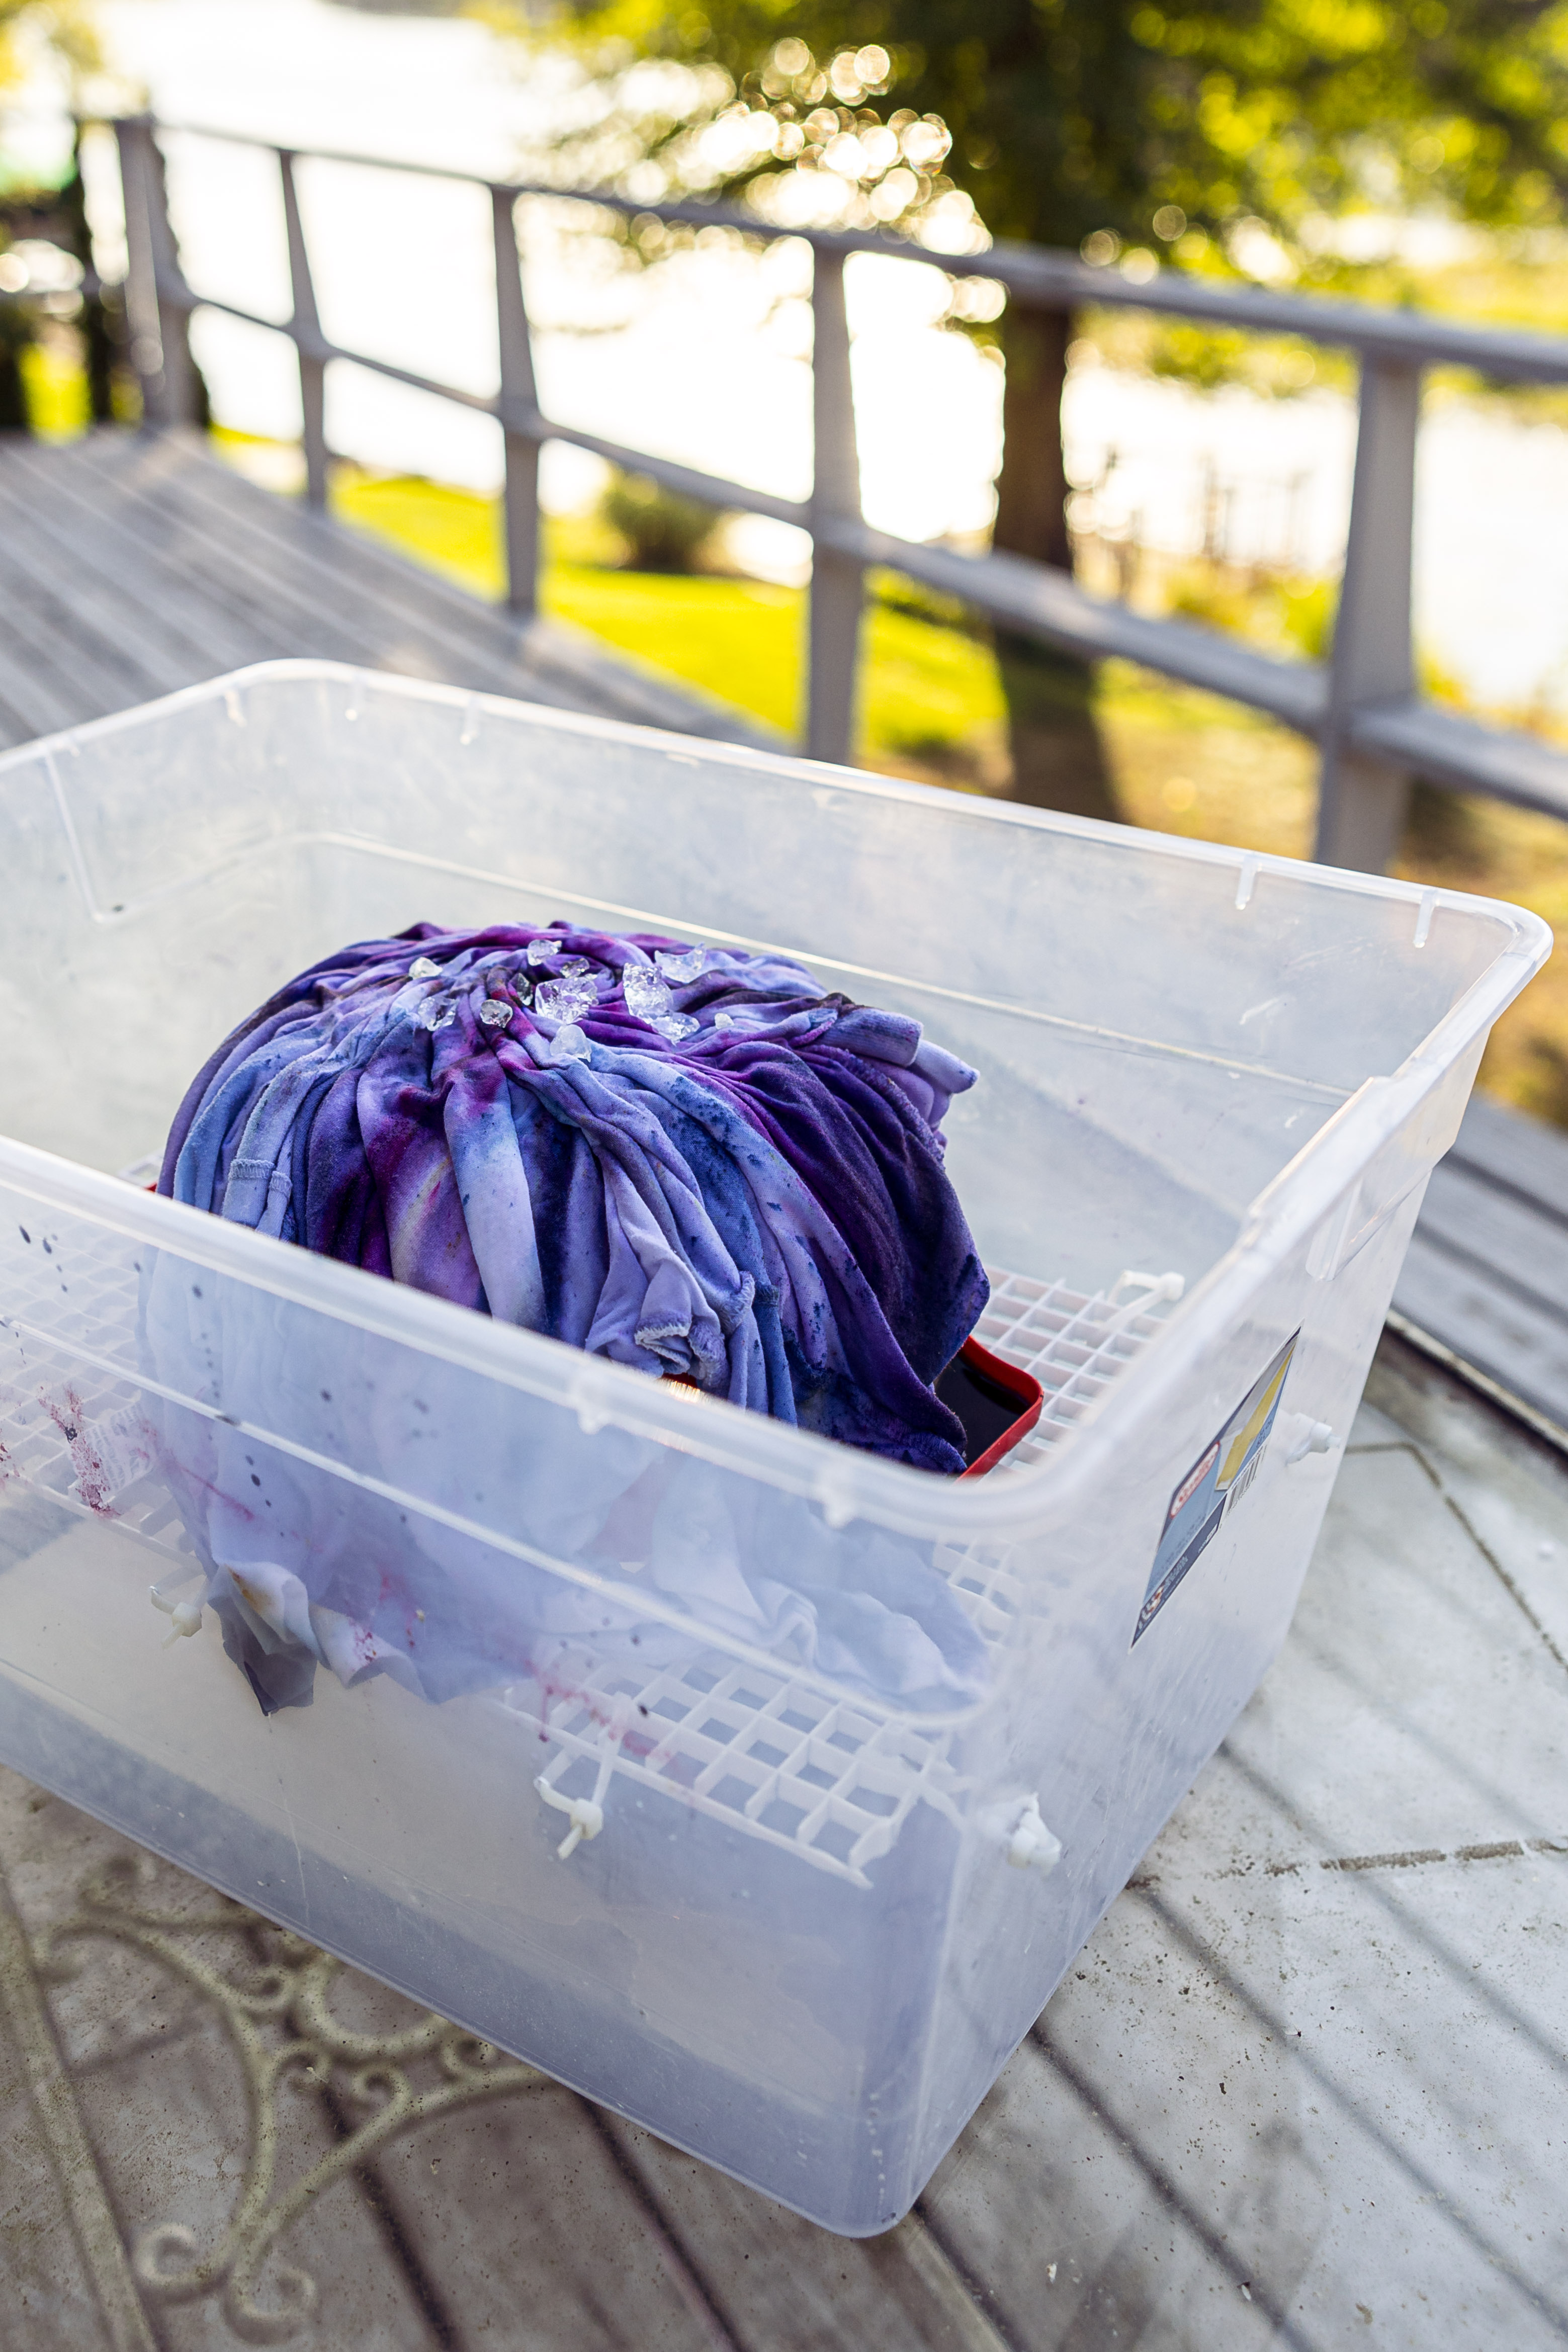
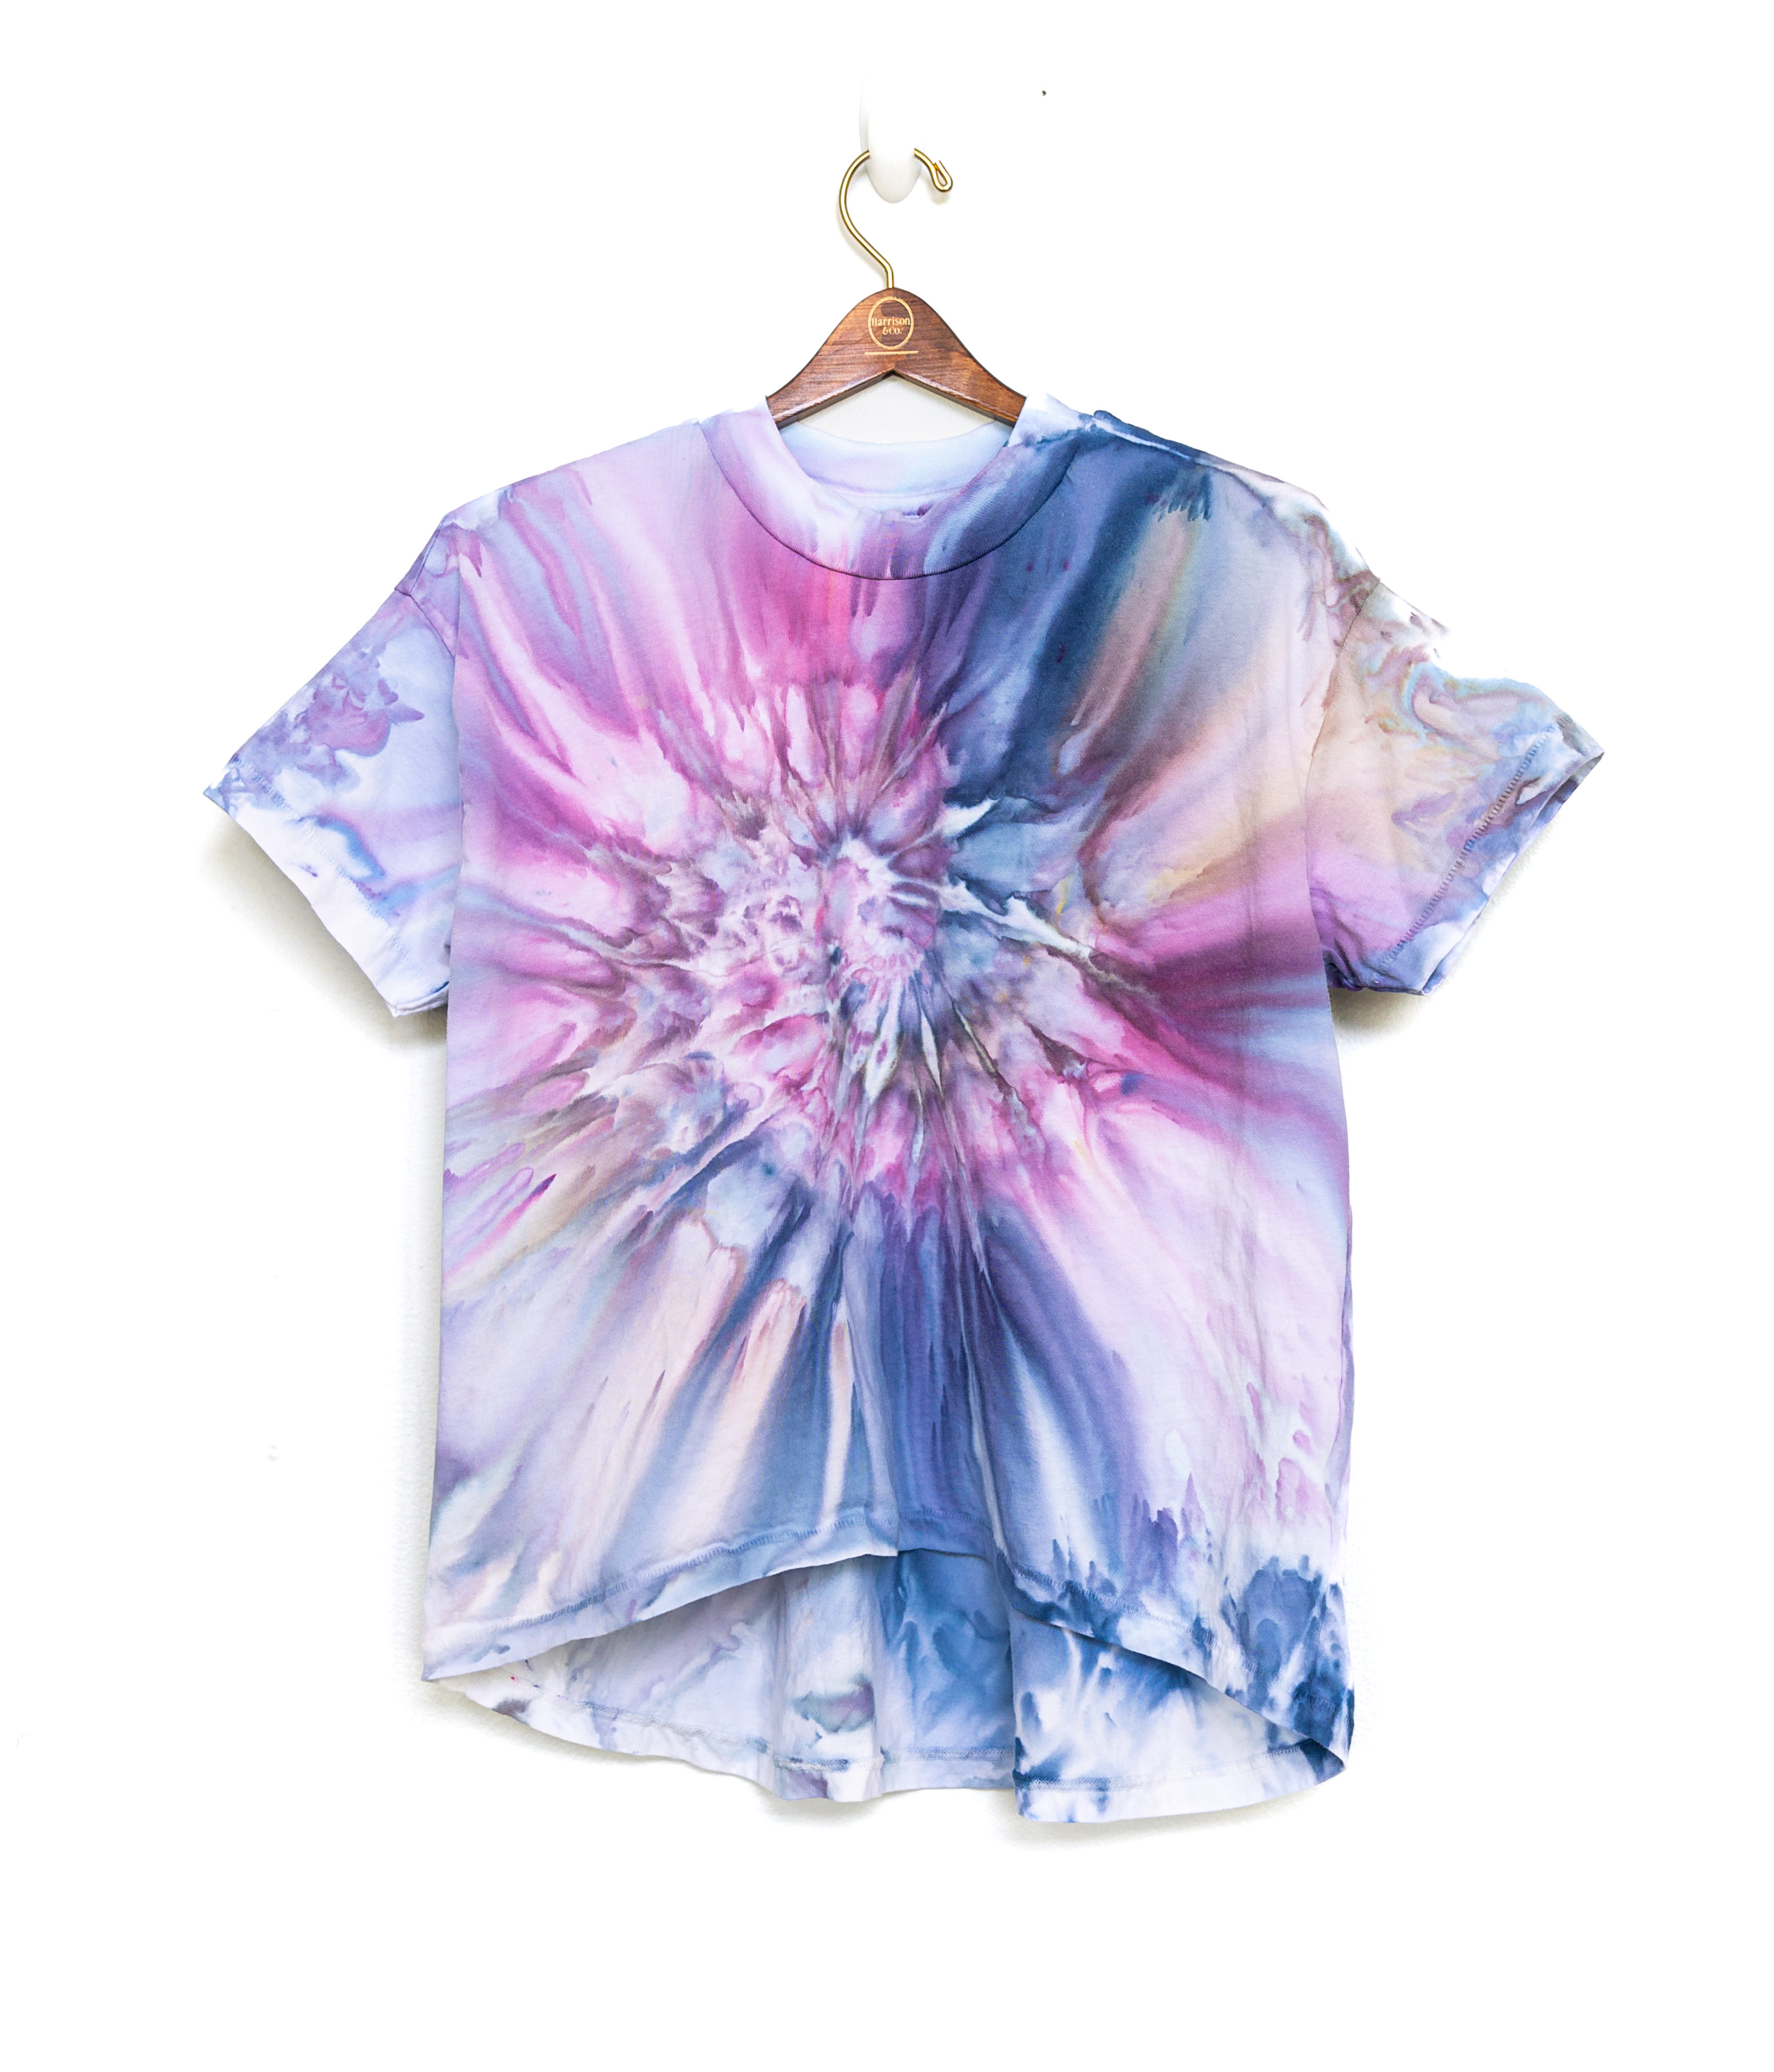
Photos by Corky Lorenz
Soda Ash Pre-Soak or Sprinkle it on? Fixing Fiber Reactive Dyes requires soda ash, but how and when you apply it can also affect the final look of your garment. Doing a pre-soak will result in a lot more water in the garment even before the ice melts, while if you sprinkle it on over the ice you can start with a pre-washed but dry garment. The dye will spread and split more in a pre-soaked garment.
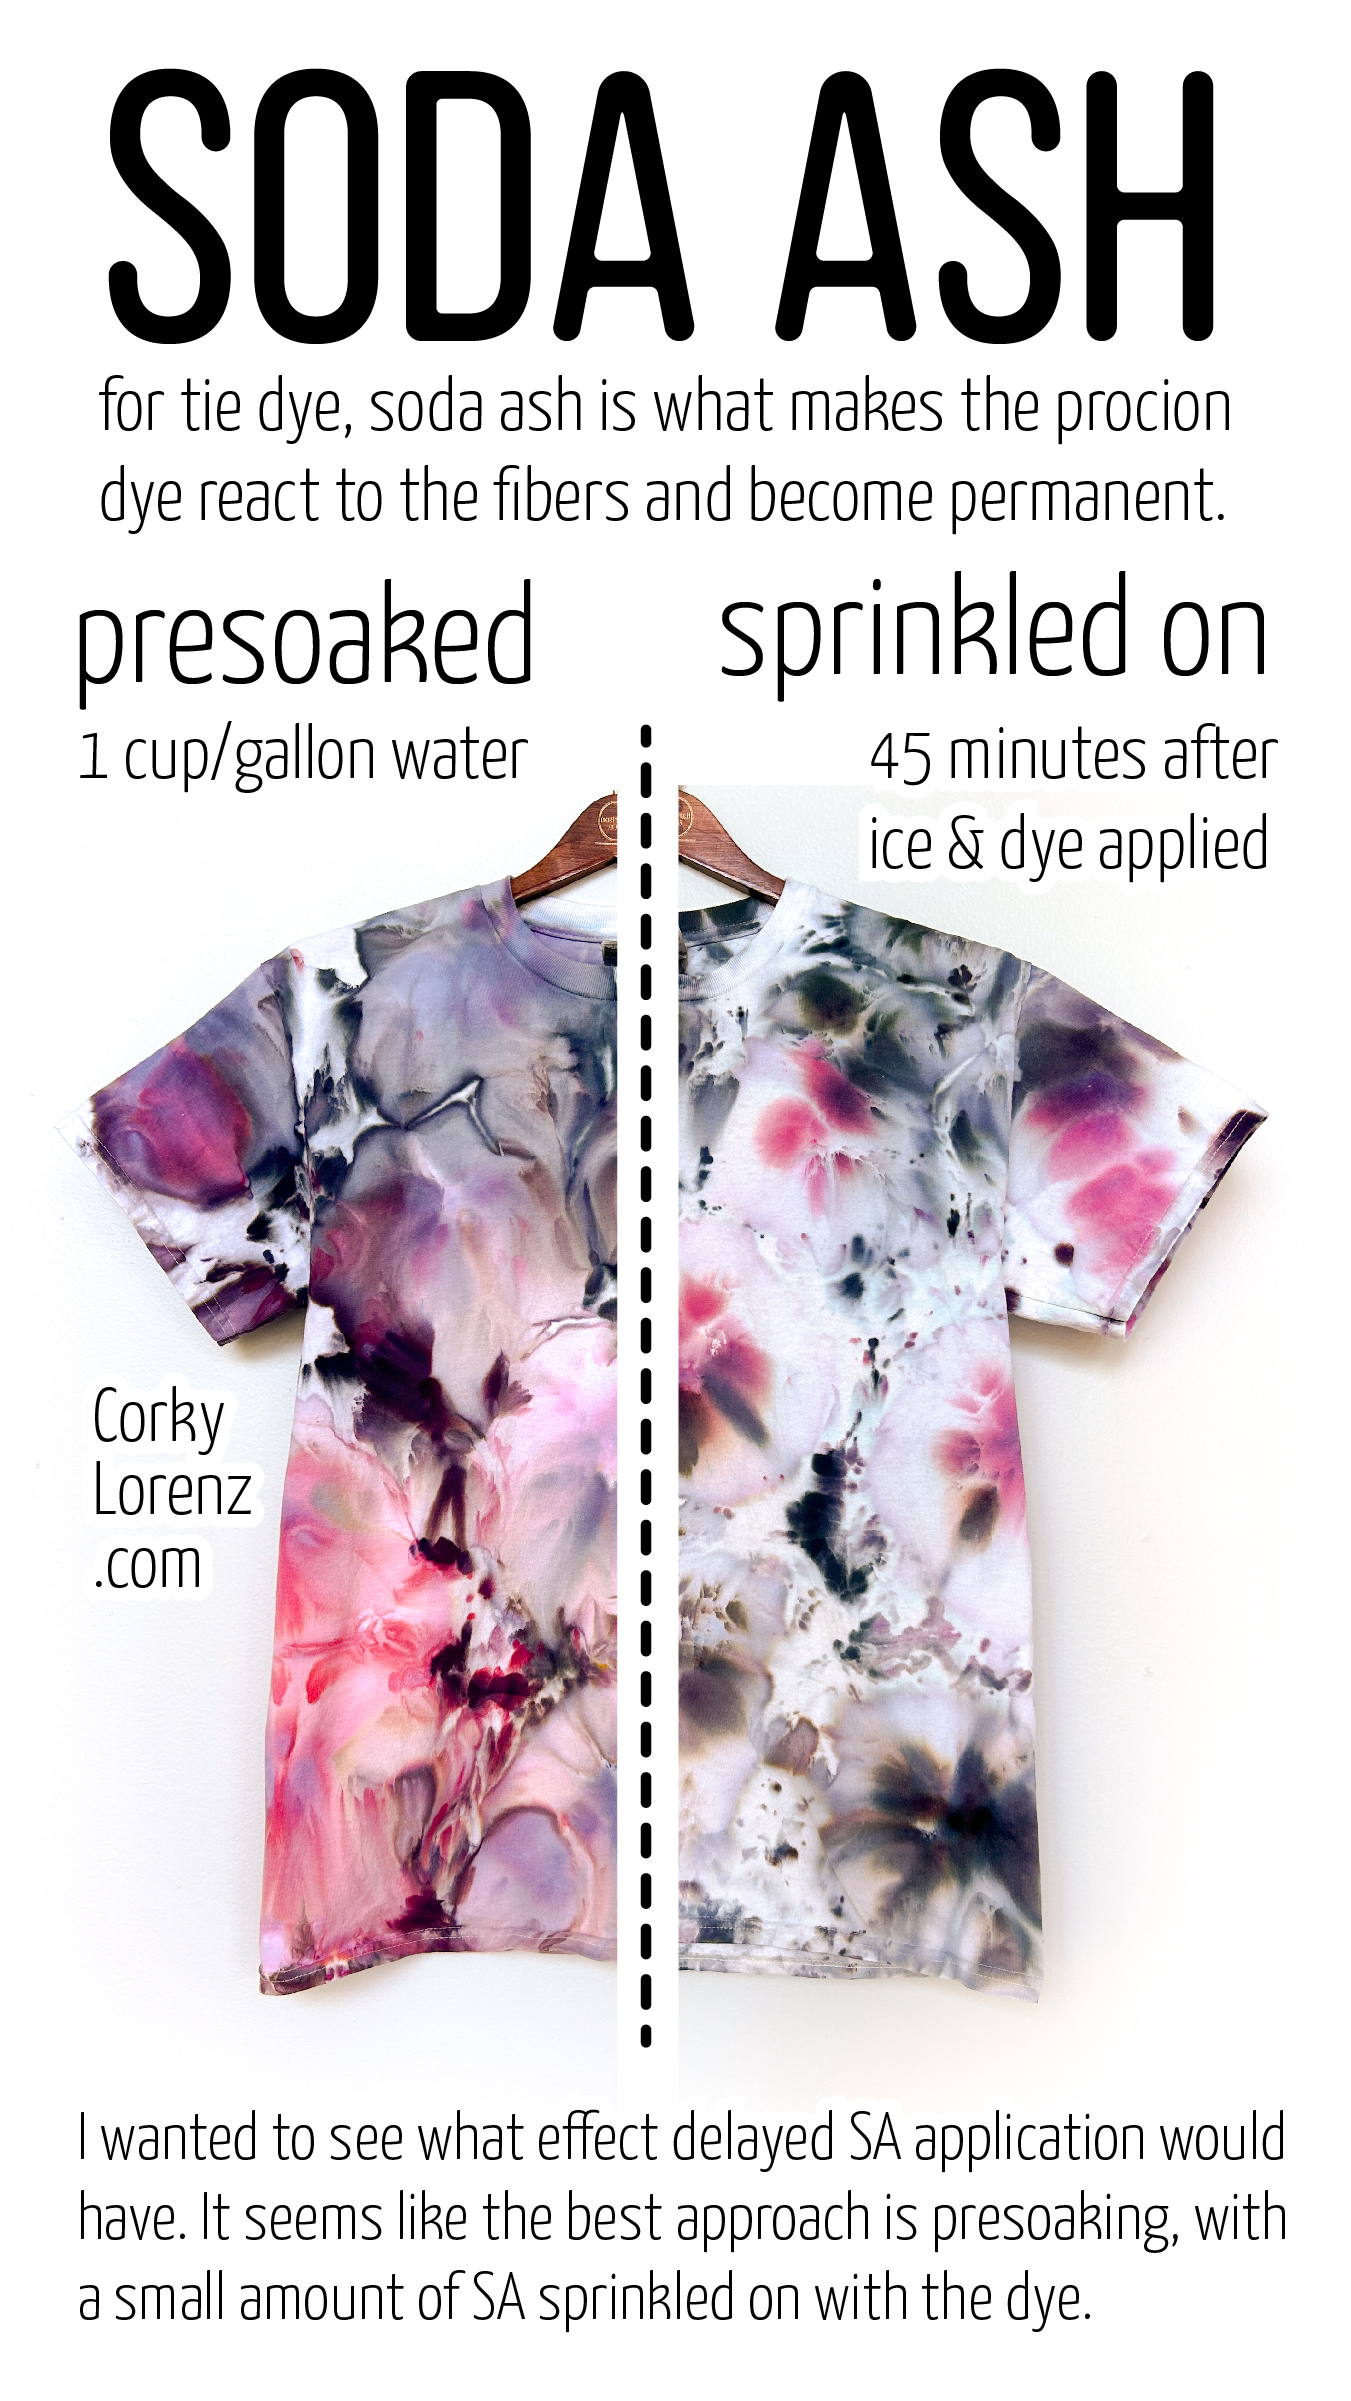
Photo by Corky Lorenz
All of these methods can be combined in different ways, yielding different results. A true challenge for a creative mind and loads of fun as well, especially since there is a range of unpredictability that makes rinsing and washing out every piece like opening a present!
We hope this round up inspires you to give something new a try and we look forward to seeing the next new variation that someone thinks up.
Check out all our ice dyeing tutorials for more information and to get started on your ice dyeing journey:
- Learn to Ice Dye - the basics
- Ice Dyed Furoshiki
- Ice Dyeing with “Ugly” Colors
- Gravity Ice Dyeing
- Ice Dyeing on Silk with Fiber Reactive Dyes
- Ice Dyeing on Wool and Silk with Acid Dyes
- Ice Dyed Christmas Tree Skirt
Don’t forget to download the Ice Dye Splits Color Chart PDF.


