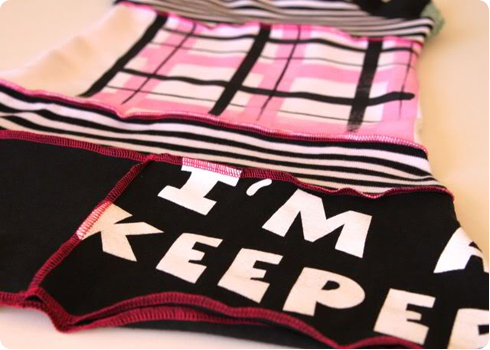
This technique is super easy and great for designs that are not too detailed. You can cut a simple design into contact paper (you know, the adhesive vinyl used for lining shelves and covering text books!) and start screening in a matter of minutes. For more detailed designs and small lettering I recommend the Photo Emulsion Method. Below I've put together 3 tutorials for the following three designs using contact paper and screen printing techniques:
Shopping list:
Let's get started!
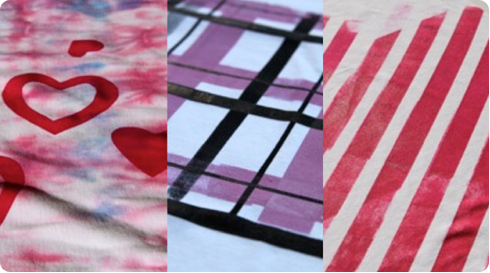
Using Contact Paper to Create a Simple Design:
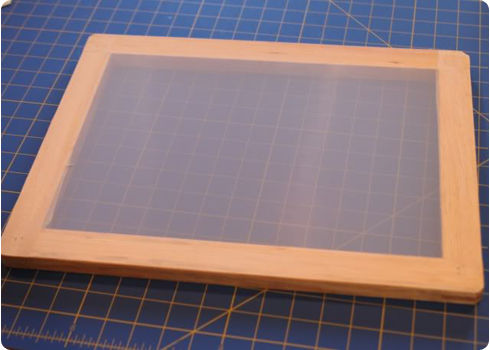
Step 1: Start with a blank screen printing screen:
Step 2: Cut a piece of contact paper slightly larger than your screen.....
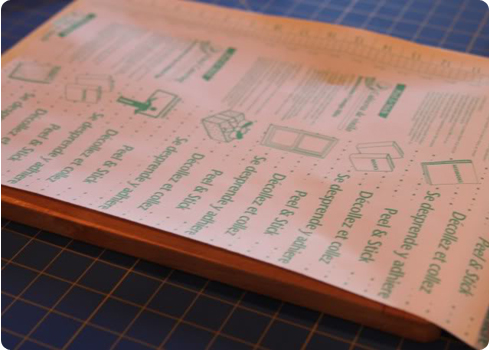
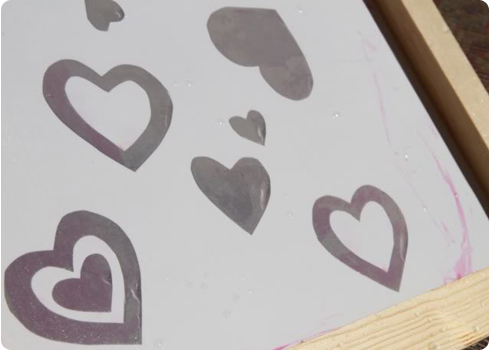
....and draw out your design on contact paper. Note: either draw your design on the front of the contact paper or make sure you reverse the design if you are drawing it on the paper backside. I made this heart design for Valentines day dresses:
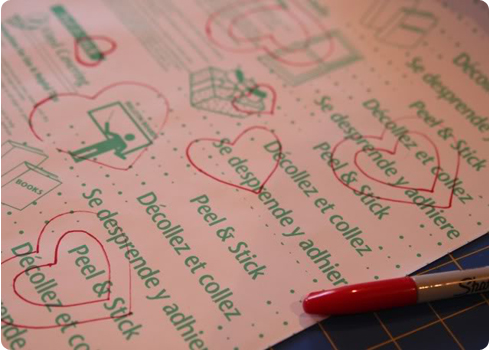
Step 3: Cut out your design using a razor or Exacto knife.
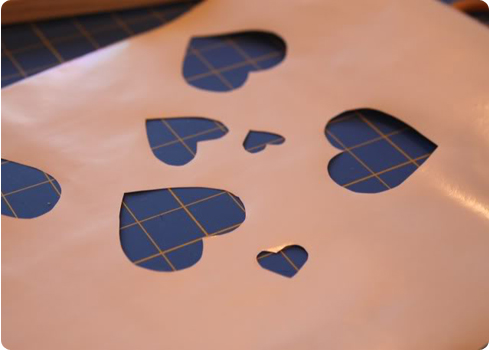
Step 4: Adhere the contact paper to the bottom of the screen (on the non-recessed side).
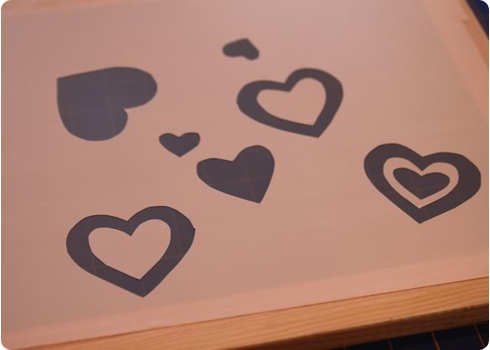
Step 5: Lay the screen down on the fabric you want to screen the design onto (recessed side up):
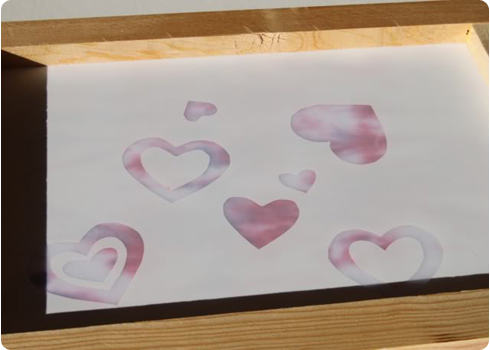
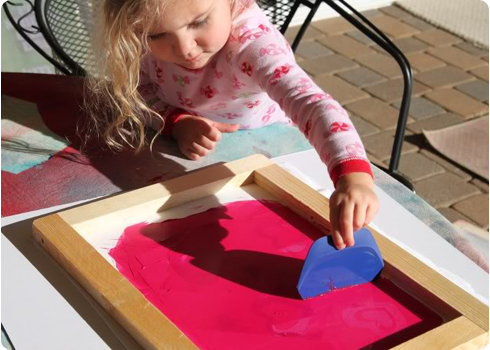
Step 6: Place a small glob of screen printing ink on your screen and using a squeegee pull the ink across the design. (I used Versatex ink for these prints because there are more colors available).
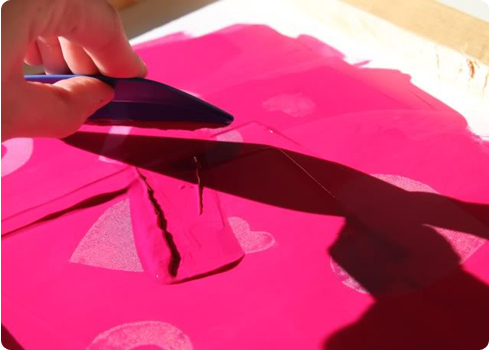
So easy a 2-year-old can do it!
Step 7: Carefully lift your screen off and you have your finished design!
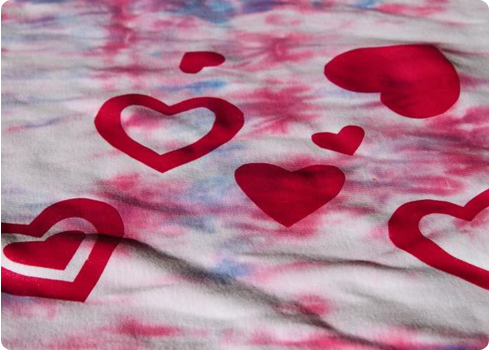
Let your design dry and then use an iron to heat set the ink.
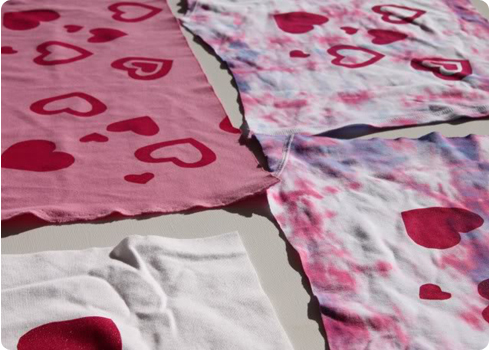
Cleaning: I use a sink sprayer to make sure all the ink is removed from the screen....and as long as the contact paper remains on the screen you can reuse it!
Using Contact Paper to Create Stripes:
Step 1: Cut strips of contact paper and adhere to the bottom of the screen. Note: I actually used electrical tape for this project because it was the perfect size.
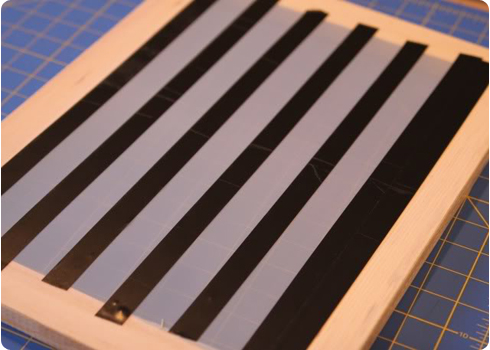
Step 2: Place the screen down onto the fabric either diagonally or straight depending on the angle of stripes you want.
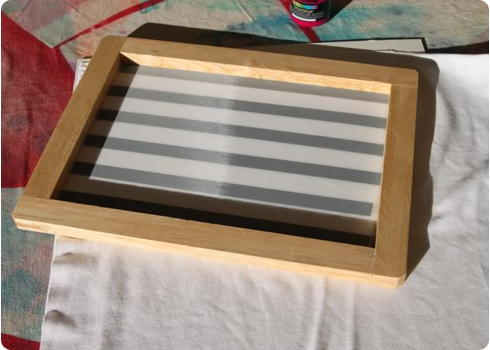
Step 3: Place a small glob of screen printing ink on your screen.....
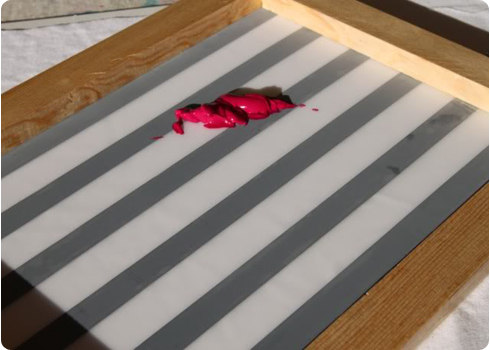
......and using a squeegee pull the ink across the stripes.
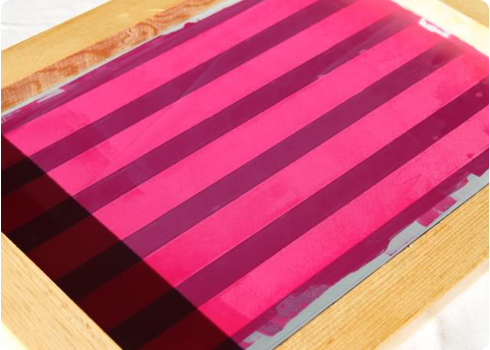
Step 4: Carefully lift up your screen and move it to the end of your stripes to start another set.
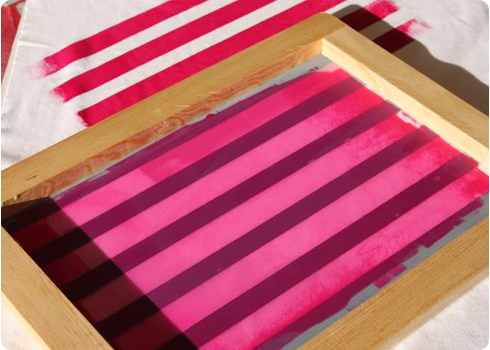
I like the distressed look so I did my stripes a little haphazardly, but you can be as careful and tedious as you want to be in order to get them perfect.
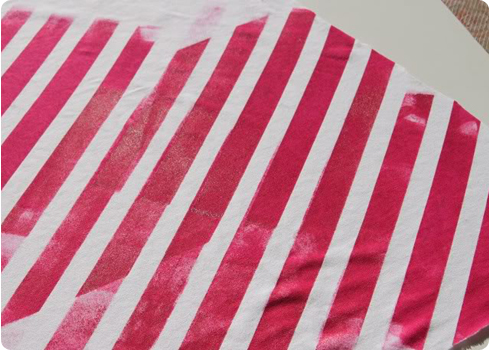
Using Contact Paper to Create a Distressed Plaid Design:
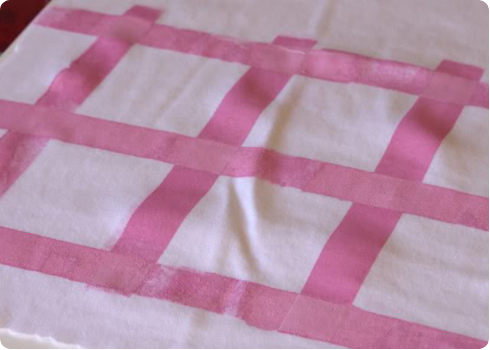
You can also use different sizes of stripes and screen separate colors to create a simple plaid design.
Step 1: First I started with the large stripes. I cut 3" strips of contact paper and placed them on the bottom of the screen as shown.
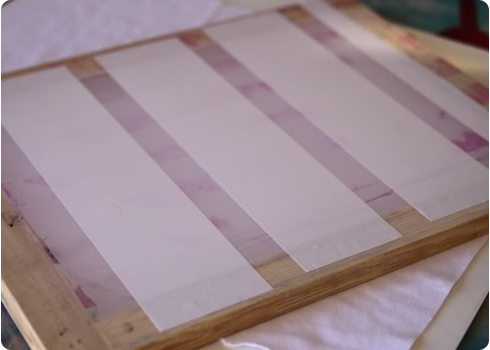
Step 2: I screened my first set of stripes....
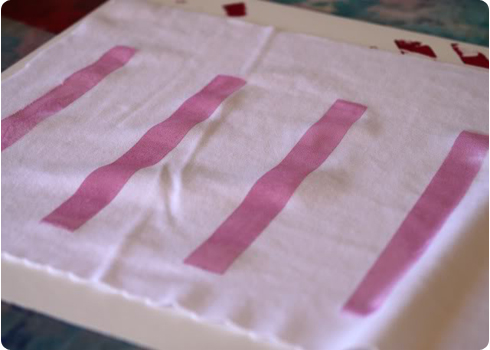
....then turned the screen 90 degrees to create new stripes perpendicular to the old ones. Then I set the fabric aside to dry.
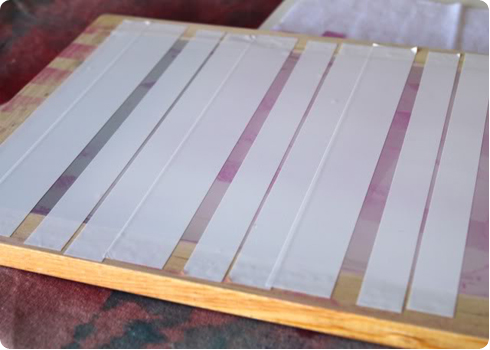
Step 3: I cut new strips of contact paper to create smaller sets of stripes......
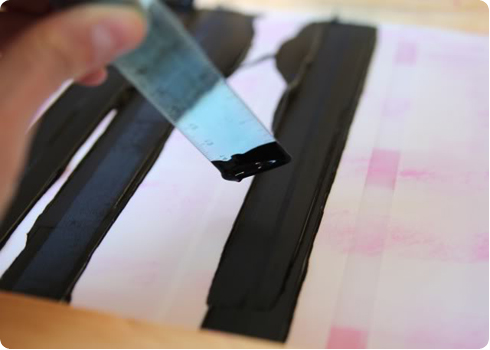
....and screened them in the exact same way using a different color. I used the size of a small plastic ruler as a "mini" squeegee.
A distressed plaid design! So easy...I didn't even measure the stripes...just a rough estimate.
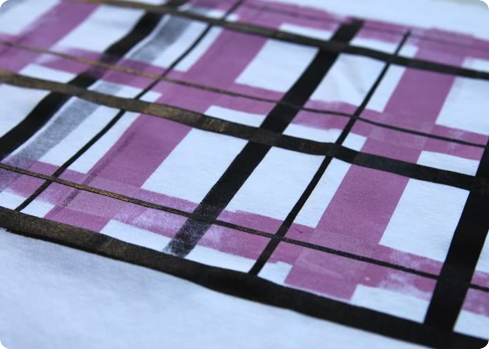
This one was perfect for a plaid dress!
