...about the gradated fabric dyeing technique known as Ombre?
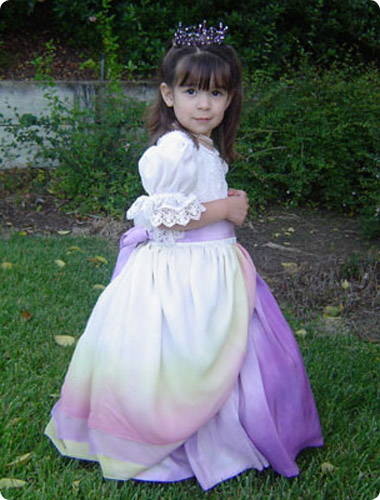
 Ombre, rhymes with the Spanish word hombre, but is actually a French word meaning "shade" or "shadow". (Ombre without the fancy "e" is a very old card game!) For the last couple years, Ombre dyed fashions are appearing everywhere from the cover of "Oprah" magazine and fashion designer runways to the racks of discount department stores.
Lately, we have had so many folks searching our website for the word Ombre that we decided we had better do something about it!
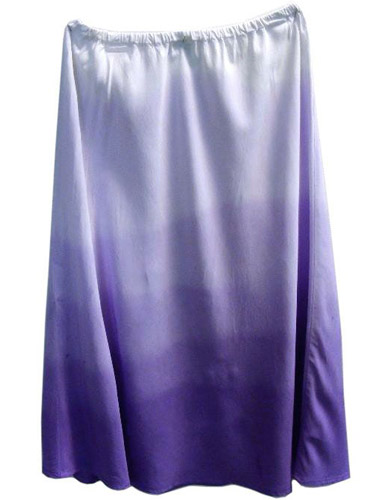
Ombre, also known as dip dyeing, color bleeding, or gradated dyeing, is an effect usually achieved by hand dipping fabric in dye so that it gradually goes from light to dark, or sometimes from one color to another. On high-end garments it lends itself well to flowing silks and other fine fabrics and has even been described as "ethereal"! On the low-end garments, we think a lot of them have perhaps been printed, airbrushed or somehow had the dye applied by direct application to simulate the more time consuming Ombre technique. Silk painters have tried blending progressive colors with brushes, but it is time consuming and never quite looks the same. Professional tie dyers have achieved somewhat of an Ombre look by pre-soaking a garment in Soda Ash and applying successively stronger solutions of color from top to bottom of the garment. But true Ombre is a laboriously hand dipped wonder with subtle gradations from top to bottom.
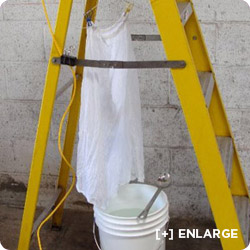
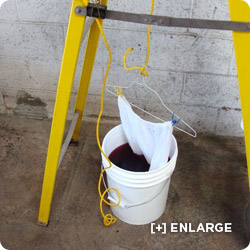
True Ombre is not as easy as it might seem, as we found out in our attempts. Know that professional dyers have wrestled with this technique for years to get to the amazing garments you see for several hundred ( or thousand?) dollars. Keep in mind that with dyeing, it is practice that makes perfect, and sometimes lots of experimentation! We are keeping our instructions a little vague as to timing and concentrations because we know that different fiber content, weave and weight of your fabric, as well as the individuality among dye colors will vary your results. Practice will also help you get the layers straight, even and more smoothly gradated. By the way, a customer who has been doing Ombre for years just let us know that our method of securing the garment (clips can slide along the hanger) combined with our bendable wire hanger are the reasons our lines dipped rather than being straight! She recommended using PVC pipe for straighter lines. But she said our timing in our directions was perfect!
So, in the interest of having our Dharma Customers be the envy of all their friends and family, or dyeing peers, here are some instructions for
Ombre Dyeing with Dharma Fiber Reactive Procion Dye on Cotton, Rayon and other cellulose fibers:
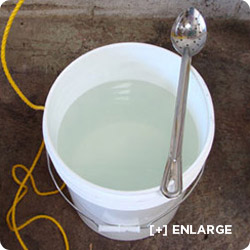
1. First, the container for the dye bath - In the interests of having a smooth transition of color from light to dark, you might want to use a larger than normal container, wider than the width of the shirt, scarf or dress you are dyeing, something like a larger plastic tub, deep enough so you can hang it neatly in the dye bath and then slowly lift it out without having it too wrinkled at the bottom, which might cause it to dye unevenly.
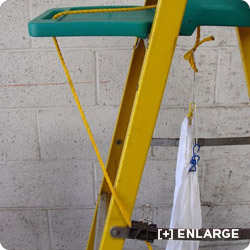
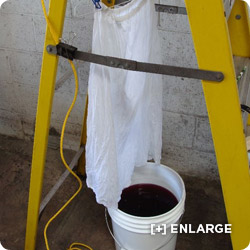
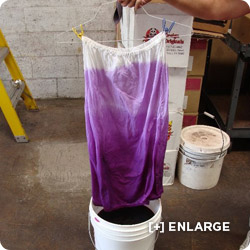
2. We think it best to rig up a pulley system (from a ladder, tree branch, over the counter cupboard door? must be tall enough!) to be able to pull a measured portion of your fabric/garment straight up and out of the dye bath at calculated intervals until you've gradually pulled the entire garment out of the dye bath. We think you should put your garment on a sturdy (not wire) hanger (or dowel or PVC pipe?) and attach that to a thin rope or very strong string to keep the garment as straight as possible. Have a way of tying the rope off so it is easy to undo and re-tie at each step.
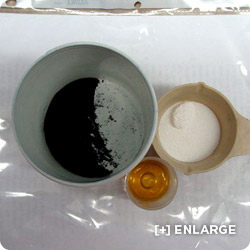
3. Basically you will be following our Tub Dyeing directions with some important modifications. We definitely recommend the Calsolene Oil to break the surface tension of the water and fabric for smooth penetration of the dye. You are going to change the directions by adding your Soda Ash fixative BEFORE you put in the garment. Have the dye bath thoroughly stirred with all ingredients (except dye) well dissolved. Using enough water to allow your garment to be fairly relaxed in the bath means you will use more water per pound of fabric than usual. Still stick to the cup of salt per gallon of water, and use roughly 1 oz Soda Ash per gallon.
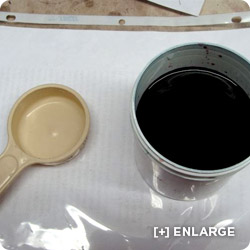
4. Premix your required amount of dye (we recommend 2 - 4 times what you would normally use) separately in some water, maybe a couple of cups - make the amount easily divisible by the number of "layers" you will be doing. If you have a little scale, you can use our Dye estimator by plugging in the weight of your fabric, and the number of the color you are using, then just weigh out 2 - 4 times the recommended amount of dye, depending on how dark you want the bottom to be and how much contrast you want from top to bottom. If you are only going to have 4 "layers" of color, twice as much is probably adequate, but if you are going to have 8 layers, use more dye.
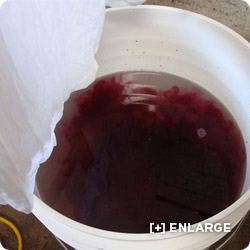
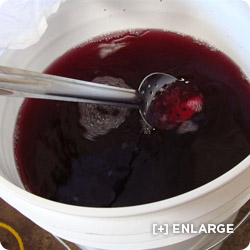
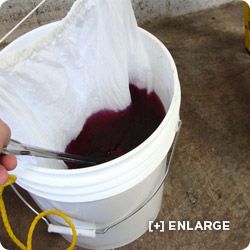
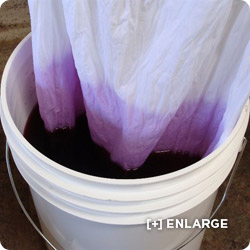
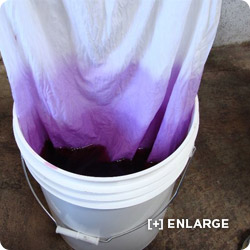
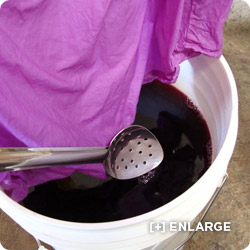
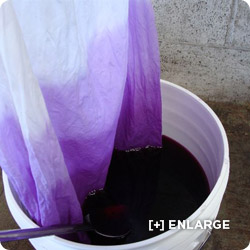
5. Decide ahead of time how many layers you are going to have and how many inches each will be. Add a portion of your thoroughly dissolved dye/water mixture to the dye bath and stir it in. So if you are going to have 8 layers of color, add an 8th, etc. Carefully lower your pre-washed wet fabric into the dye bath. If you want to keep a portion of the top white, as some do, don't lower it all the way. Allow the garment to be in the dye for a couple of minutes, then raise it with your pulley you've rigged up your desired interval, like 4 inches or whatever, then stir in another portion of dye, this time allowing to sit 5 or so minutes, raise it again, and repeat this until you get to the bottom of the garment. With each layer you will add some more dye and let it sit longer in between "raisings" than the last time, gently stirring the added dye so as not to disturb the garment too much, but so that the dye doesn't "settle" and cause uneven lines in the folds of submerged fabric. Sorry, we forgot to take a picture for our slide show showing us adding more dye in between layers. But basically, with every layer, increase dye, increase time!
6. Once you've removed the garment from the dye bath, rinse with cold water, then wash it in hot water and Dharma Dyer's Detergent, as the tub dyeing recipe recommends.
7. If you want to go from one color to another, one way you might do it is to pre-dye the whole garment one color (a lighter color works well), then Ombre dye it another color. Have the 2nd color (a darker one that mixes well with the first color and makes something pretty) pre-mixed in some water. Add the pre-determined portion of it to the dye bath after each time you raise the garment in the same manner you did above. Of course, it will never get all the way to the 2nd color, as it will always be mixed with the first color.
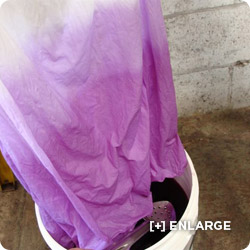
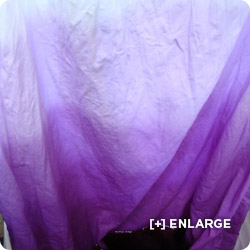
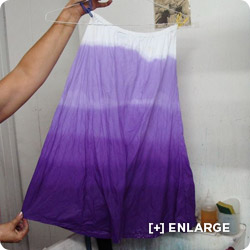
8. This was our best shot for the Ombre dyed effect, and the first attempt from our current staff. Basically, we found out it was harder than it seemed it would be. You can see from the pictures we were so busy trying to figure out timing and dye strengths that we forgot to pay too much attention to the spacing of layers, or the straightness of layers! You might have some good ideas of your own...perhaps better than ours - let us know! One customer suggested the following totally different method to try: "One way to make it easier to get a smooth gradation is to start with your color at the darkest, your water level at the lowest and dip the bottom part of your garment. After 5 or so minutes, (timing depends on how dark you want to go) add water to the next "level" on your garment. You can then slowly add the water bit by bit which leads to a smoother transition, and less risk of splashing undiluted dye on your garment!" Interesting. We haven't tested it. Depending on the length of the garment, you might want to try this in a plastic garbage can?
