
Peeps. Favorite new printing technique, right here, right now.
Decolourant paste! (Formerly Discharge Paste) It's all about discharge paste, guys! Let me tell you why I love this stuff: instead of depositing something on your fabric (like paint printing), you're actually leaching out the color, so there's absolutely no stiffness or chance of it fading or washing out. The design becomes part of the fabric, and will always look the same. And it's so soft! It doesn't always discharge to white, it varies and is sort of a fun surprise to see what color it will be. It's a really fun process, and so satisfying to "reveal" the printing. It's also so cool to do on really dark colors!
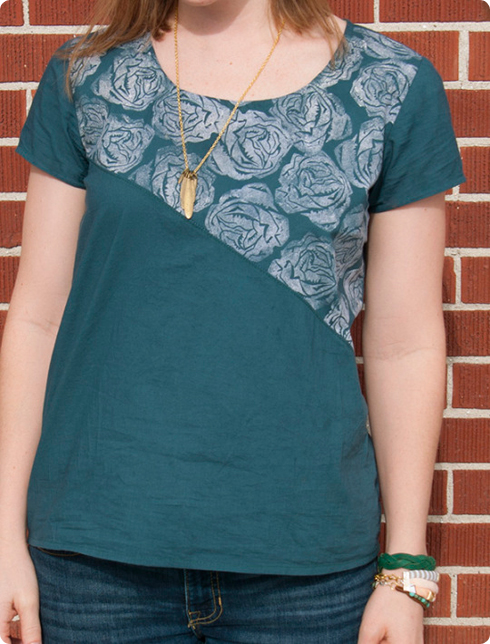
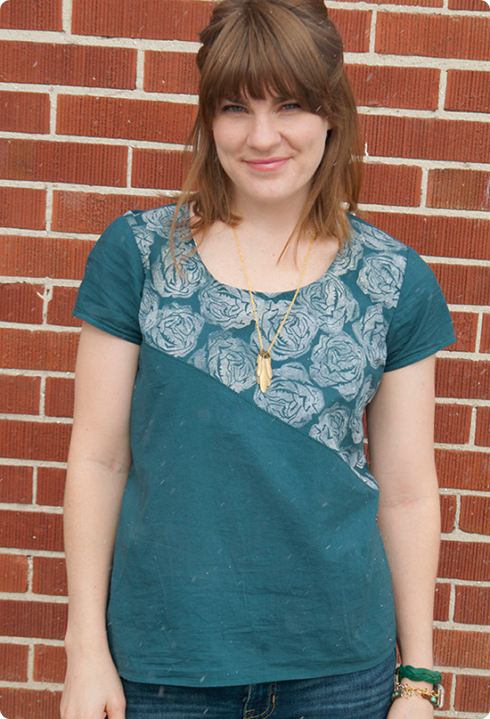
For this top I once again turned to Grainline's Scout Tee, and the fabric is an oh-so-soft cotton lawn dyed Kilt Green (a new color for me, but I really love it!)
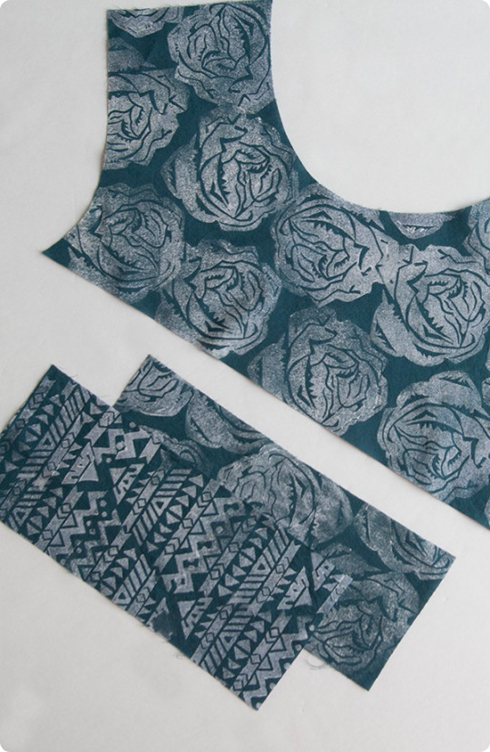
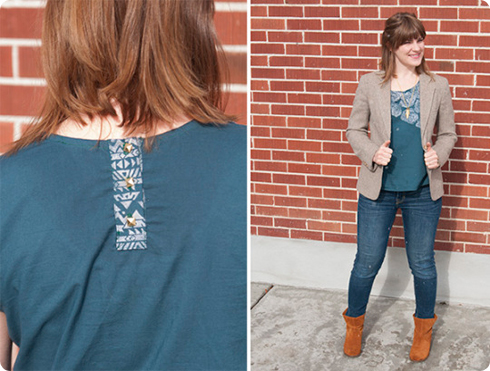
I think sometimes people get intimidated to print an entire garment, so I wanted to highlight a project where I printed only a small portion of the top. You can do minimal printing and still get the same look as an overall printed piece. I actually love piece printing because it really emphasizes your design, and it's a fast printing process. So I decided on some diagonal blocking in the front, as well as adding a placket to the back, with different prints on both. I think if I were on Project Runway Tim would counsel me to edit and choose ONE print, but I can't resist the temptation to mix it up, sorry Tim.
Shopping list:
- Decolourant Paste
- Clothing or fabric to print
- Rubber Block
- Linoleum Cutter Set
- Acrylic Block
- Brayer
- Plastic Lid
Let's get started!
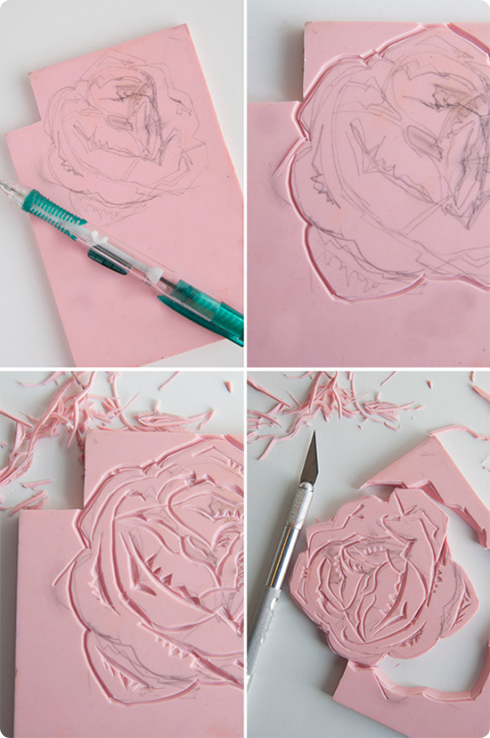
Begin by carving your stamp. My basic process was to freehand sketch this cabbage rose onto a rubber block, carve the outer lines using a linoleum cutter set, then the inner details, and finally cut that sucker out entirely with an xacto knife. I mounted mine to an acrylic block for easy stamping. With discharge paste, I found it was better to use designs that allow for overlap and randomness. Because it prints clear, it's too hard to try and align exact repeat designs and precise patterns.
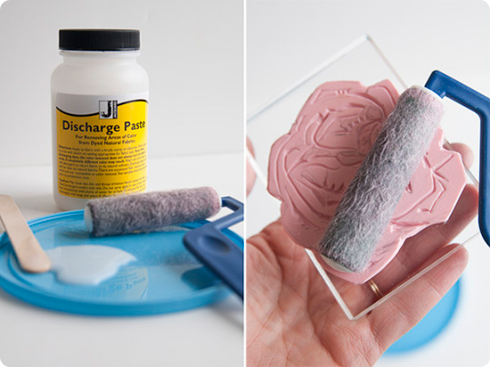
Scoop a little paste out onto an old plastic lid, and with a small roller or brayer, get some paste and roll it several times on the plastic so it evenly distributes onto the entire roller (important). Roll it onto the stamp, creating a thin and even layer of paste on the surface. You want a good amount, but not so much that it goops in between the grooves of your design. A small amount of paste will go a long way.
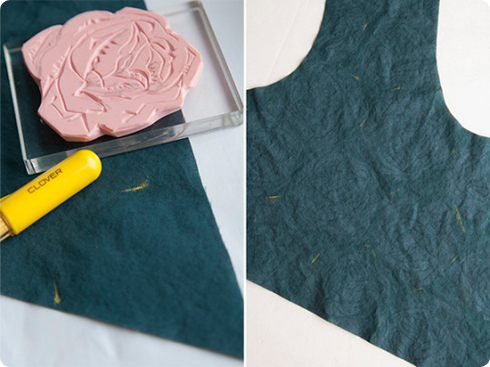
Now after making a test print to check placement and stamp distribution, firmly print your design on to your fabric. Again, discharge paste prints clear, so on some fabrics it's almost invisible. To help me place my pattern (flexible placement is best!) I marked with a chalk pen around the edges of my stamp directly after printing so I could see where I had gone. Here on the right you can see all my marks, and barely discern the pattern. Allow paste to dry completely and then rub off your markings.
Using a hot iron with plenty of steam (as hot as your fabric allows that is!) and magically reveal your printed pattern by evenly ironing. Be sure my friends, to do this in a well ventilated area (windows OPEN), as this stuff stinks pretty bad and shouldn't be inhaled. A mask probably wouldn't be a bad idea.
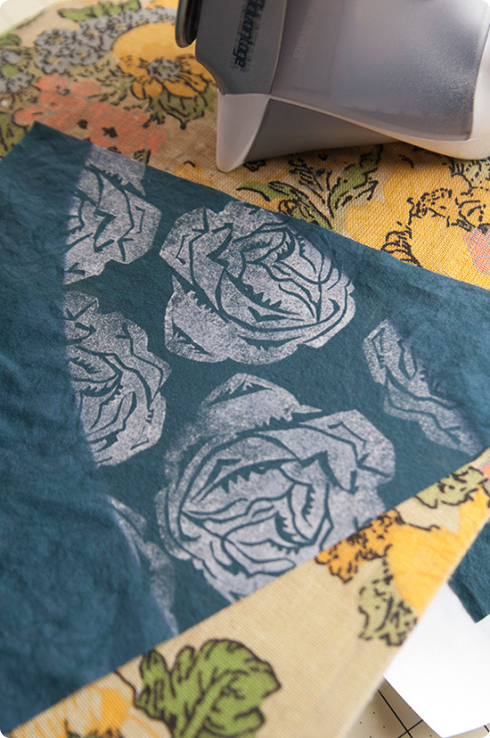
Isn't this stuff cool?! What kind of projects would you use this stuff on? I wanna hear some of your ideas!
This tutorial was provided by Miriam Tribe. https://www.instagram.com/miriamtribe/


