


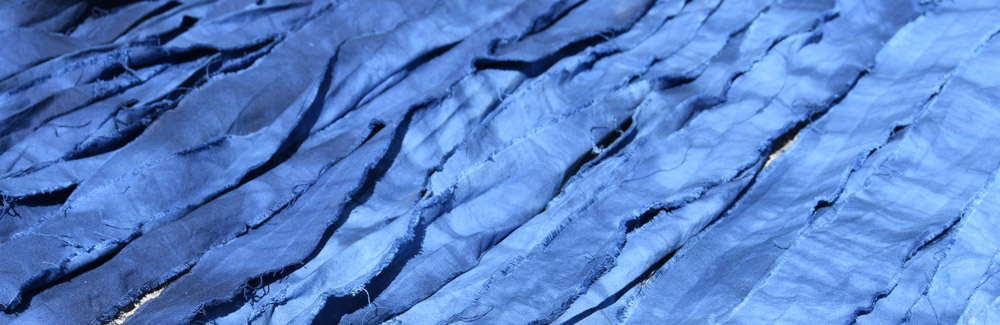
Jellyroll Gradient with Low Water Immersion Dyeing
a Dharma featured tutorial
Gradients of colors can be very handy to have for any quilter, but it can be pricey to have yards of every shade. You can save by dyeing your own. For this project we will show you a subtle 10-step gradient, but you can take the theory behind this process and adjust it to your own project needs. We use the Low Water Immersion technique, which will give you subtle mottled shades and uses much less water than tub dyeing.
Shopping list:
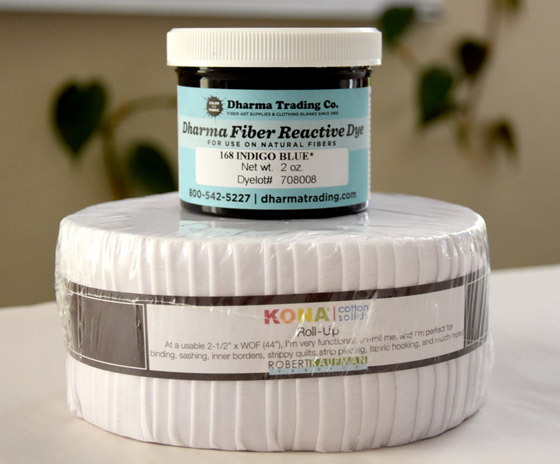
- Kona Cotton Roll Ups Jellyroll or Fat Quarters
- Fiber Reactive Dye We used #168 Indigo
- Soda Ash
- Urea
- Measuring spoons and cups
- Cups to mix in - 5 or 10
- Sharpie
- Dharma Professional Textile Detergent
- Optional book: Color by Accident
Let's get started!
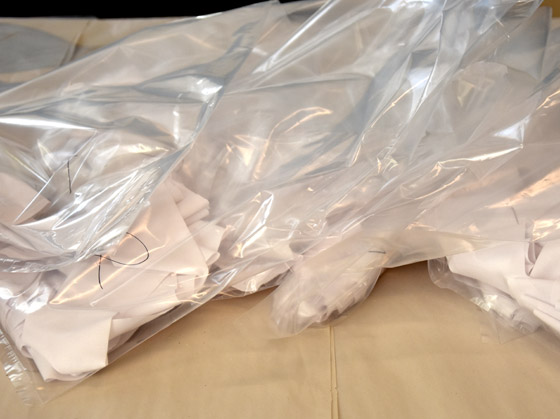
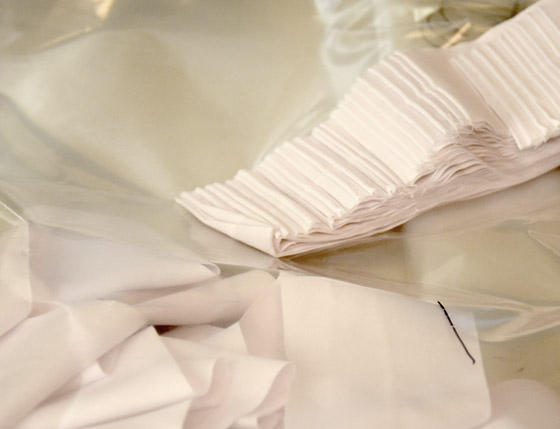
First, take your 10 gallon bags/containers and label them with your sharpie 1-10. Then open up the jellyroll and put four strips (or 1-2 fat quarters) into each bag/container. Be sure to label the fabric pieces with which bag they are in too. If you are using a container make sure all the fabric will fit and leave room to pour the dye.
Mix up your dye stock. Note: you might want to cut the dye quantity in half for the indigo blue. This recipe, based on Ann Johnston's, will give very saturated blues.
1 cup water
1 Tablespoon urea
4 Tablespoons dye
Pro Tip:
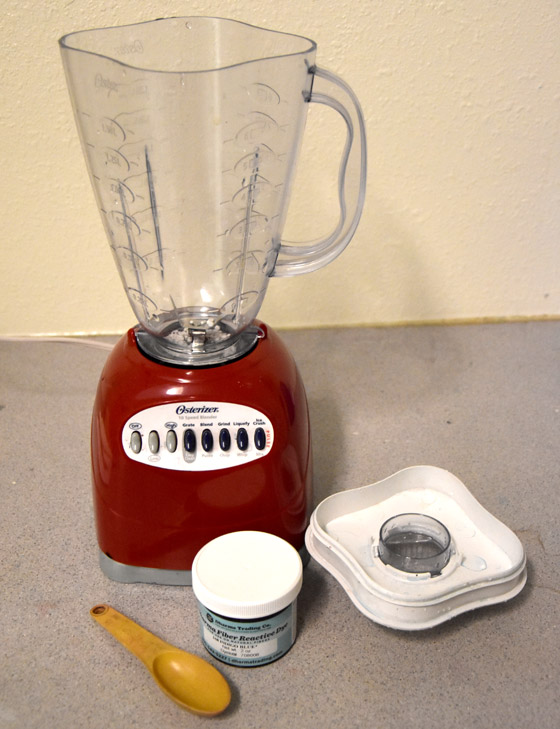
We used a dye dedicated blender since it takes a while to paste up this much dye.

Mix up your soda ash, 1 cup to a gallon of warm water.
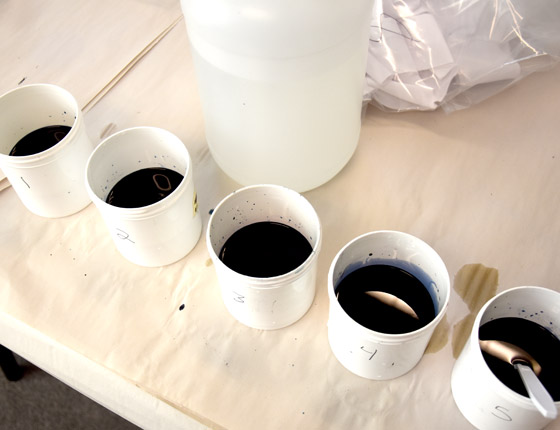
Now, line up your cups. We used 5 and reused them. Label them if it helps you.
In the first cup put 1 teaspoon of the dye stock, in the next put 2 teaspoons, then 3 in the next, etc. Each cup will be 1 teaspoon stronger than the one before. If you only have 5 cups do 1-5 in this batch and then 6-10 in the next. Add one cup of the soda ash water to each cup.
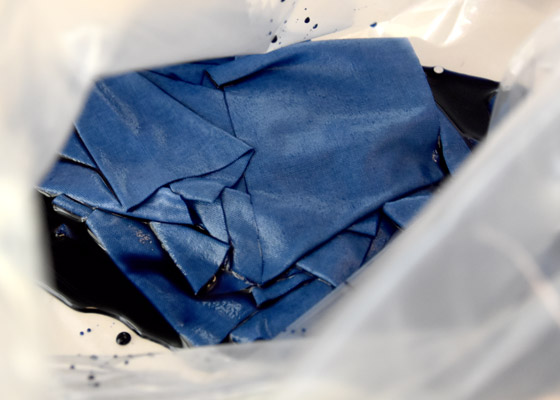
Pour the cups of dye into the matching numbered bag/container with the fabric. Squish the color around to make sure it is fully saturated into the fabric.
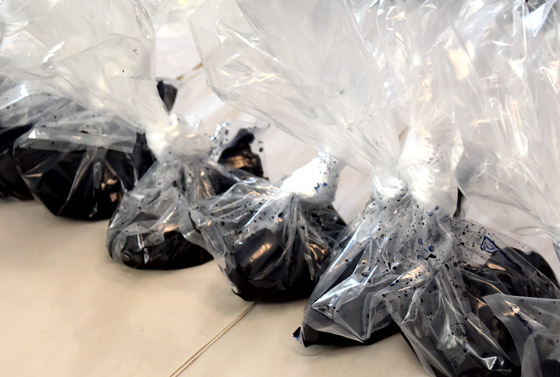
Close up the bags/containers and let them batch at least 12 hours, but longer is better, 24-48 hours. There will be less residual dye to wash out with a longer batching time. You can speed it up by putting them in a warm place. After they have batched, open them up and rinse in cool running water to stop the dyeing action. Wash in very hot water with Professional Textile Detergent.
Pro Tip:
Put the strips into a few laundry bags or pillowcases in the washing machine so the strips don't tangle around each other or the agitator.
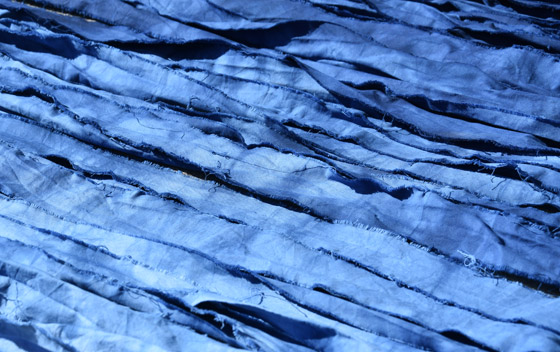
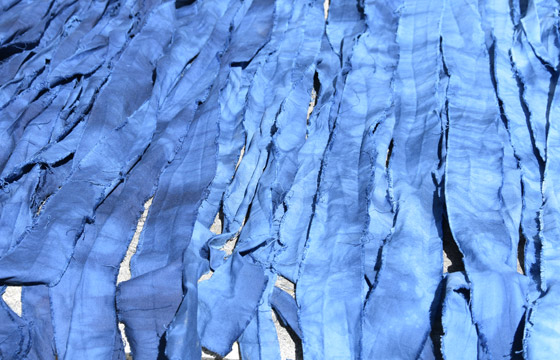
Now you have a lovely gradient of strips to use in your quilting projects. We want to make up a few in our favorite shades just because they are so yummy to look at. For more low water immersion color recipes check out Color by Accident by Ann Johnston


