Shopping list:
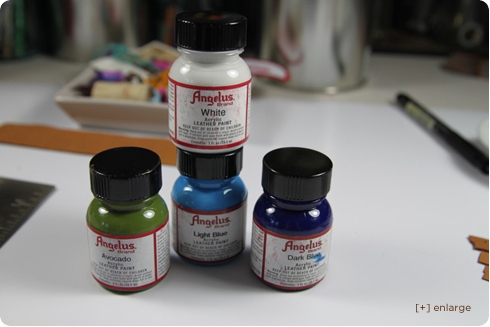
- Angelus Leather Paints
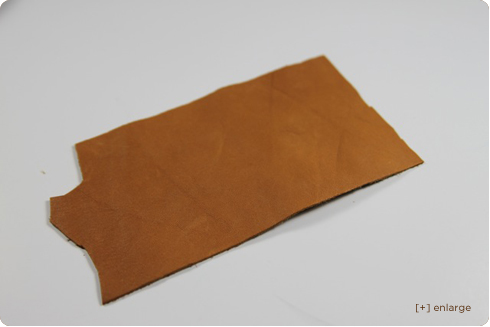
- Leather Scraps
- DMC Thread
- Elastic
Let's get started!
To Make Your Headband:
I ordered a bunch of Angelus leather paints from Dharma Trading recently and nothing made of leather in my house is safe now!
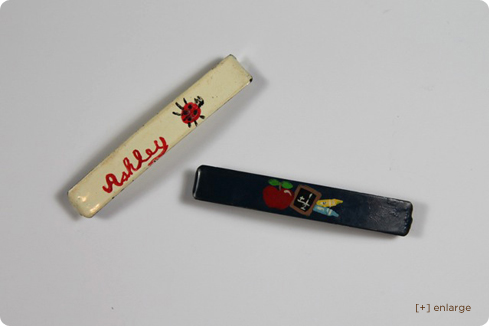
I found these little hair clips recently that my mother made for me when I was little...and loved the hand painted details she added.
I was inspired to try and hand paint something of my own for Boo.
Step 1: I took some scrap leather (you can find pieces at fabric stores and craft stores...or you can cut up an old purse/shoes/jacket etc to salvage pieces)......
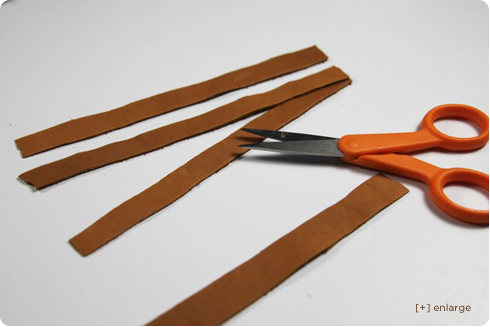
......and cut the leather into several strips:
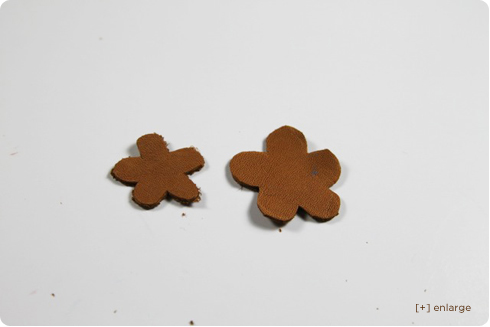
I also cut out 2 leather flowers....the largest one is about 1.25" at its widest point:
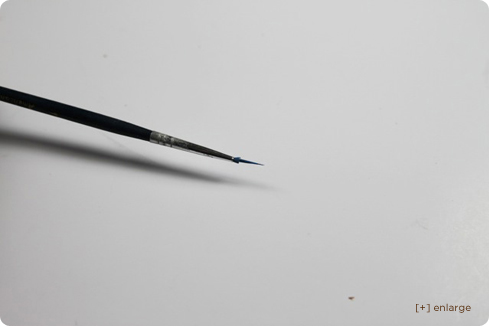
Step 2: I took a small paint brush and cut off most of the bristles so it would paint small details easily:
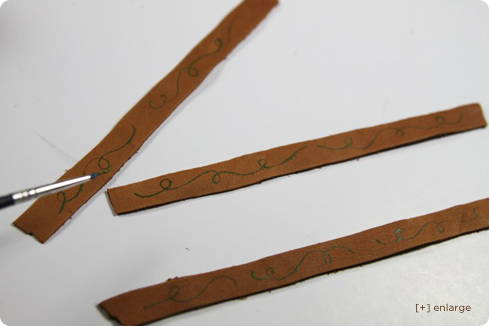
Step 3: I painted some small "swoops" to resemble vines:
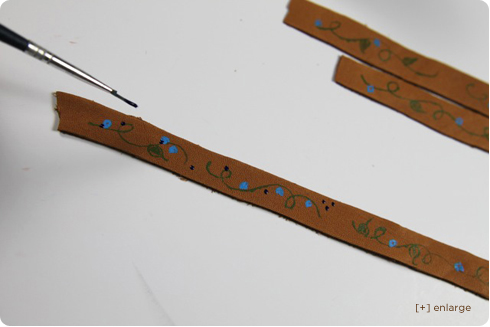
Step 4: I added small details like little leaves and little dots for small flowers....
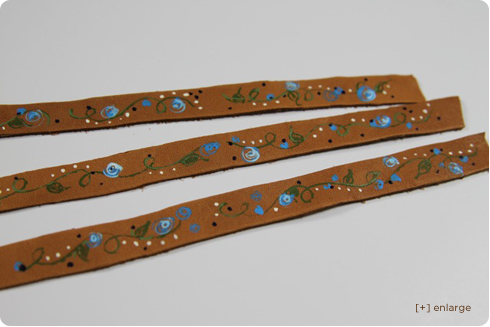
...until I felt it was finished:
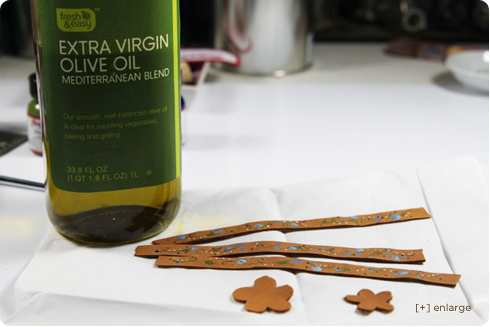
Step 5: I allowed the paint to dry thoroughly. To darken and soften the leather I used a technique that I used to break in all my horse bridles and saddles and to keep them clean and supple. I took some olive oil.....
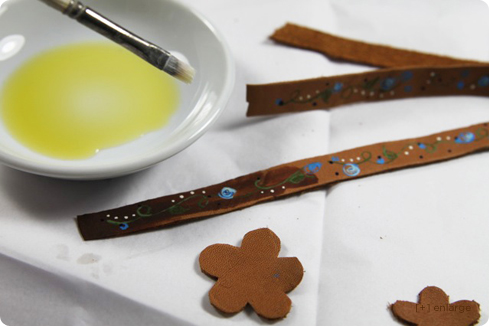
.....and brushed the leather with a light coat.
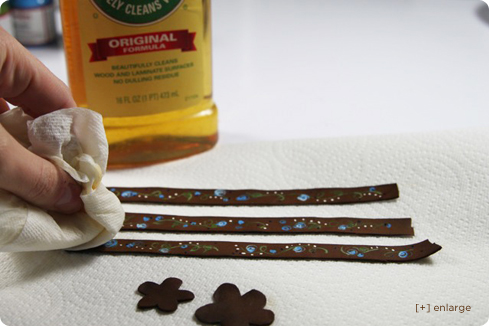
Step 6: Once the oil had a chance to soak in, I put some Murphy's Oil Soap onto a wet rag and wiped down the leather to remove any excess oil residue:
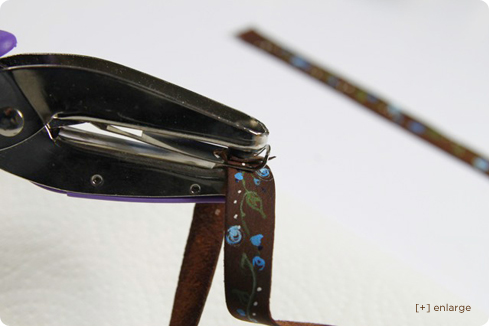
Step 7: I let the leather dry completely and then used a tiny hole punch to add holes at the end of the pieces:
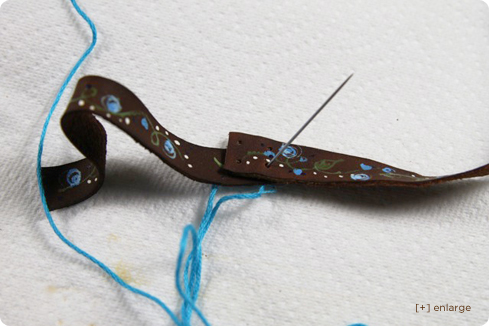
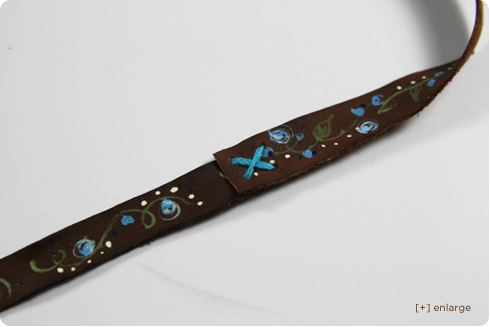
Step 8: Using DMC thread, I stitched the pieces together end to end....
....in a simple "X" pattern:
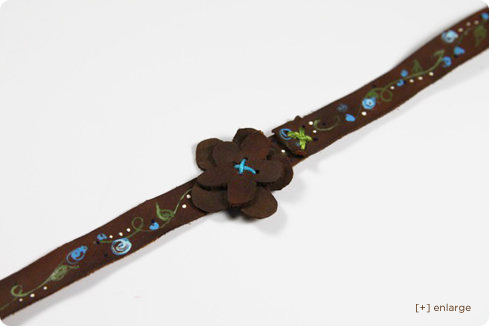
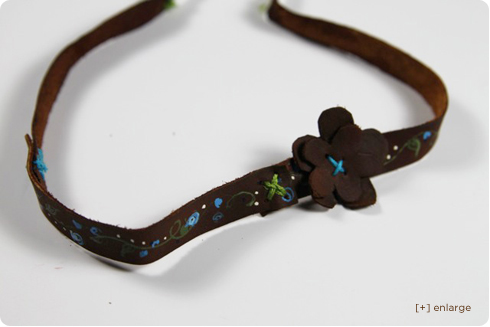
Step 9: I stitched the flowers using the same type of thread:
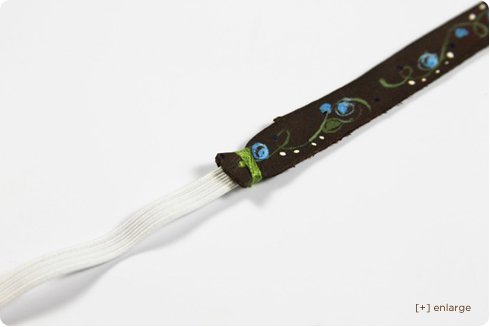
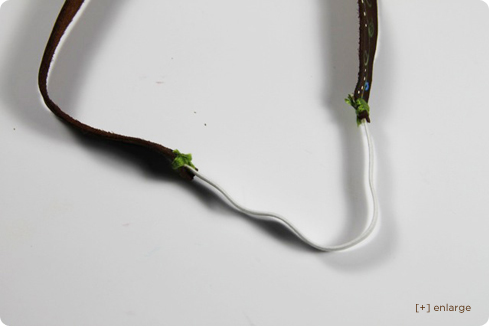
Step 10: I stitched 1/4" elastic (I would have used black but all I had was white) to the bottom of each end of the headband. I wrapped thread around the stitches to cover them:
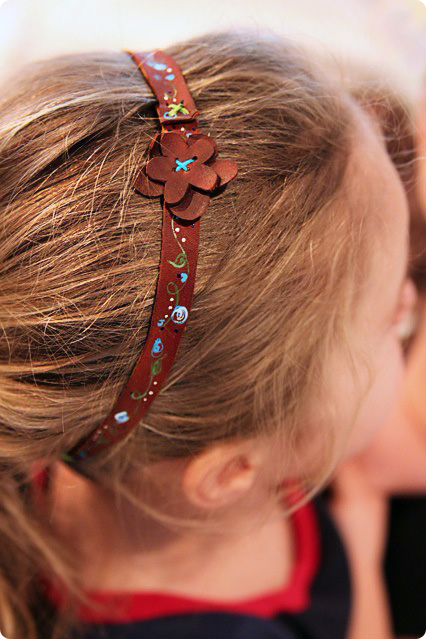
The finished headband!
Now to find something else to paint :)


