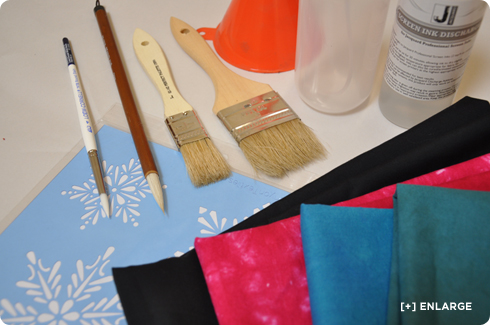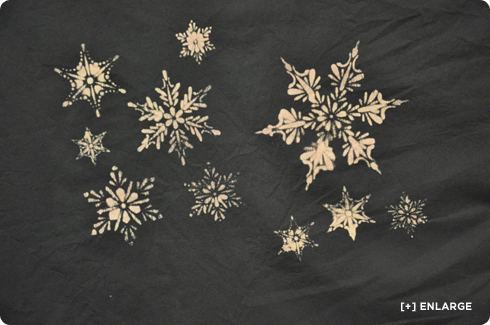
The new Jacquard Screen Print Discharge solution is made to be mixed into screen printing inks to make it easier to print onto dark fabrics, but there is so much more you can do with it. In this tutorial we will show you how to hand paint with the discharge solution to create brush stroke textures and soft edged stenciled effects.
Shopping list:
- Jacquard Screen Print Discharge
- Flat Brushes: 3 or 4 inches
- Mist Sprayer
- Sumi Brushes
- Silk Painting Brushes
- Iron
- Press Cloth
- Stencils
- Funnel
Let's get started!
Hand Painting Technique Because the discharge solution is so liquid it really lends itself to hand painting in a way some other discharge products.
We used some pre-dyed Kona Cotton fabric that was dyed with #24 Turquoise, #13 Fuchsia and #95 Royal Blue. There are lots of ways you can pre-dye your fabric, such as Tub Dyeing, Ice Dyeing and Tie Dyeing to name a few.
Pour out some of the Discharge Solution into a cup, we used the solution at 100% right out of the bottle.
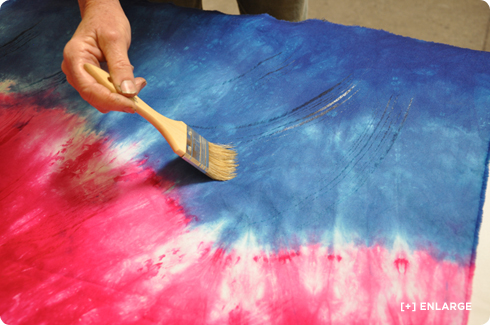
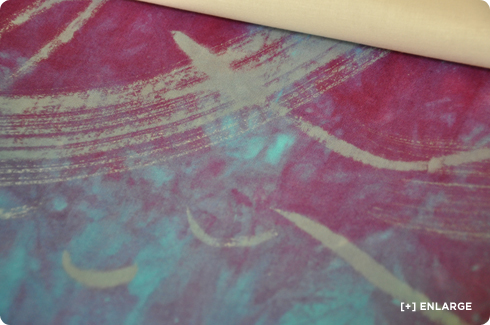
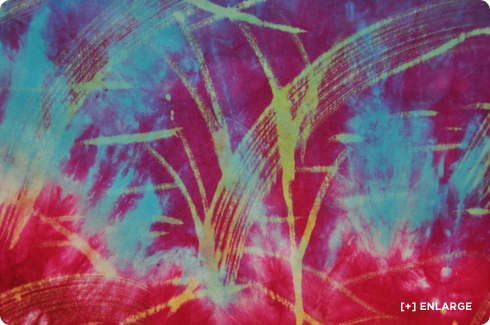
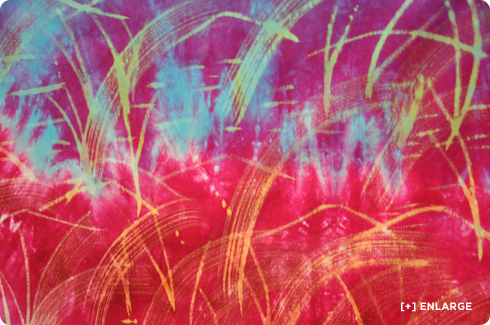
For the first fabric we used several types of brushes to make interesting sweeping strokes across the fabric. The wide flat brush has been cut with scissors to make the edge more ragged, giving us interesting textures when pull it across the fabric.
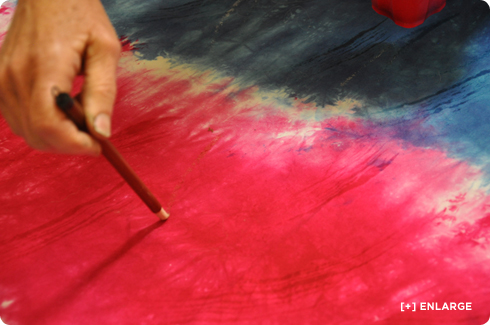
Then to add more texture we went in with the finer sumi brush. The pattern had started to suggest grass or waves so we ran with it.
Pro-Tip: different brushes will produce different lines, which can help create a more complex texture than just using the one flat brush.
Once we finished painting we set the fabric aside to dry.
Stenciling For this technique we used some Black Pimatex but you can use any pre-dyed cotton fabric.
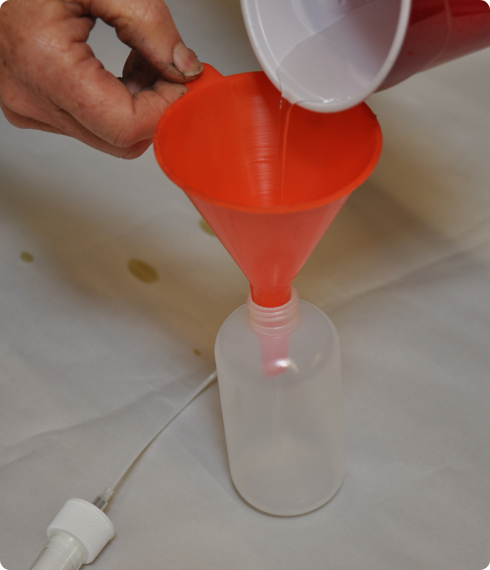
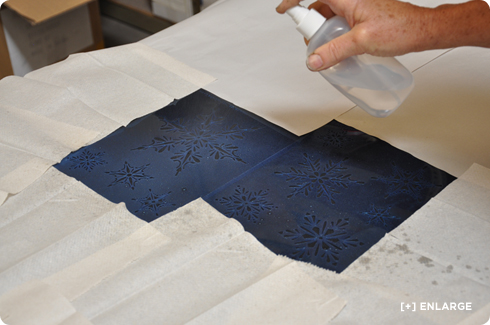
Fill a Mist Sprayer with the Discharge Solution, you do not need to dilute it but you can if you want to, we used it 100% strength.
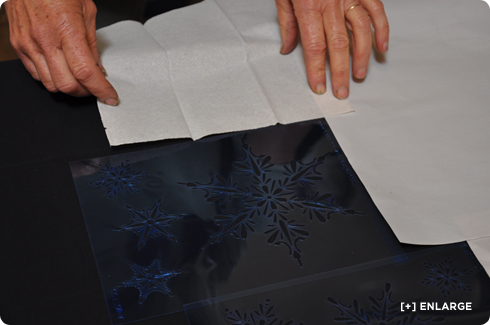
Place your stencils and mask off the area around them with newsprint or paper towels.
Hold the sprayer about 8 inches above the fabric and spray evenly over the stencil. You want to make a few light passes, not too many or the discharge solution can spread under the stencil and blur the image.
Pro-Tip: freezer paper makes a good mask for stencils! Use an iron to press the shiny side to the fabric so it prevents the mist from creeping under your stencil.
Set it aside and let it dry.
Heat Activating the Discharge Always do this step in a well ventilated area, no matter what discharge product you are using, as the discharge will give off a bit of an odor or fumes.
Once the Discharge solution is dry it needs to be heated to active it. This is done using your iron on the hottest setting for linen with lots of steam and firm pressure on the target area. Use a press cloth to protect your iron and avoid getting the discharge liquid onto other areas of the fabric, and place a folded towel under the project to protect your ironing board.
You want to move slowly across the fabric, ironing about 1-2 minutes on each section. The discharge will start to change color before the time is up, but keep ironing for the full time before you move to the next area of the fabric.
Lift up the press cloth now and then to make sure you don't miss a spot and to check the discharge. The color of the discharge may be very different after it is washed out so do not get excited or disappointed about the color until the end.
Once you have ironed the whole fabric it needs to be rinsed in cold water. This will stop the discharging action before it goes into the hot wash.
Run the fabric through a hot wash with Synthrapol or Dharma Professional Textile Detergent and dry as normal. It is now ready to be used in quilts or garments. Or you can go back in with more dyes or fabric paints to keep adding more layers of texture, it is all up to you.


