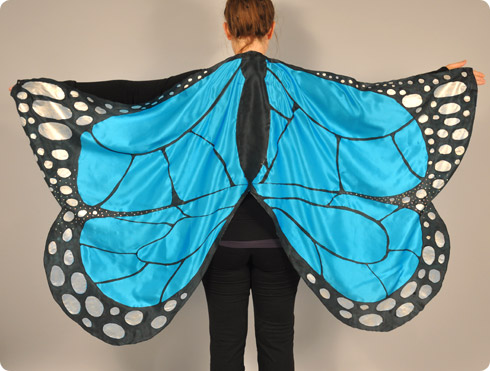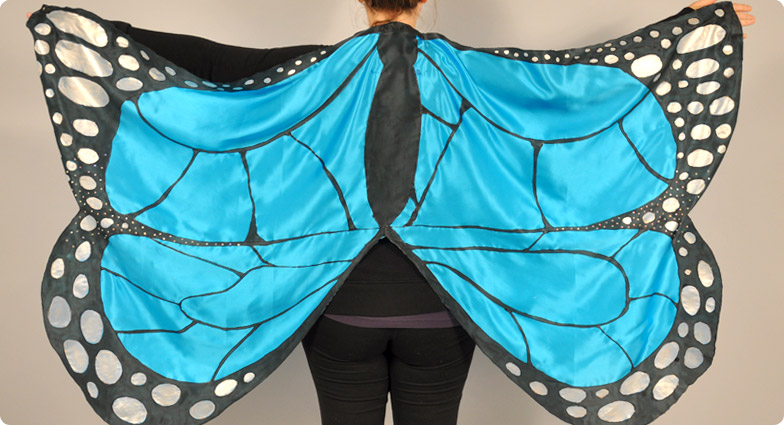
Butterfly Fairy Wings - No Sew
It's important to be yourself! Unless you can be a butterfly, then be a butterfly! This 'no-dye, no- sew' costume is great for all ages, and can be worn all year whenever you need a little magic!
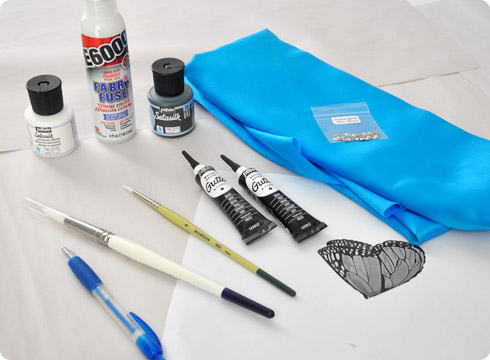
Shopping list:
- Colored Silk Charmeuse
- Pebeo Water-Based Guttas
- Setasilk Paint
- Setacolor Shimmer
- Hotfix Crystals
- Allure Fabric Adhesive
- Brushes
- Washable Fabric Marker
- Newsprint or other paper
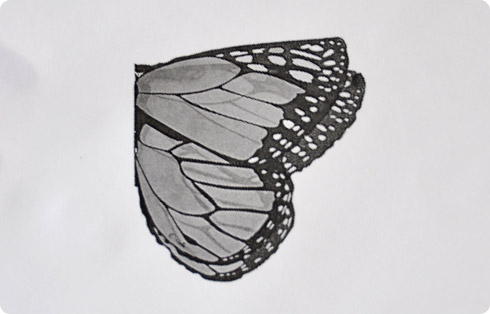
- Butterfly Inspiration Photo
Let's get started!
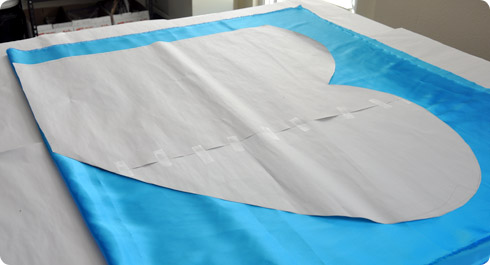
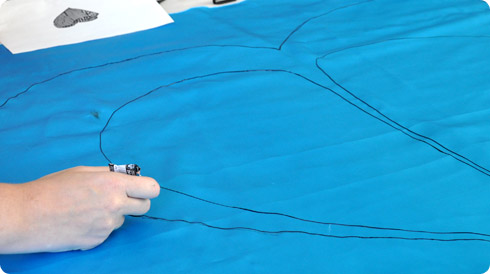
Draw out your wing shape on some newsprint/paper, using a pen to transfer it to your fabric. We worked on one side at a time due to our small table workspace but, if you like, you can also put your silk on a stretcher for this project.
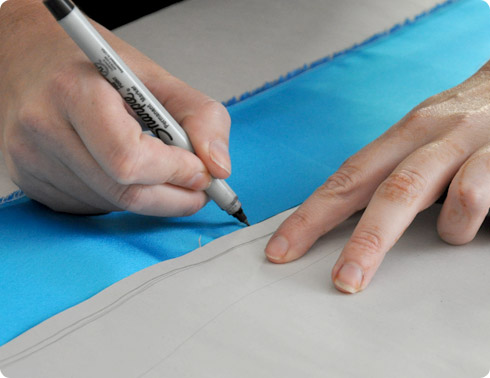
Remember, it's ok to make changes to the shape and outline as you go, such as sizing up to fit an adult. We just drew the gutta a few inches out to get a fuller wingspan.
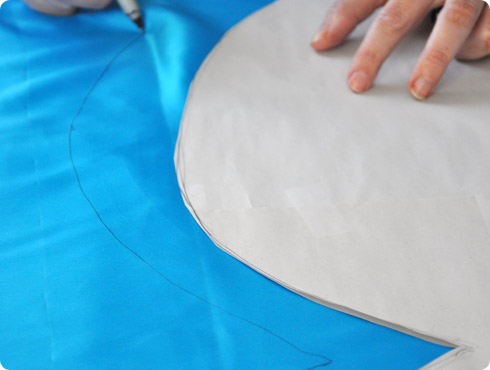
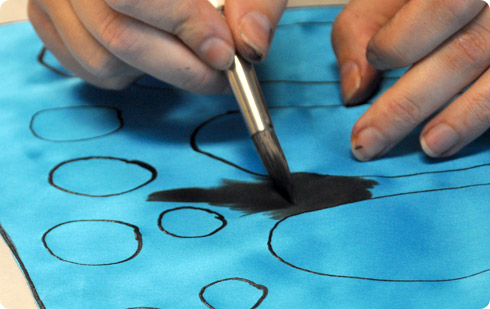
Using the gutta, trace the outline of your wings. Let this outline dry so you don't smear it when leaning over your work later.
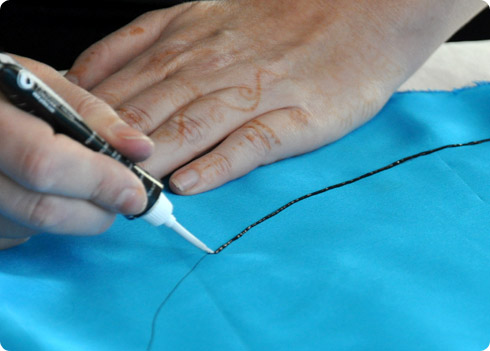
Now, using your drawing as a reference, start laying out your gutta lines to make the veins of the butterfly. Our artist didn't pre-plan her exact lines but if you are more cautious about this, you can do some pre-planning on your paper template and follow those pre-drawn lines.
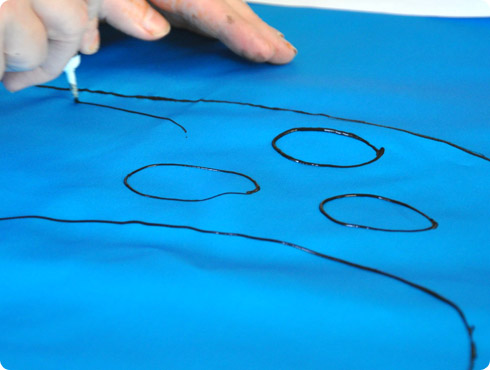
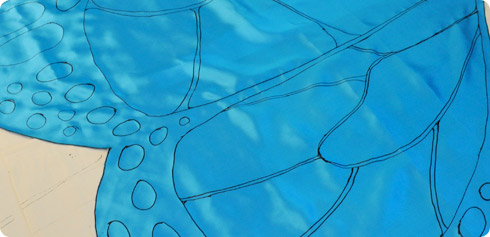
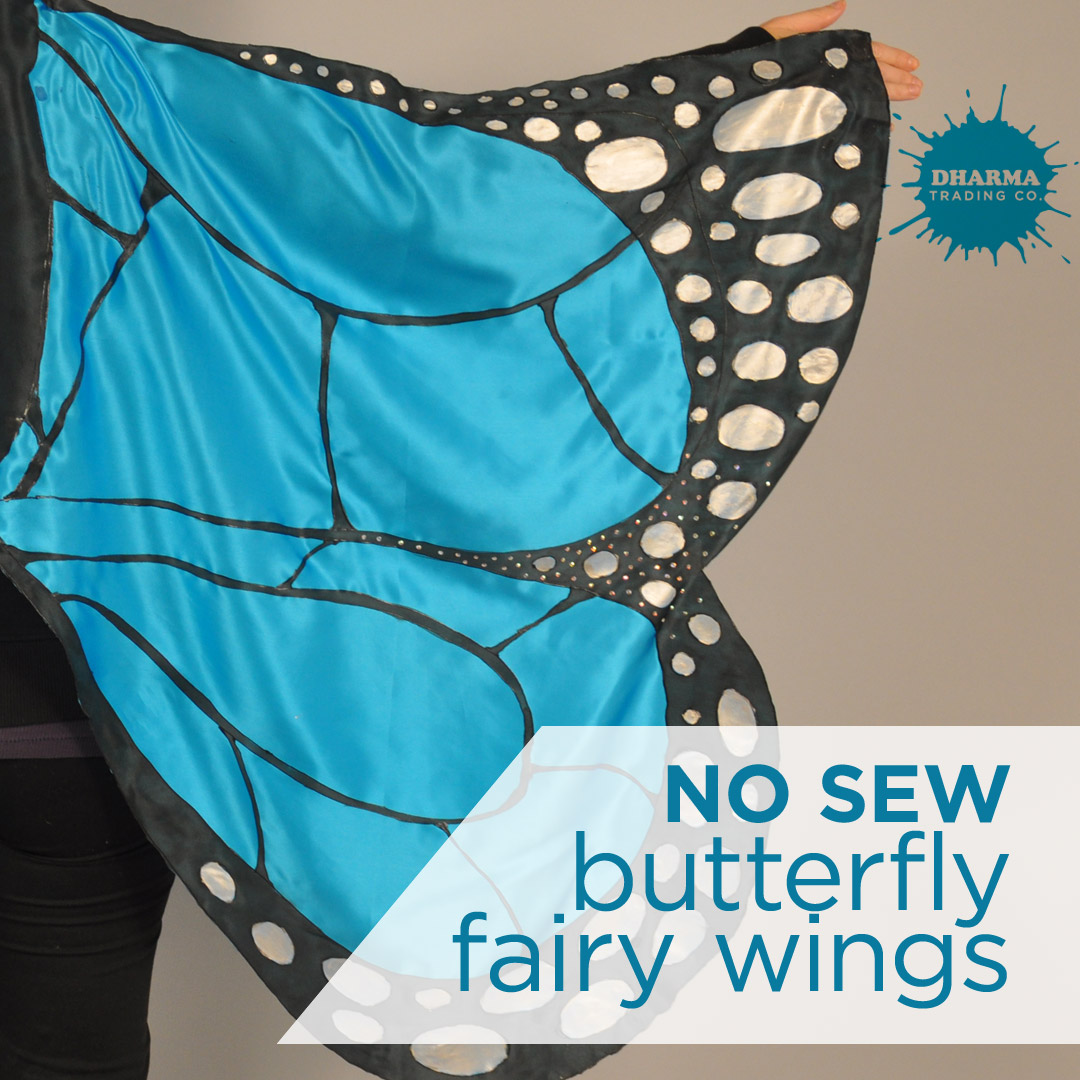
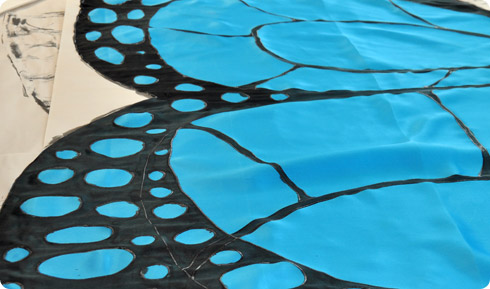
Once all the gutta is dry, it is time to paint in the black veins. All the shapes you enclosed with gutta will stay the color of the base fabric, as the silk paint runs only up to the gutta line.
Pro-Tip: if you are pressed for time, a heat gun helps to dry the gutta and the paint a bit faster.
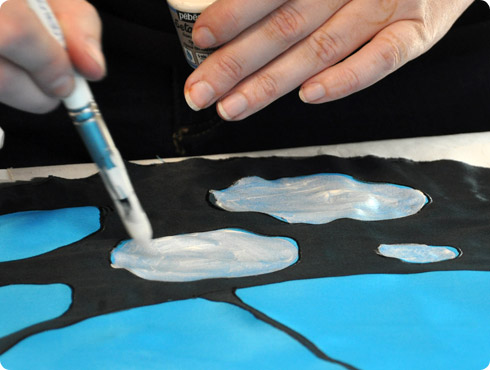
When the veins are all painted, take your Setacolor Shimmer paint and fill in some of the smaller circled areas. It took us two coats to get the shimmer and opacity we liked. The paint will not show through on both sides, so it's up to you if you want to paint the back side. It only took the two 45ml. bottles to paint the whole piece. It might be a good idea to get an extra one of each just in case.

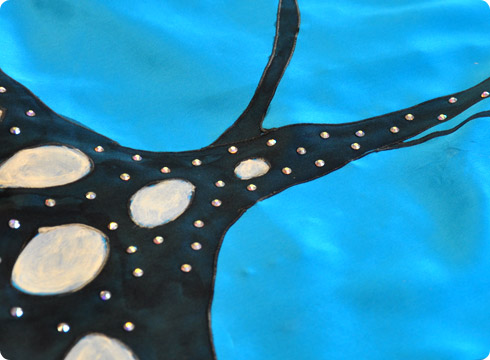
Heat set the dried gutta and paint with an iron. As she ironed, our artist also added some fun HotFix crystals to the wings for a bit of extra bling.
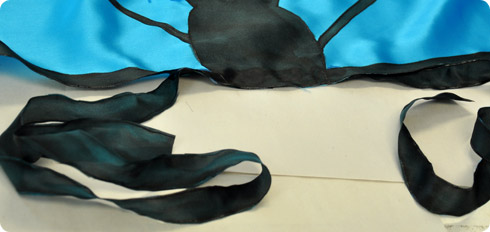
The Ties:
We made ties with some of the extra silk fabric by painting lines of gutta and filling in with black. However, you could also use elastic or bright colored ribbon for the ties.
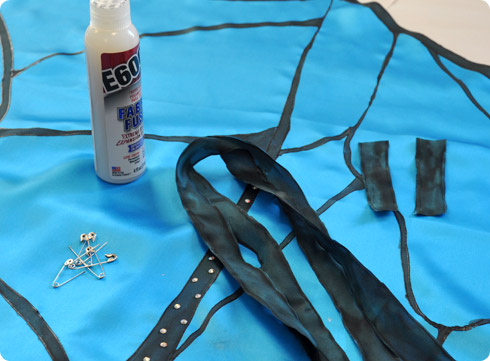
To attach the finger ring and neck ties, we used the Allure Fabric Adhesive Glue. If your wings will be worn by a child, consider velcro or snaps for the neck closure so that it is easy to remove.
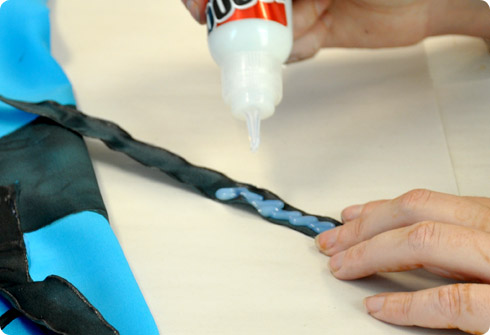
Let the glue set up overnight for the strongest results.
Your wings are ready to wear and you can fly around with the best of them! Take that Tinker Bell!