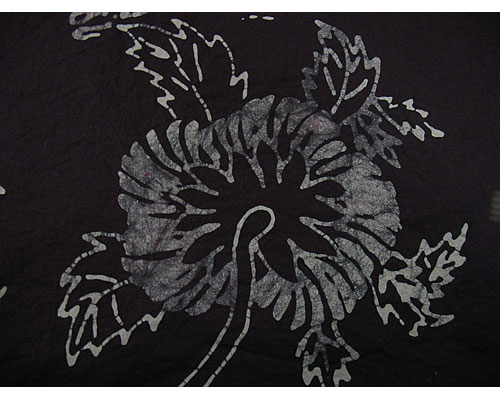
Supplies:
- Old electric frying pan (you can find a good one at the Flea Market or Goodwill) or use one of our Melting Skillets (#SK6)
- Uniodized Salt
- Fabric or clothing items to be stamped
- Copper Tjap (#TJAP)
- Batik wax (#BW)
- Procion MX Fiber Reactive Dye (#PR)
- Soda Ash Fixer (#FIX)
- Kieralon (#KDD)
Let's Get Started!
Remember to work in a well ventilated area when working with hot wax (we did this outside).
1. Heat the wax in the electric frying pan to 220°-230° F. Make sure it is only about 1/8 inch deep depending on your stamp. Don't drown the tjap.
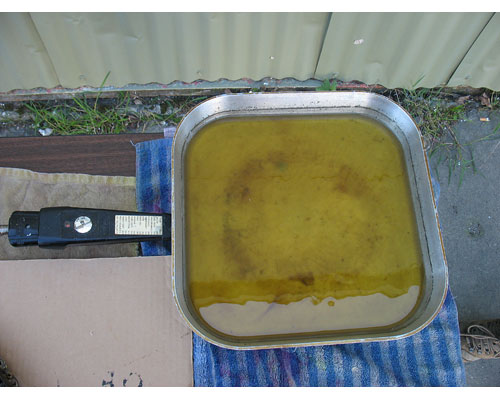
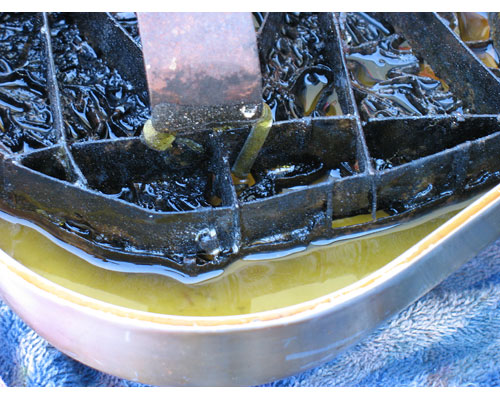
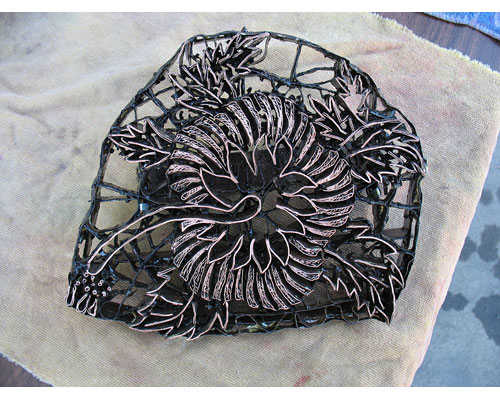
2. Prewash your fabric or clothing in hot water and Kieralon so it is ready to be stamped and dyed. You can also dye your fabric before adding the wax stamp as we did in one of our samples using either our tie dye or crystal wash directions for Procion MX Fiber Reactive Dye.
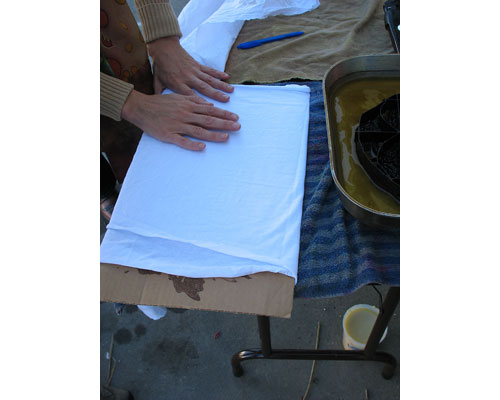
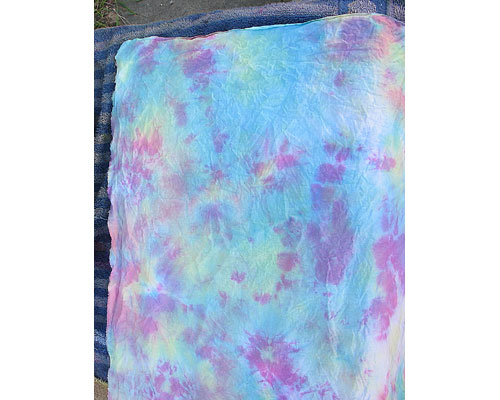
3. Heat the tjap by placing it in the hot wax for about 5 minutes. The handle does not conduct heat, so you will not burn your hand.
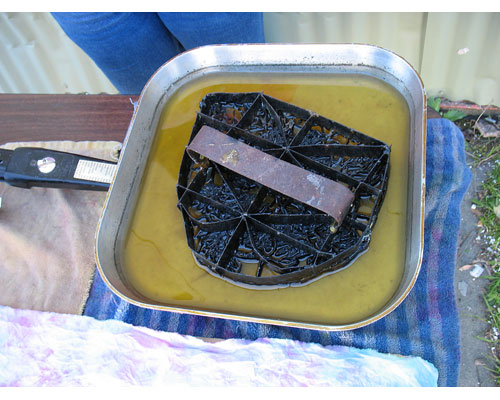
4. When ready to stamp lift the tjap and shake well to remove excess wax and to prevent dripping. This is probably the most important step as having the right amount of wax on your tjap will determine the success of the print.
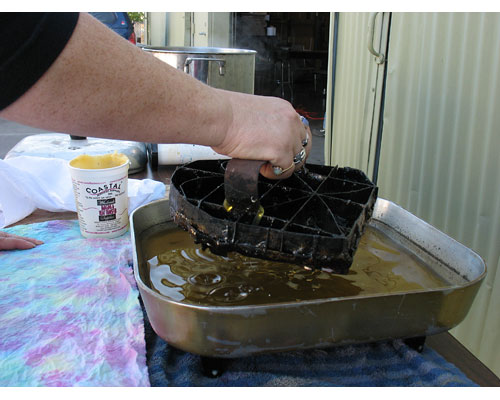
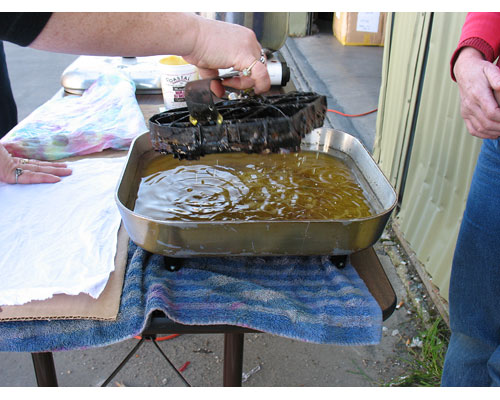
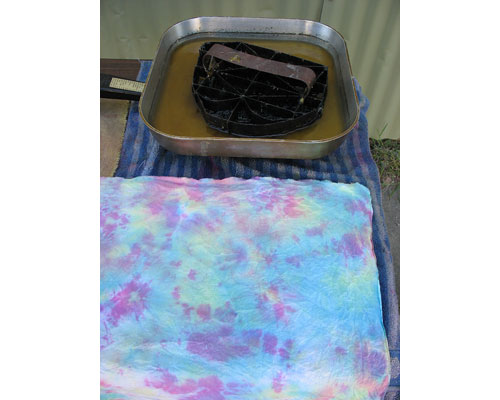
5. Press the tjap gently to the fabric with a slight rocking motion so all parts of the design make contact with the fabric.
NOTE: It helps to have a smooth flat surface to work on that is padded with a layer or two of fabric. This helps to absorb excess wax making the detail more crisp. If you are stamping on clothing remember to place a piece of cardboard between the front and back so the wax doesn't go through to the back.
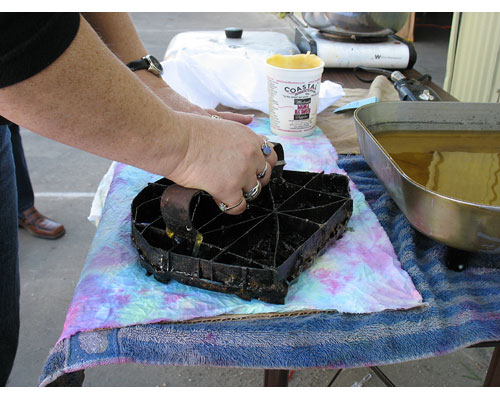
5a. These two examples are from before we realized how much excess wax you need to shake off, and also before we realized that some absorbent "throw away" fabric under the fabric you are stamping works wonders. Way too much wax!
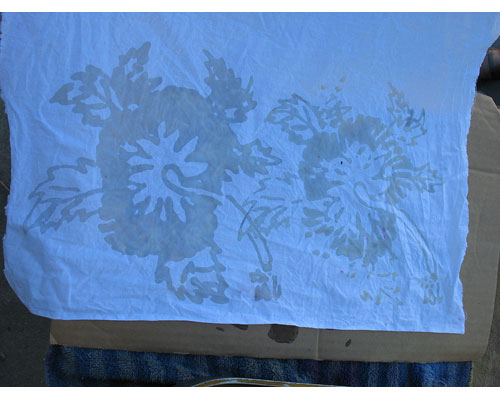
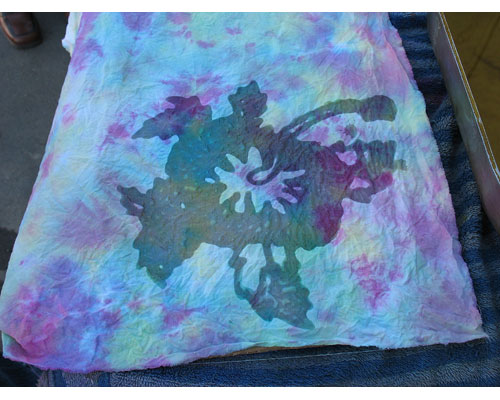
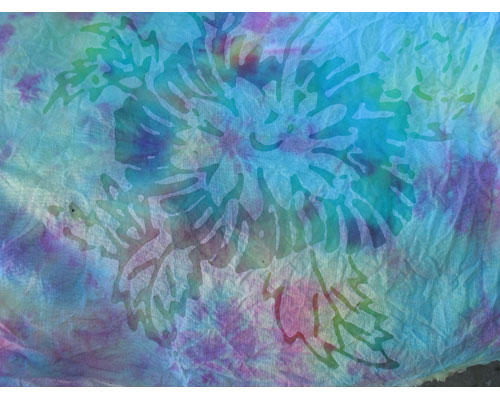
6. Once the wax cools on the fabric you can manipulate the cracks to enhance the design if desired. We finally got a perfect print!
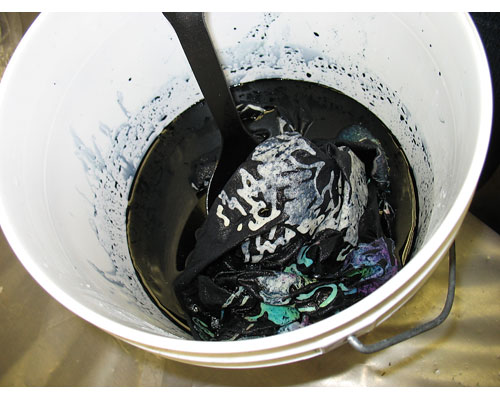
7. Dye with the fiber reactive dye following our tub dyeing directions.
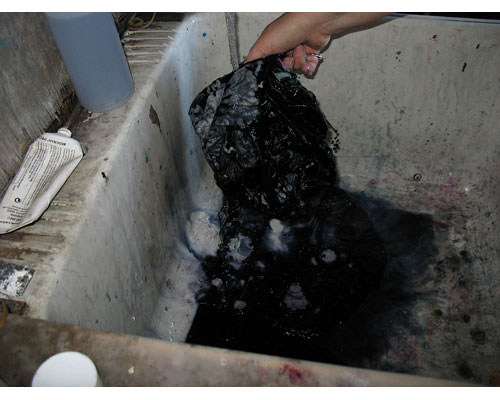
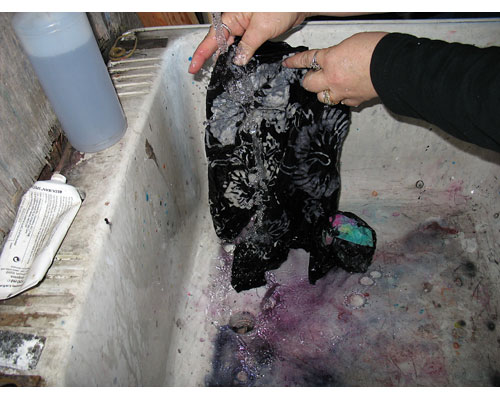
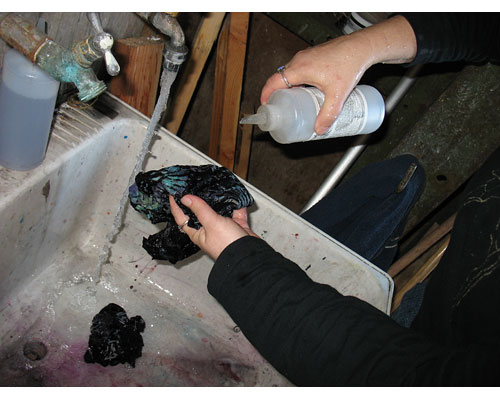
8. Rinse and wash out the excess dye before wax removal by hand in lukewarm water and Kieralon, so that you don't have a bunch of excess dye in the pot when removing the wax...that would make mud!
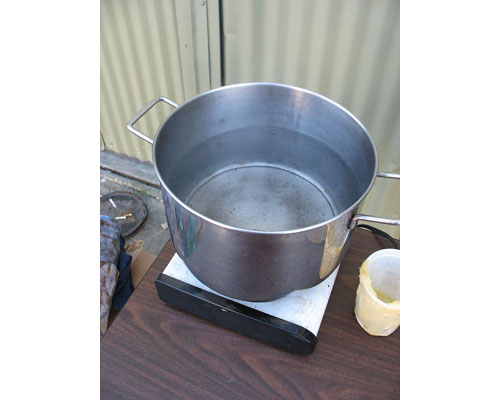
9. To remove the wax boil a pot of water large enough to contain the item.
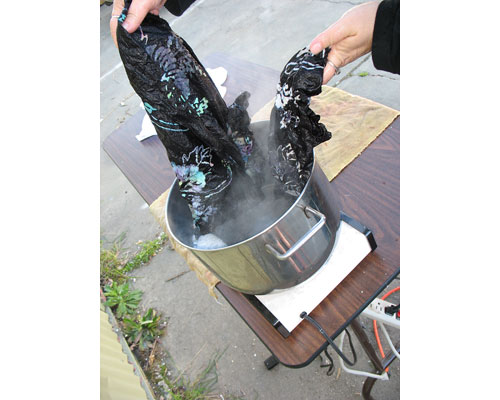
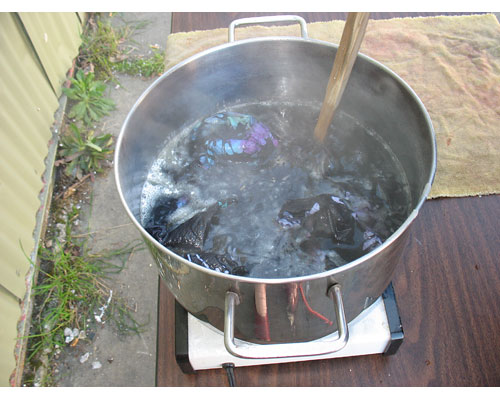
10. Submerge it, weighing it down if necessary. The wax will melt and float to the top. Allow to cool, then simply remove the solidified wax from the surface of the water. Doing it this way helps to prevent redepositing wax onto your fabric. Never pour hot water containing wax down the drain.
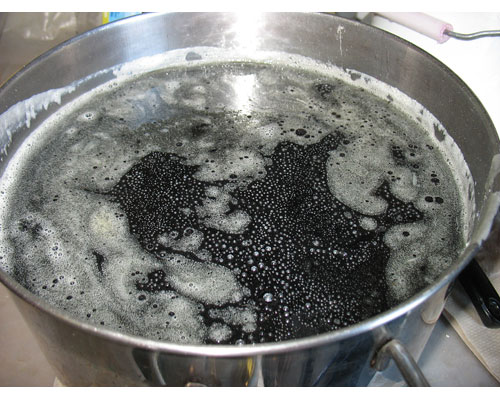
11. Follow up with a final wash in hot water and Kieralon. Rinse and dry. Voila!
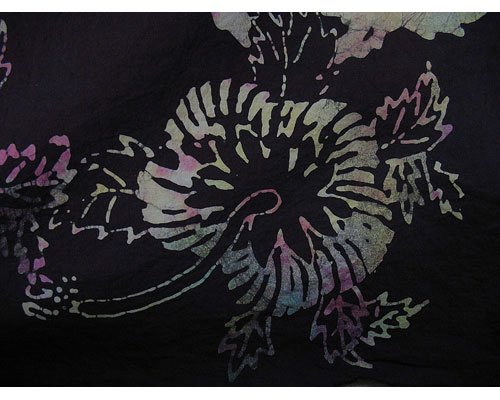
11a. These photos show the results when the image was stamped on the fabric with too much wax.
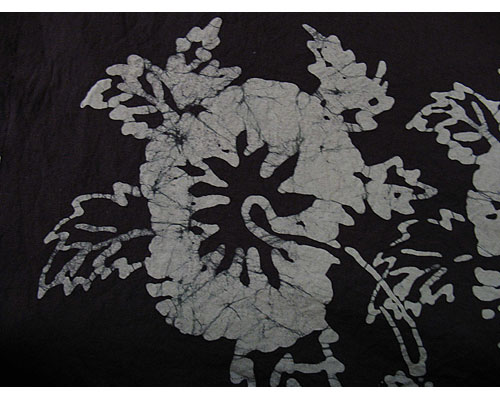
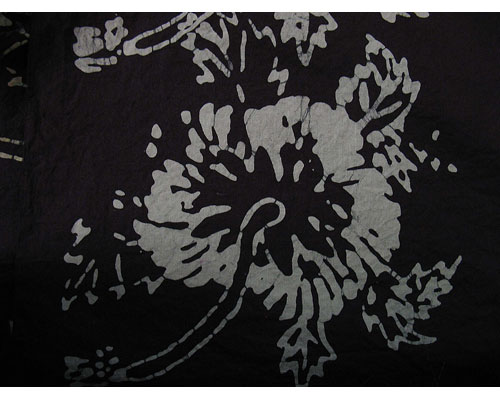
11b. Here the wax was too hot, therefore the dye seeped into the very thin resist and the contrast is not as good once dyed.
